ausmini
https://www.ausmini.com/forums/

Madmorrie's 4EFTE Morris 1100 conversion
https://www.ausmini.com/forums/viewtopic.php?f=23&t=22593
Page 20 of 24

Author:  OnSafari [ Wed Aug 26, 2015 12:31 pm ]
Post subject:  Re: Madmorrie's 4EFTE Morris 1100 conversion

Any updates? This is my favourite conversion thread!

Author:  madmorrie [ Sun Nov 22, 2015 10:45 pm ]
Post subject:  Re: Madmorrie's 4EFTE Morris 1100 conversion

Thanks OnSafari. Updates are not exactly coming thick and fast, but progress is still happening.

OK, the latest task has been to modify the brake pedal to take the Starlet brake light switch. As the whole wiring loom is being transferred over, the brake lights will operate from the pedal switch instead of the pressure switch as per the original.

Starlet brake pedal and switch.
Image

I figure I'll tap the switches metric thread in this block and bolt it to the Morris pedal box. The thread allows for some adjustment of the switch point.
Image
Image

Not any more progress has been made but I brought the bits back to Melbourne so can hopefully get something done during the week.

And more recently I finally got the left hand CV swapped for one that has an intact thread so I could finally tighten nut fully. Which meant I could finally assemble the brakes onto the hub.
Image

And for the record, the brakes don't clear a standard Morris 1100 12 inch rim. It's very close though.
Image

Progress is progress.
Madmorrie

Author:  madmorrie [ Mon Nov 30, 2015 1:56 pm ]
Post subject:  Re: Madmorrie's 4EFTE Morris 1100 conversion

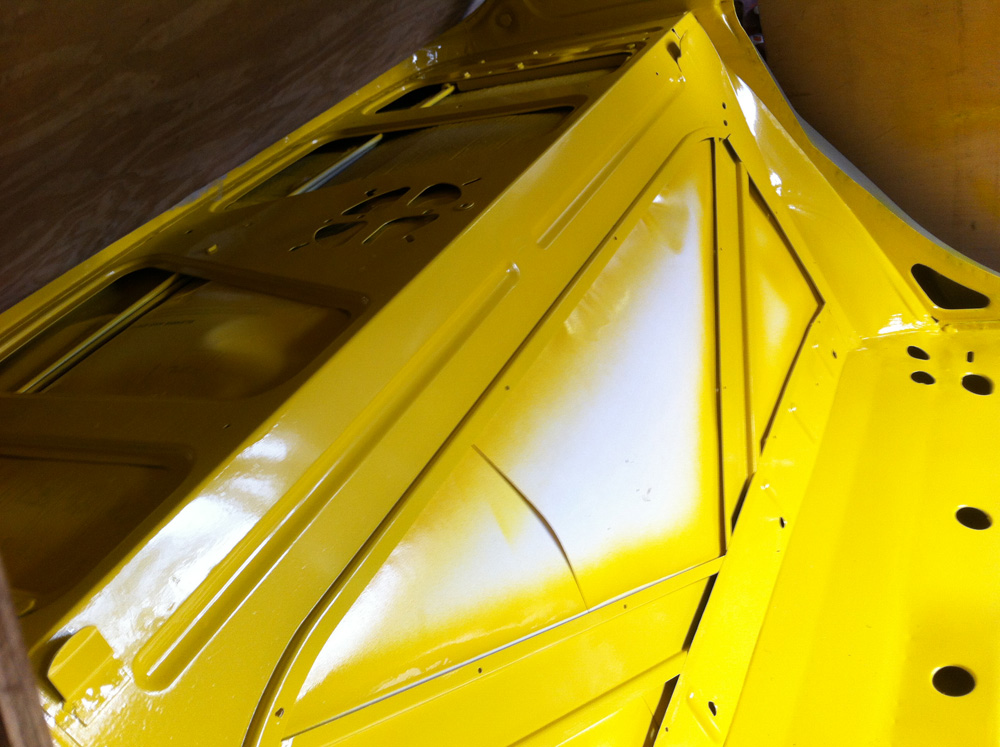
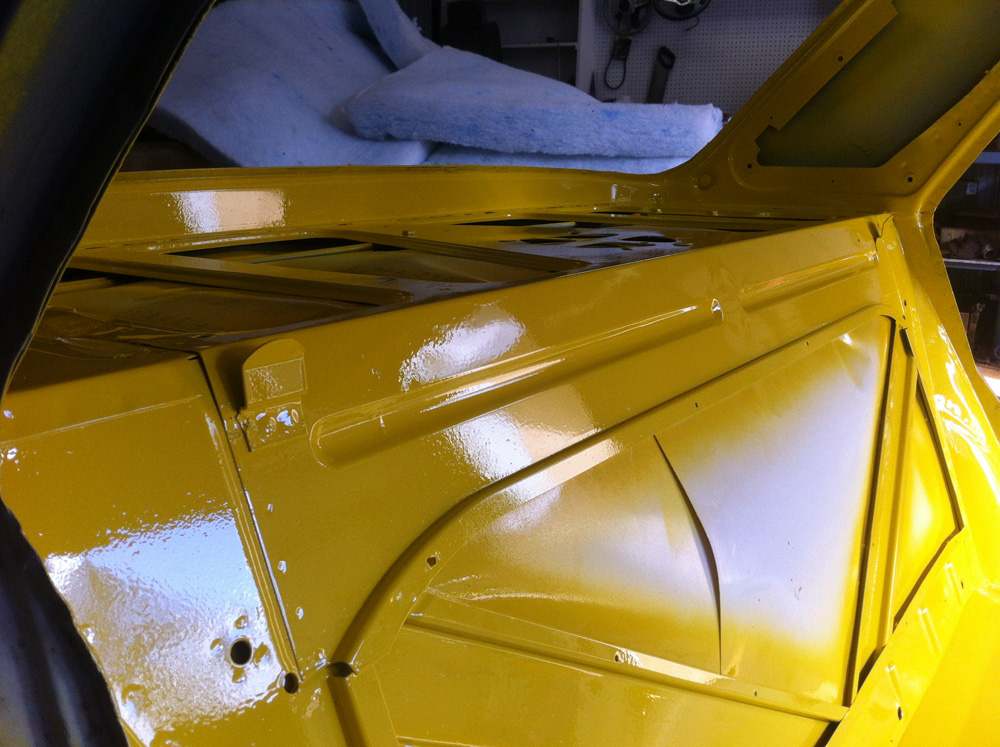
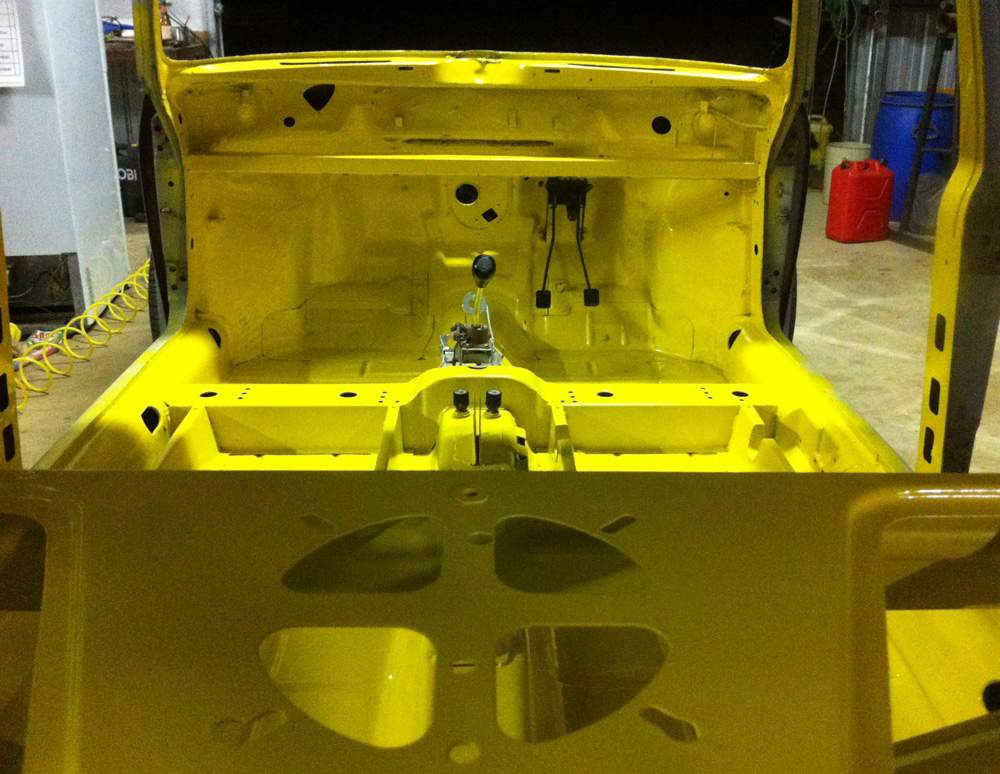
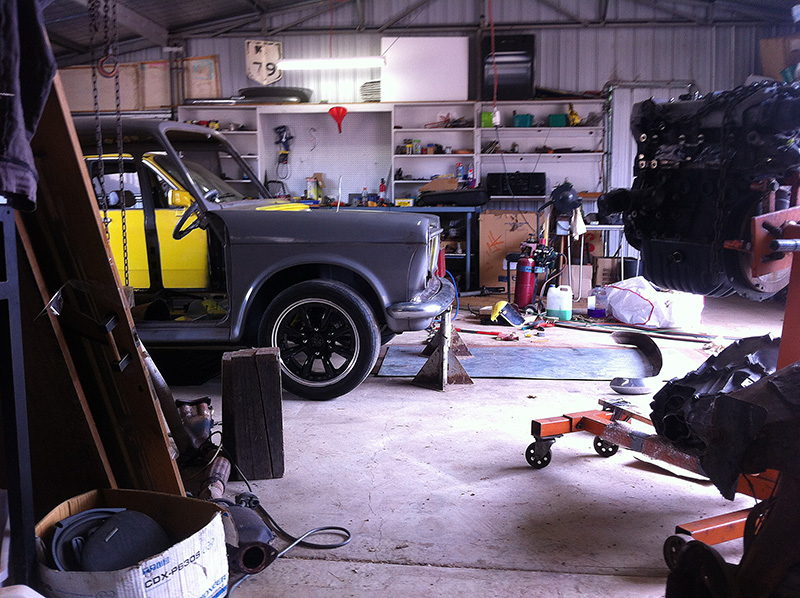
Finally got to spend a decent chunk of time on the car this weekend. Concentrated on sorting out the mess left behind from removal of the bumper. Lots of holes in the front valance, plus a few bits that were rusty. And I kinda left a really rough bit where I needed to add some clearance for the new subframe. Anyway, pics...

Image
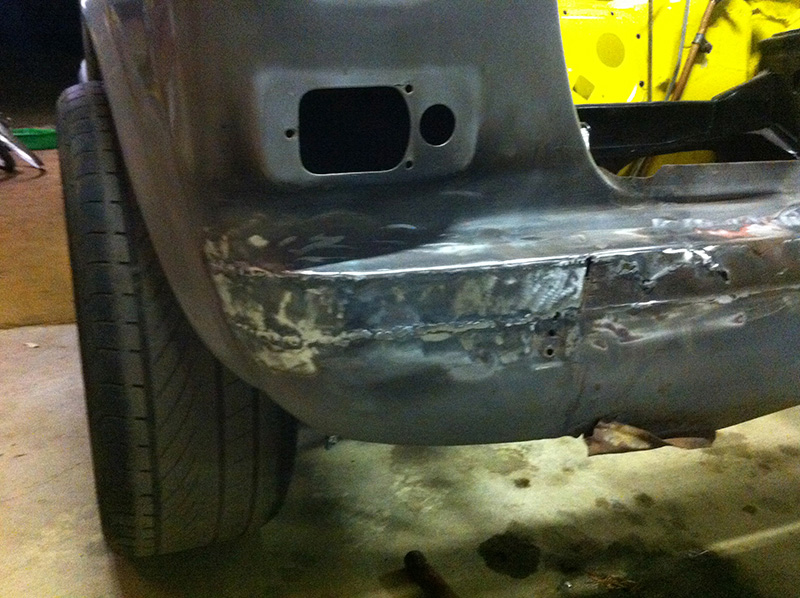
I had already patched the drivers side on the corner where the rust was the worst.

Image
Image
Passenger side needed similar attention.

Image
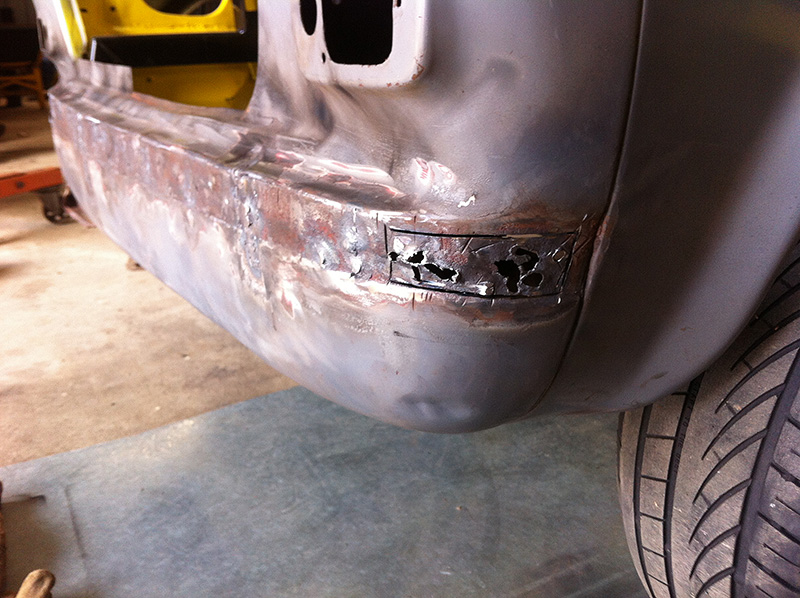
Managed to weld up all of the holes as well.

Image
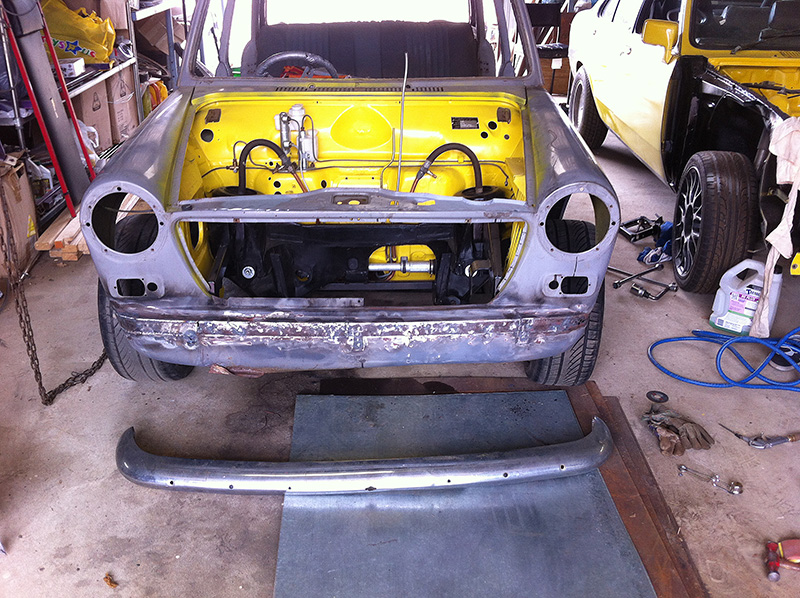
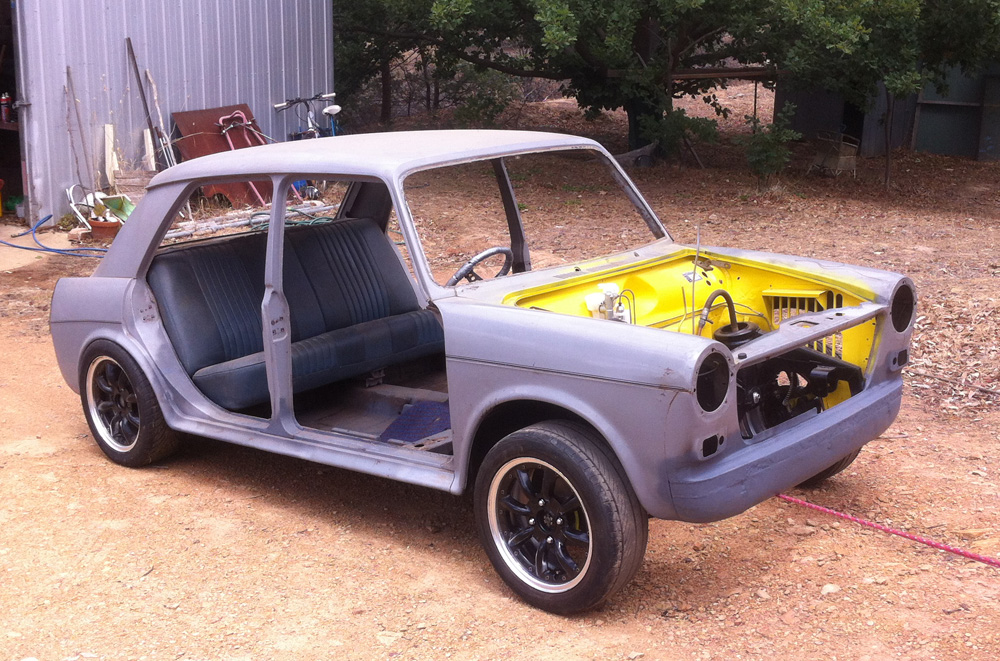
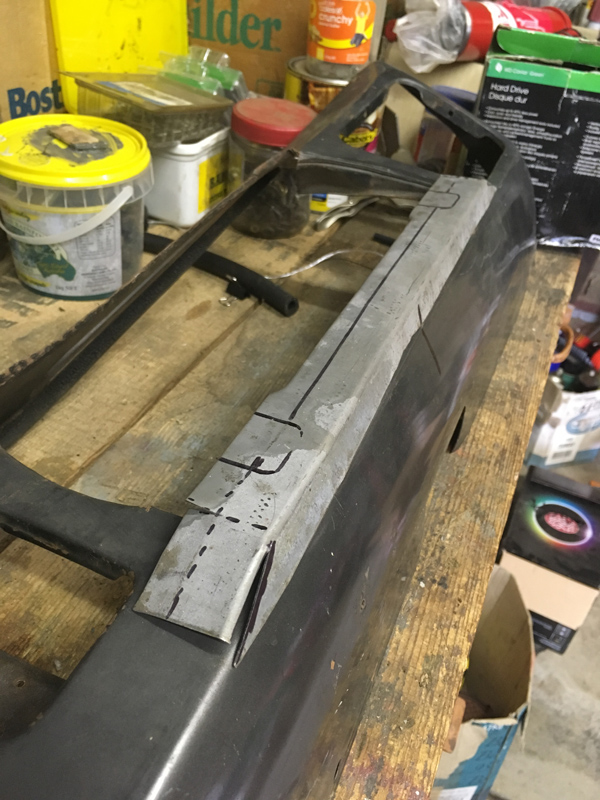
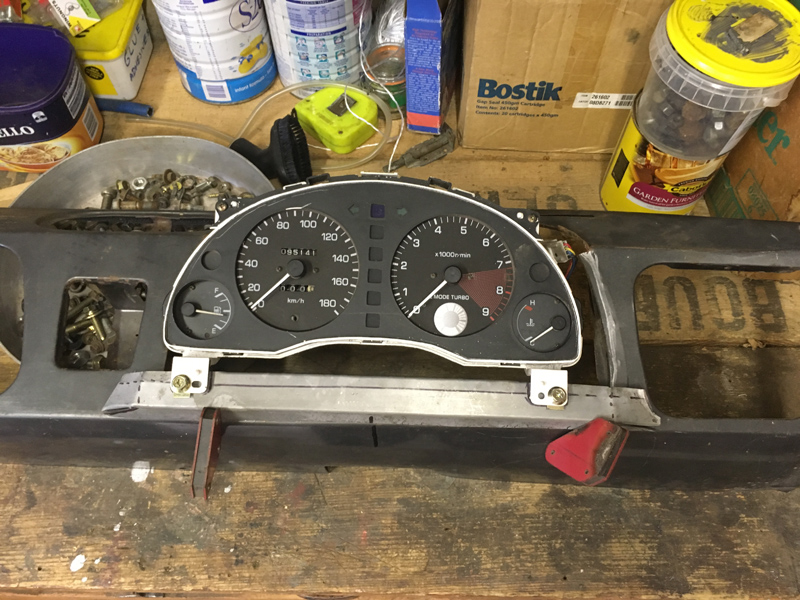
With that work progressing nicely I turned my attention to the replacement bumper. Although the back looks great without the bumper, the front end does not work as well. I picked up this bumper from someones nature strip at hard rubbish time years ago, and when i got it home was surprised to find it is a perfect fit on the Morrie. No idea what it is off, something english and rear drive is my guess given the size, style and crank hole.

Image

Image

Image
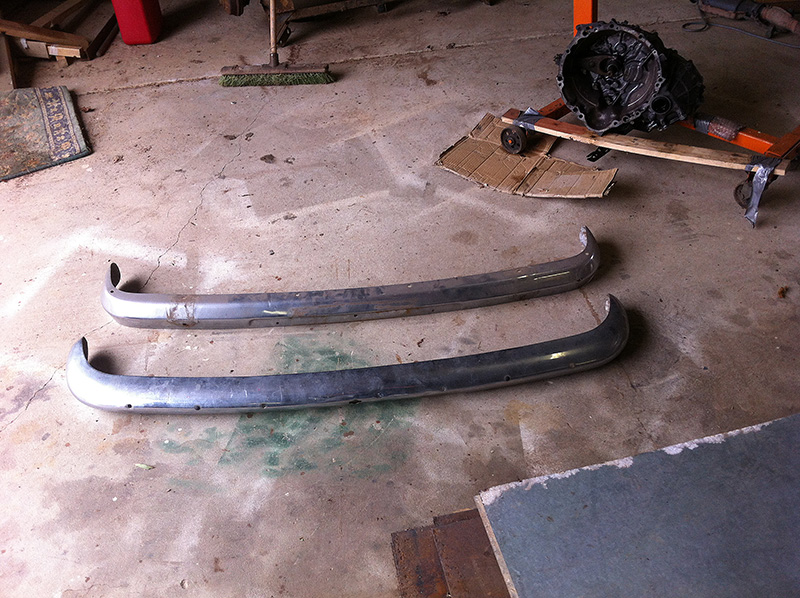
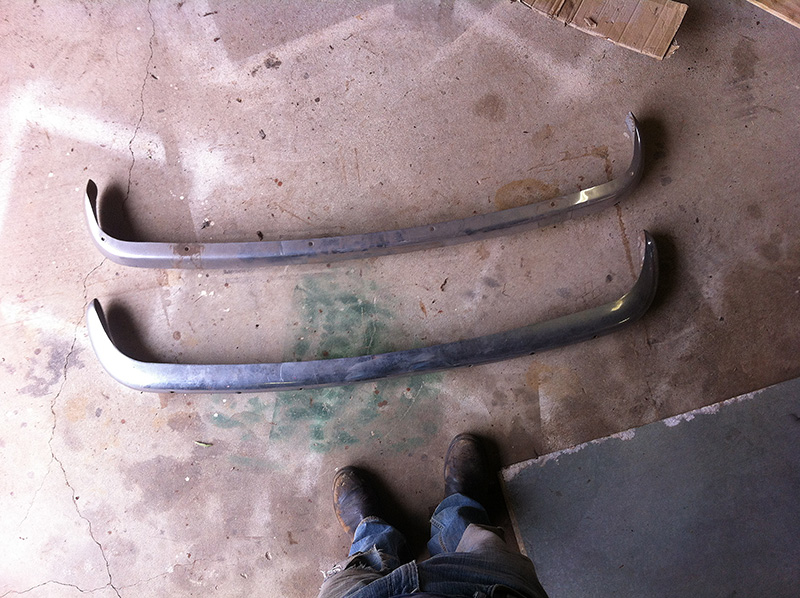
Here is is alongside the 1100 bumper.

Image
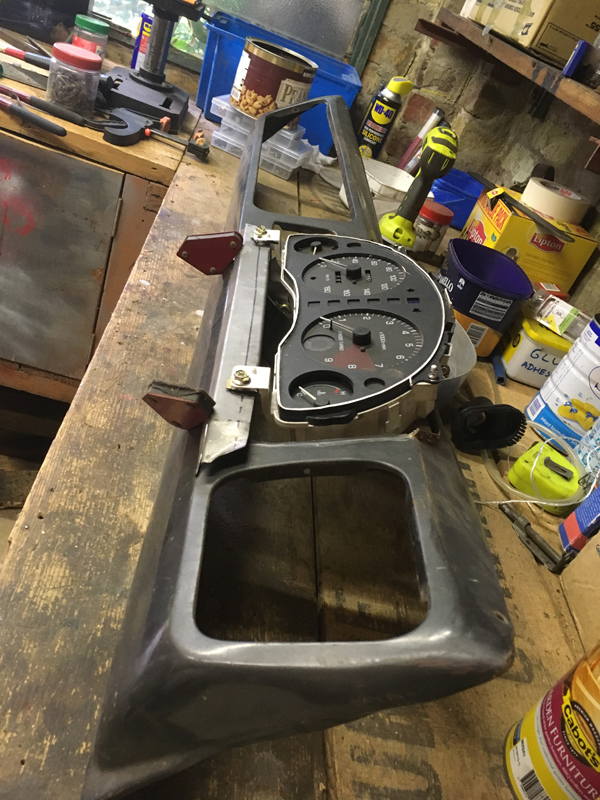
In fact, by lying the 1100 bumper on top and breaking out the rattle can I was able to transfer the outline over to the new bumper.

Image
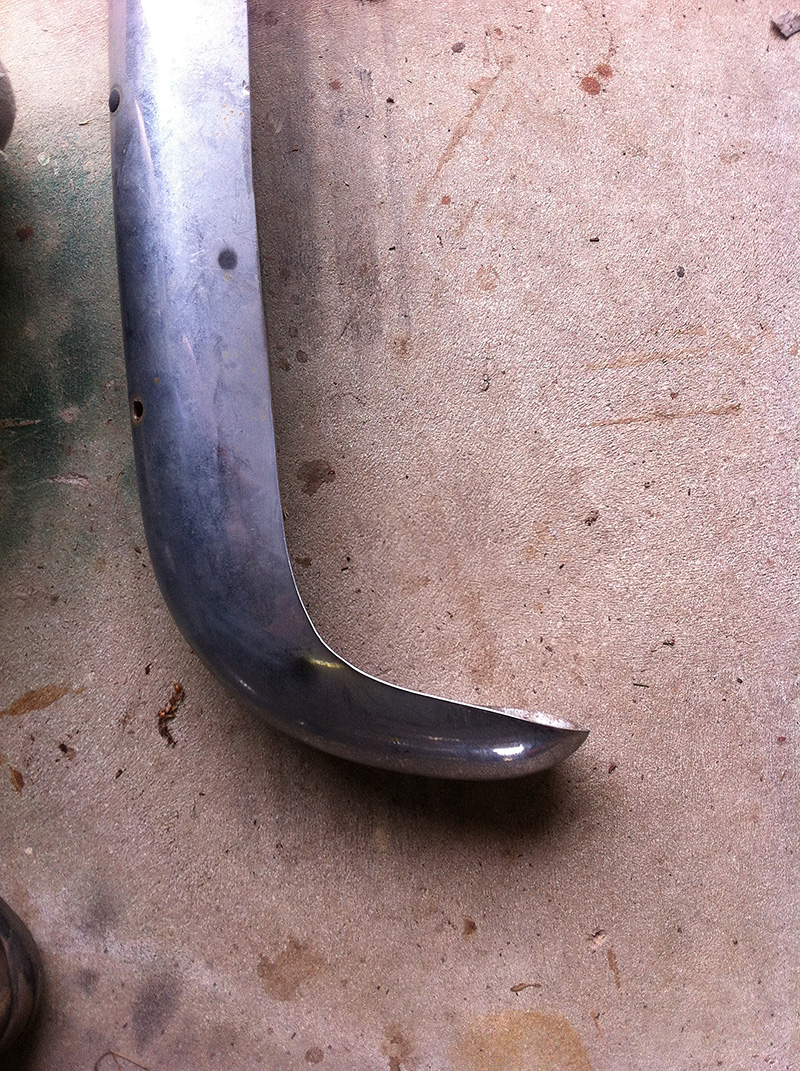
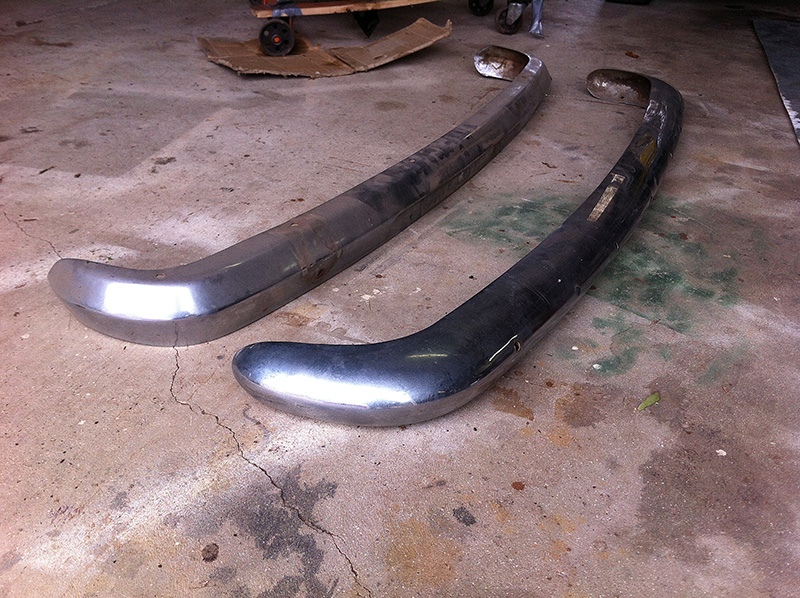
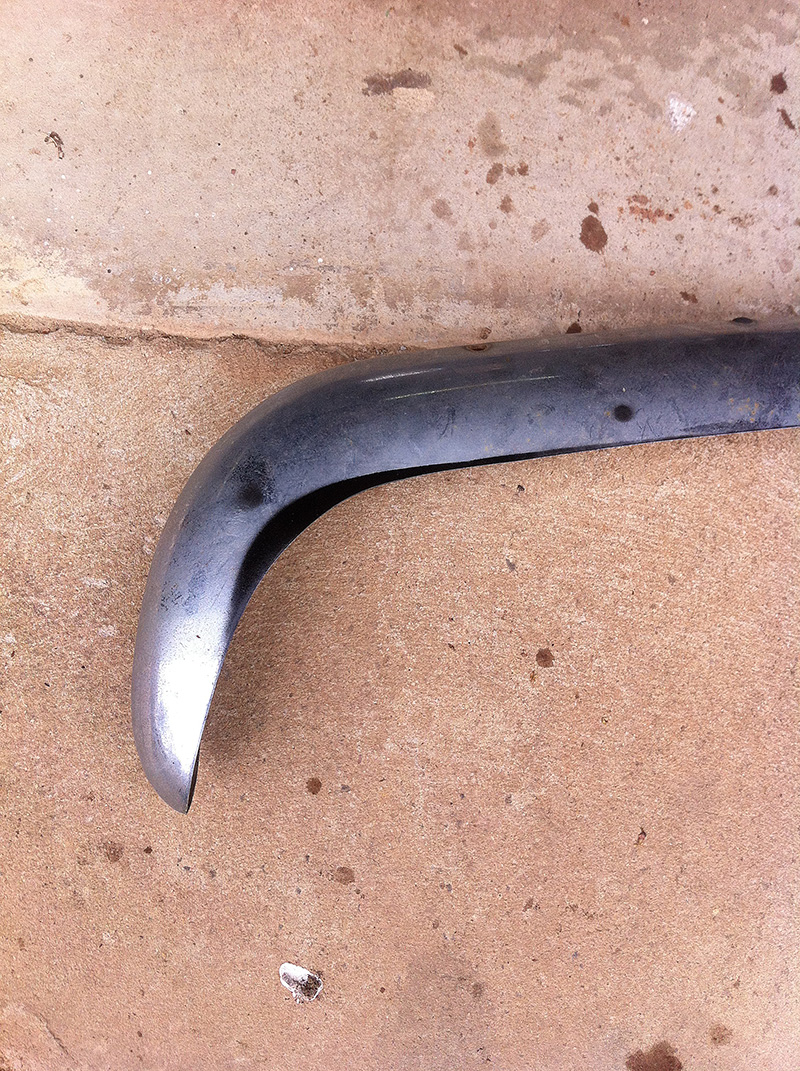
Then grind to suit the profile.

Image
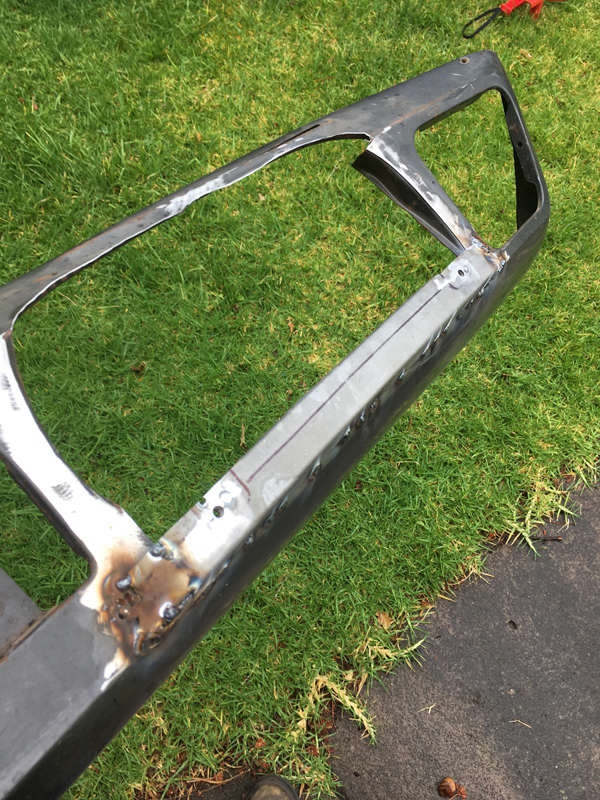
Some trimming was needed on the ends around the arch flares, especially since I’ll need some extra clearance when I fit larger flares to cover the tyres.

Image
Image
I reckon it works well.

Image
With all the holes filled I decided it was time to sort out the lower edge.

Imagehttps://counterfeit.net.au/images/
Image
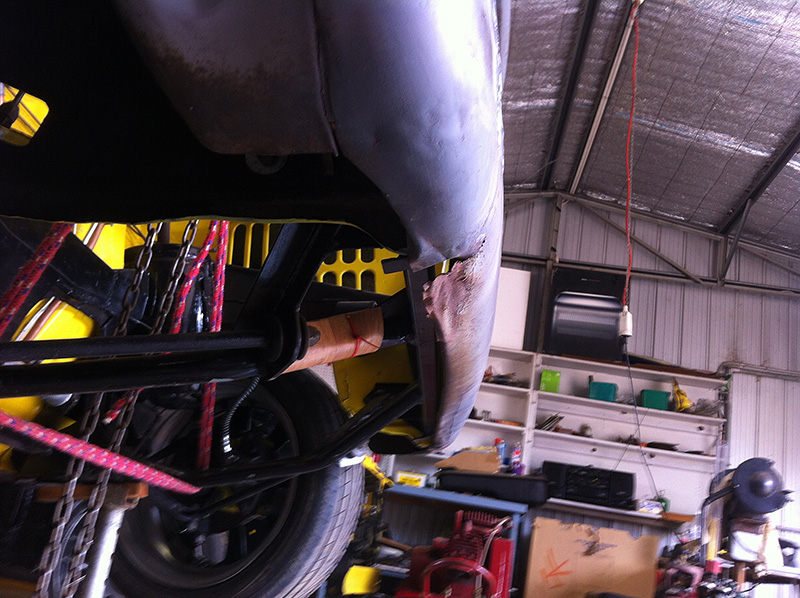
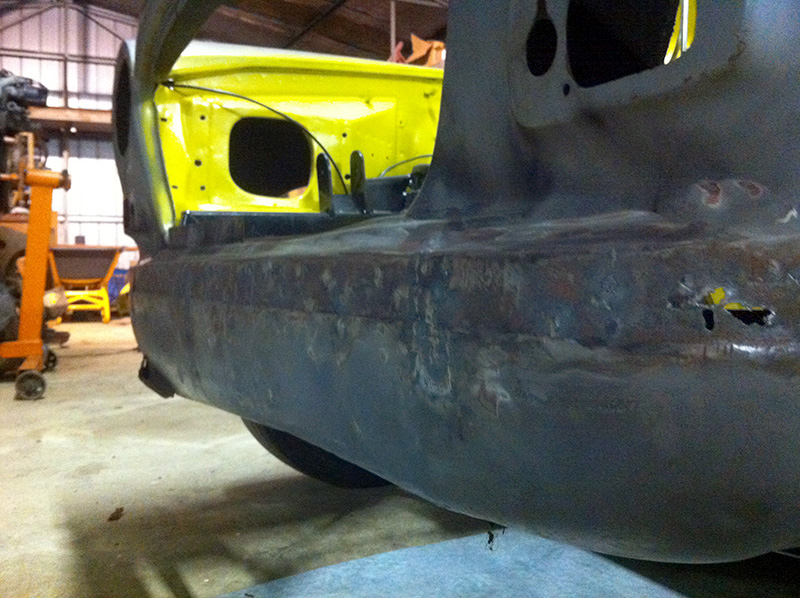
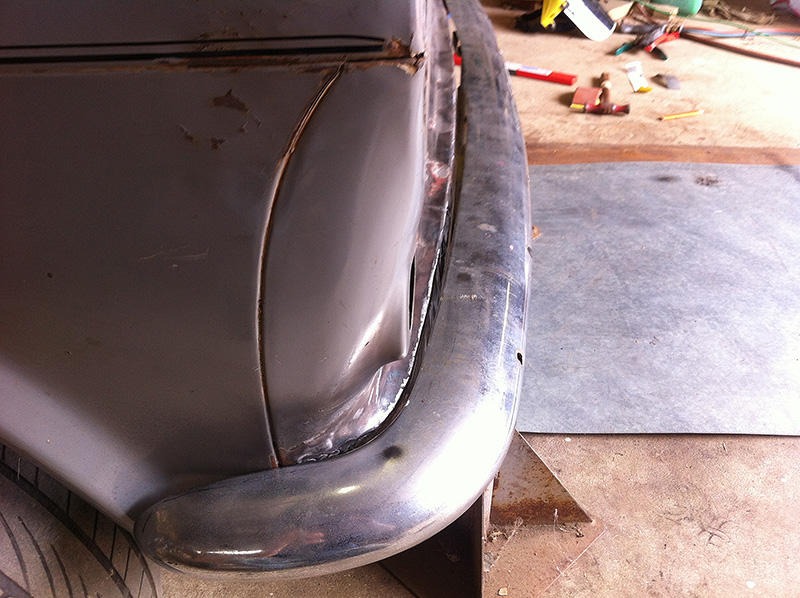
Specifically this nasty bit. Why didn’t I fix this when it was on the rotisserie???
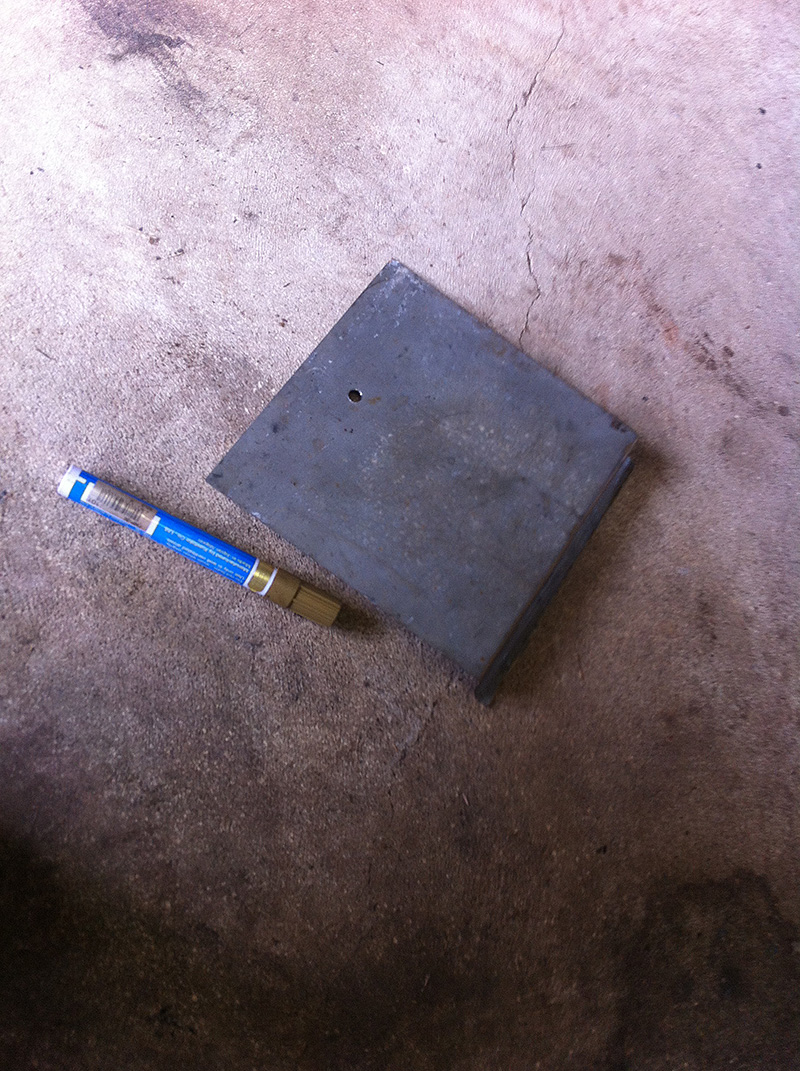
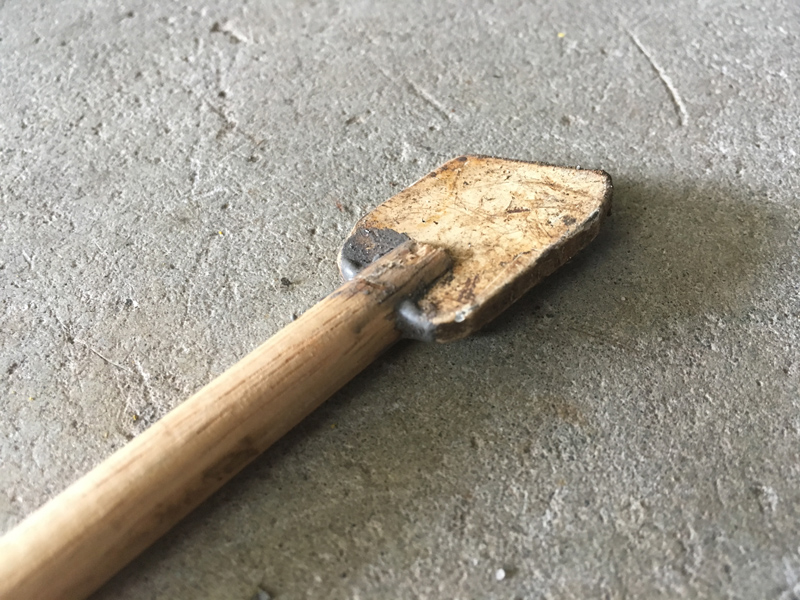
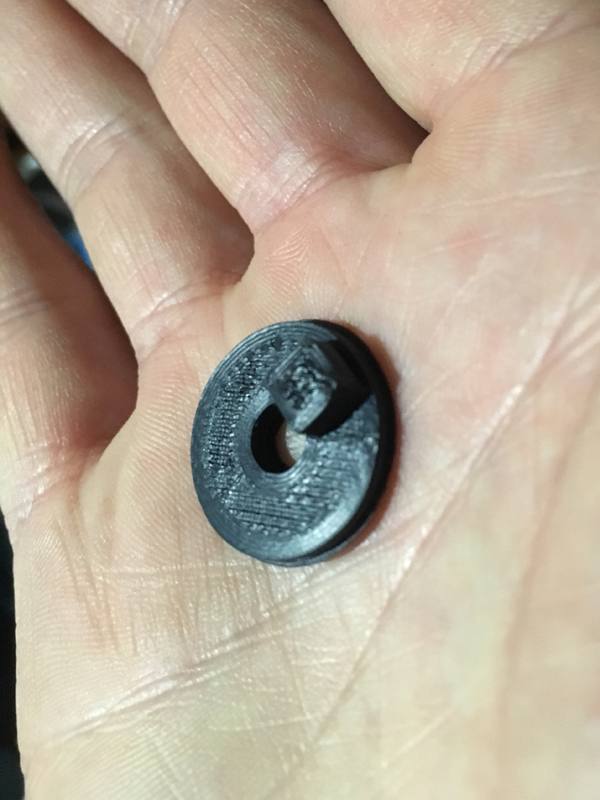

Image
I made this tool.

Image
So I had a line to work to.

Image
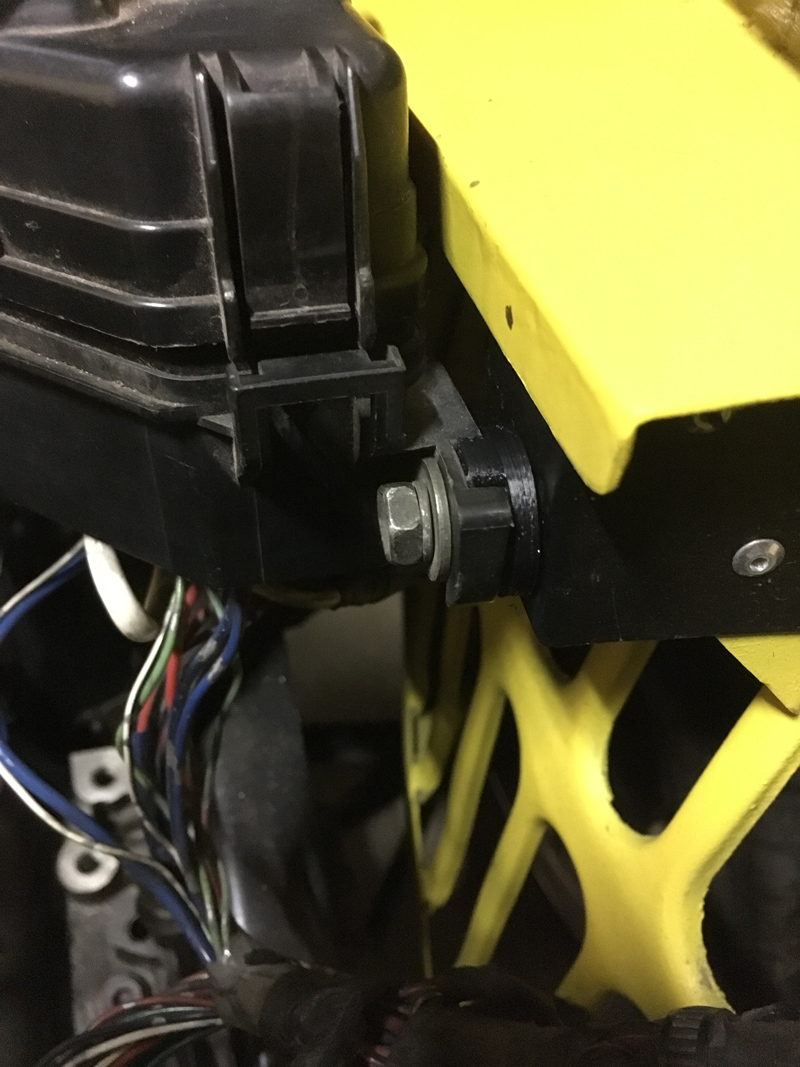
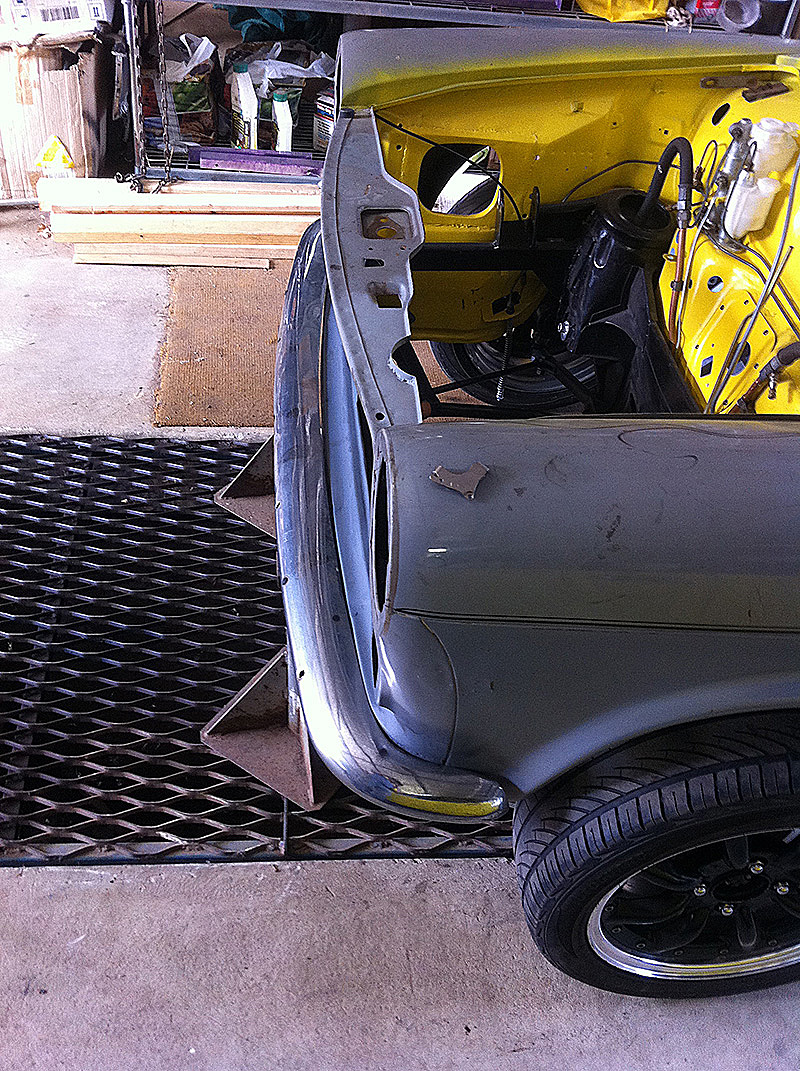
And liberated this strip. I need a little clearance underneath as my subframe ended up slightly longer than the original.

Image
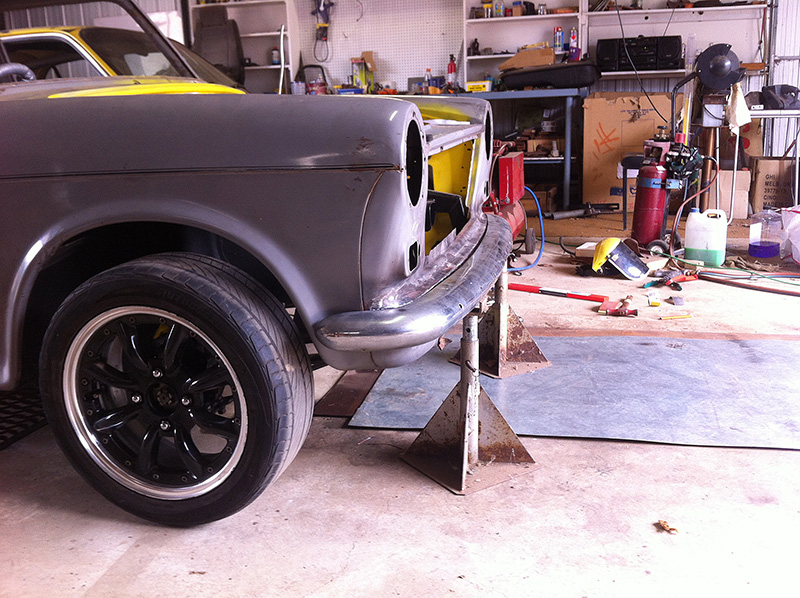
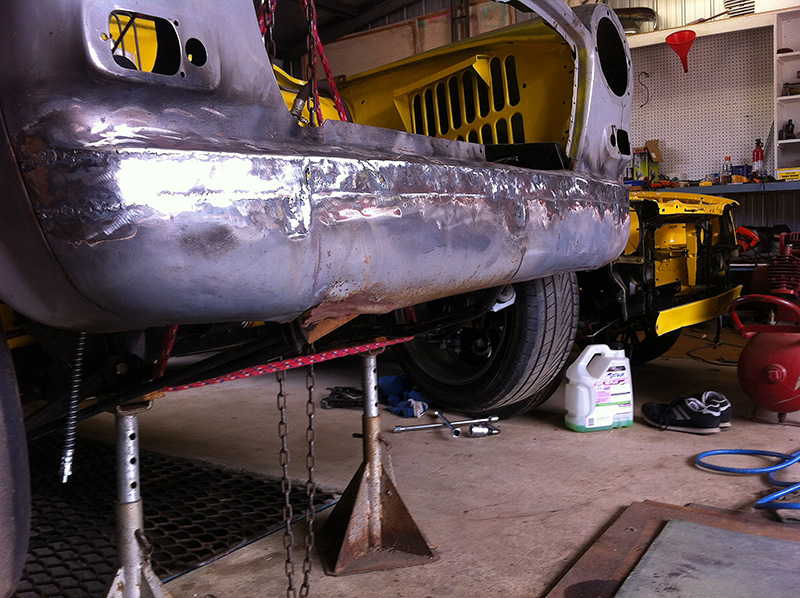
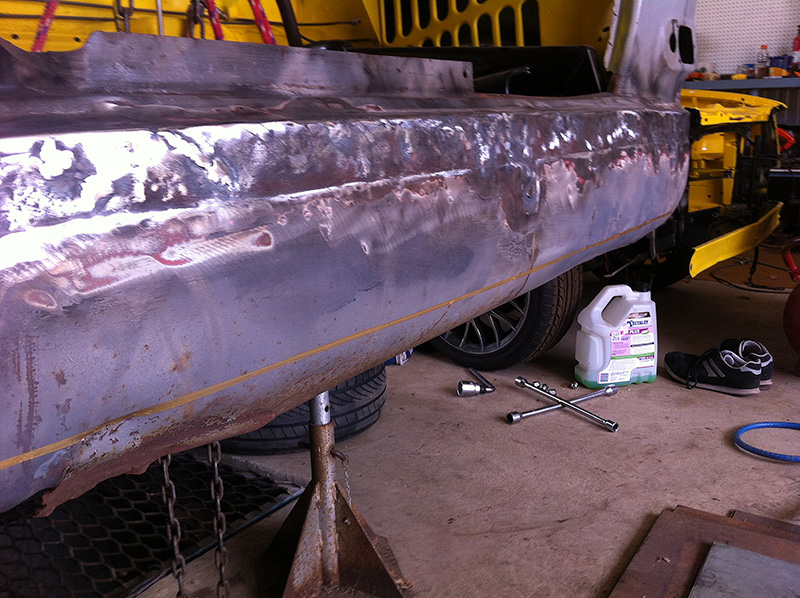
With all the holes welded I folded a slight return on the edge I created underneath then rattle canned some etch primer over it all. Even with my efforts at panelbeating the panel it will never be smooth. I just kept reminding myself that the goal was not ‘file finishing’ the car, I’ll settle for simply finishing. Most of this will be covered by the new bumper, and I’m certainly not afraid of a little filler.

Image
Image
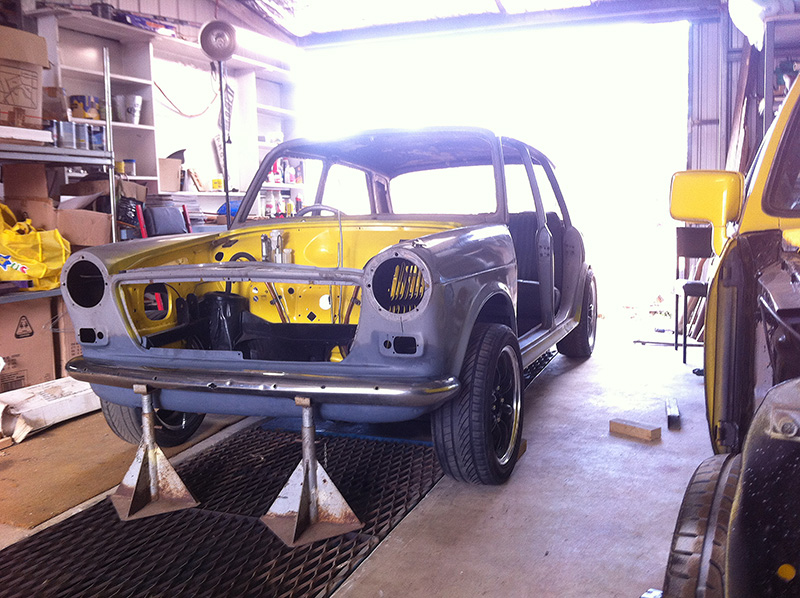
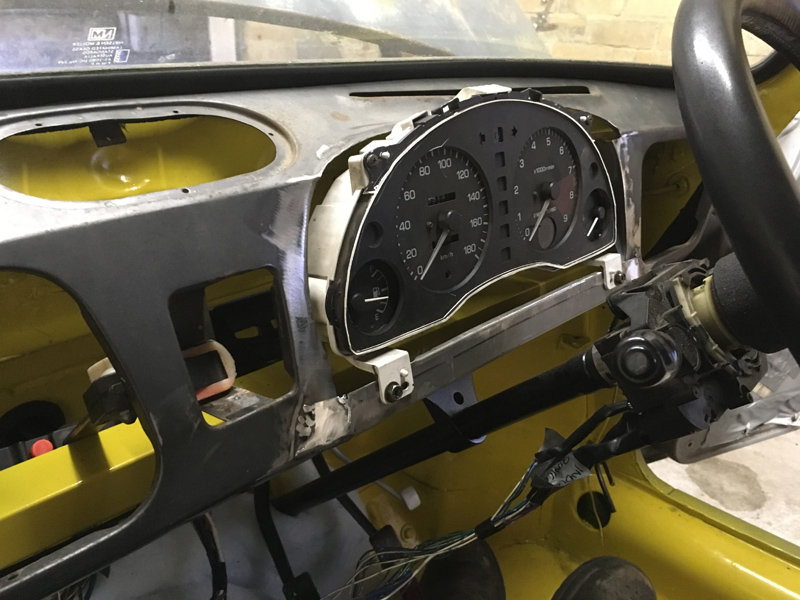
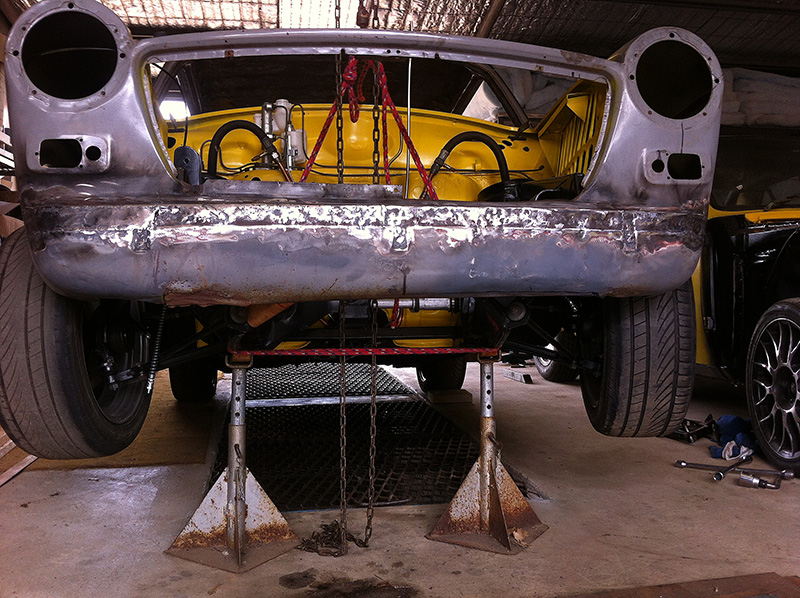
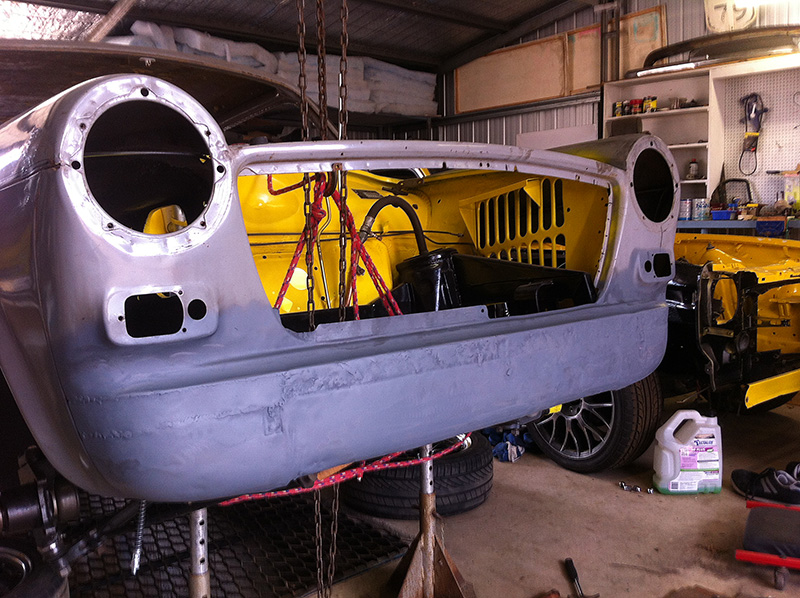
New bumper hiding my sins…

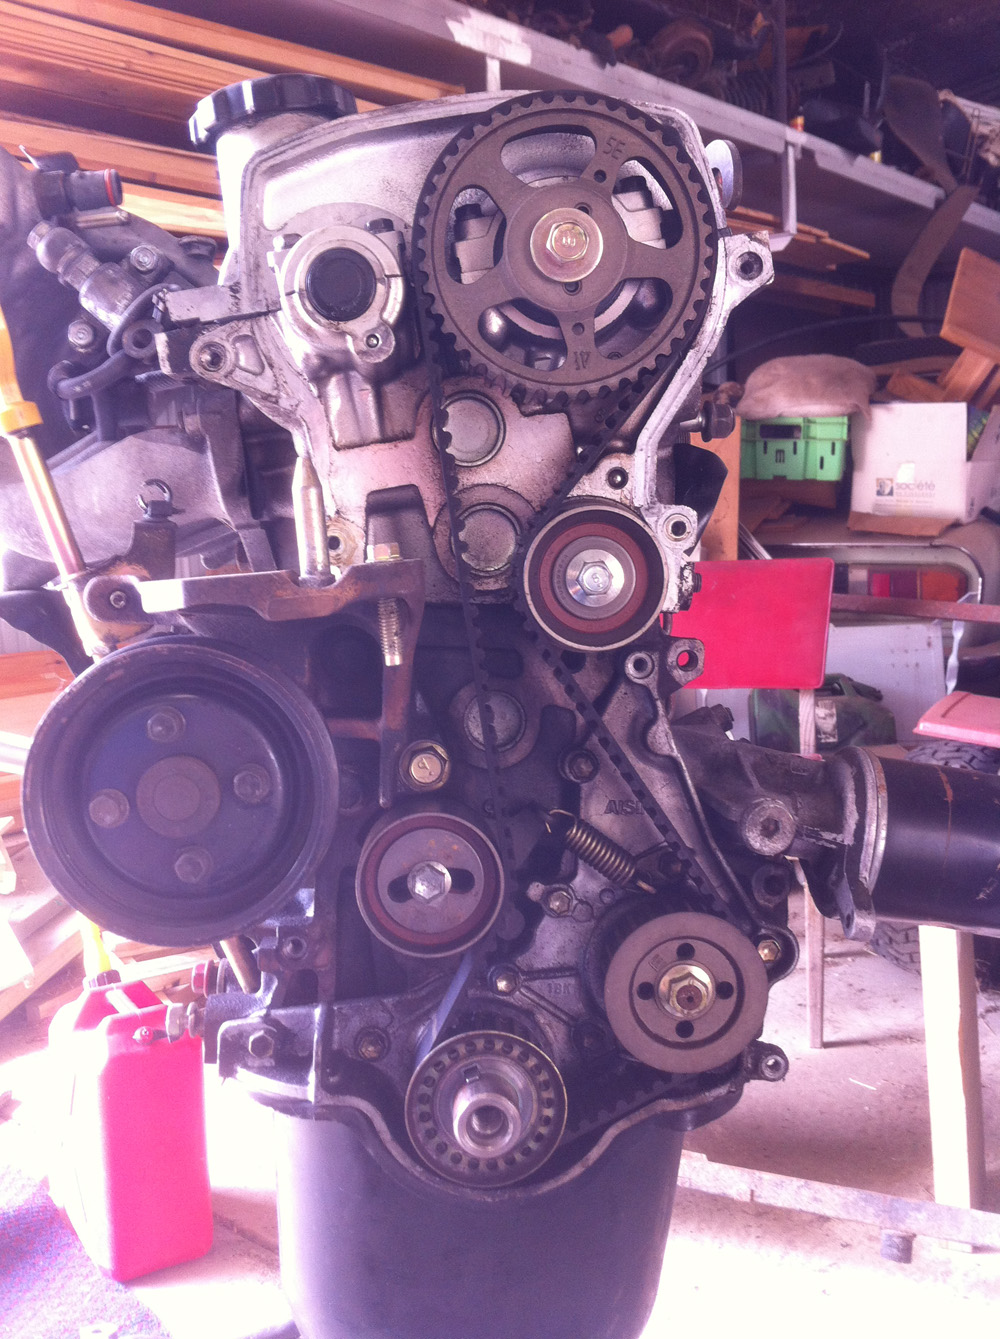
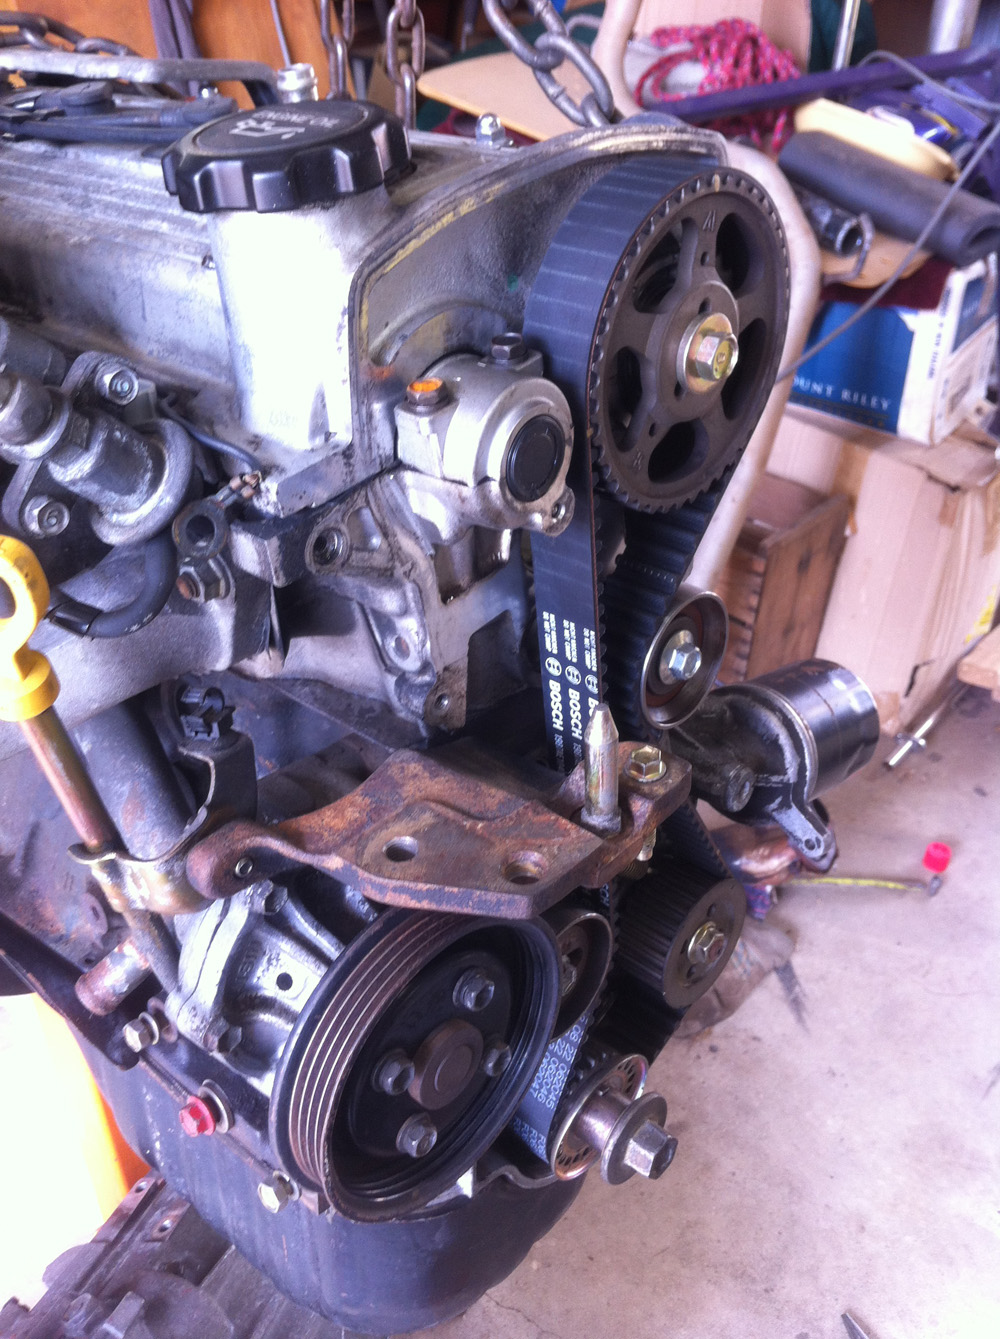
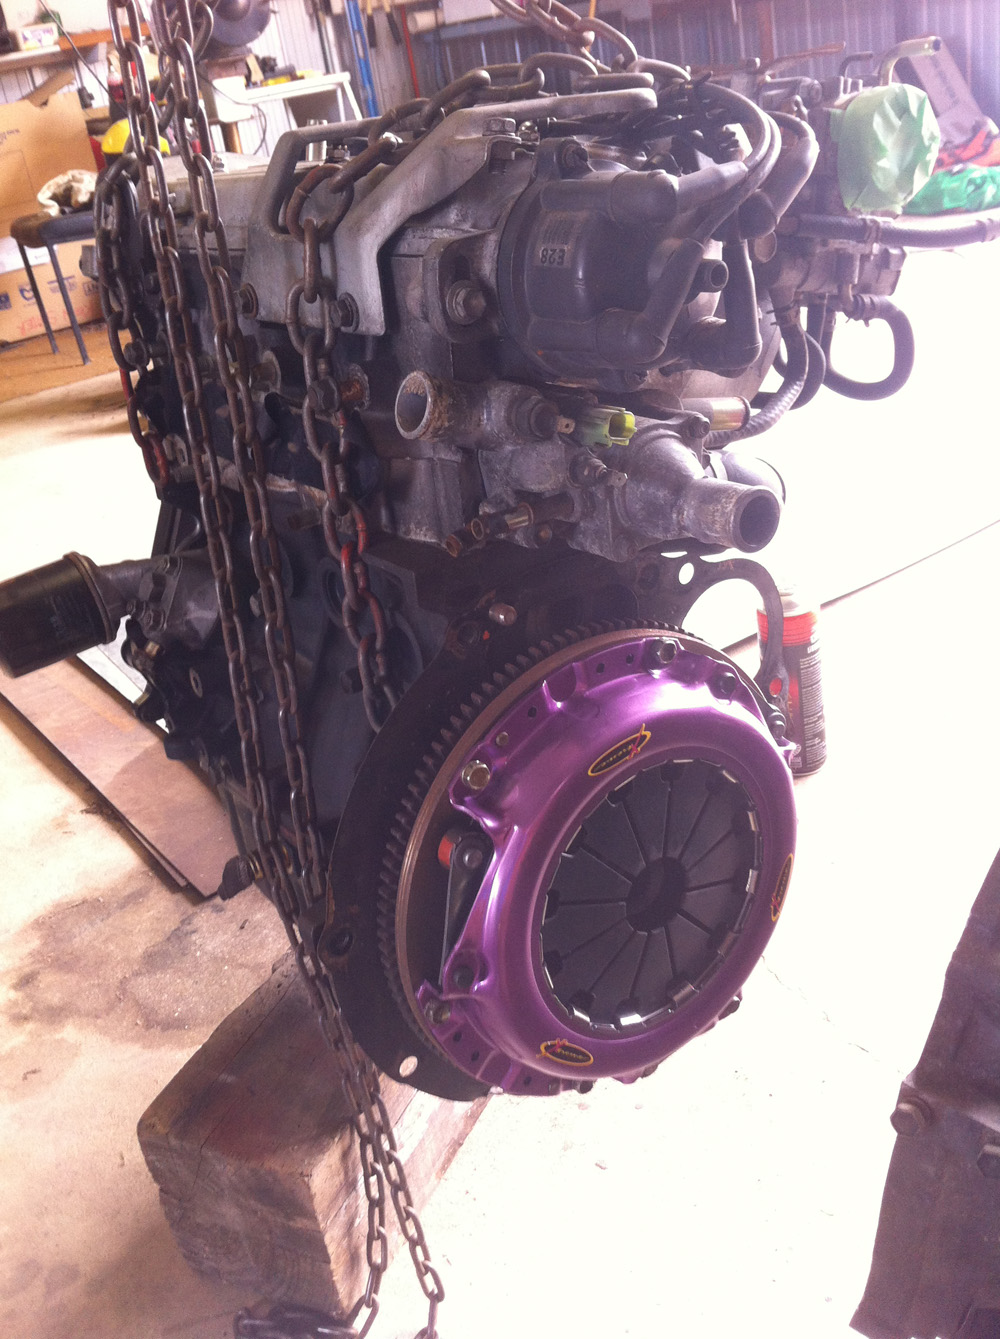
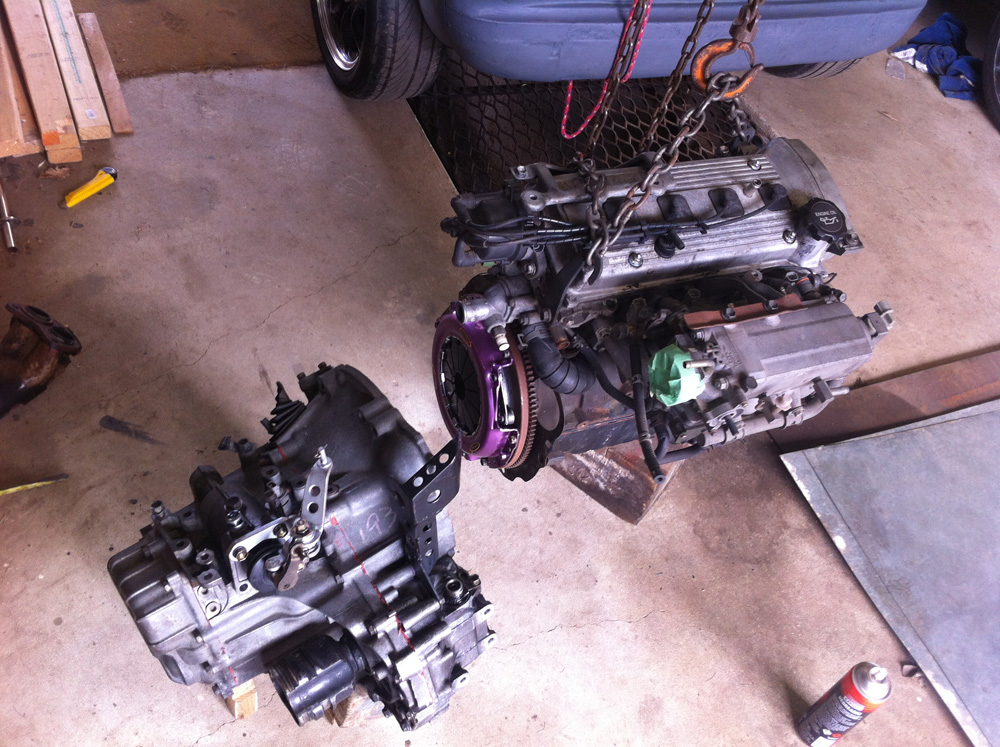
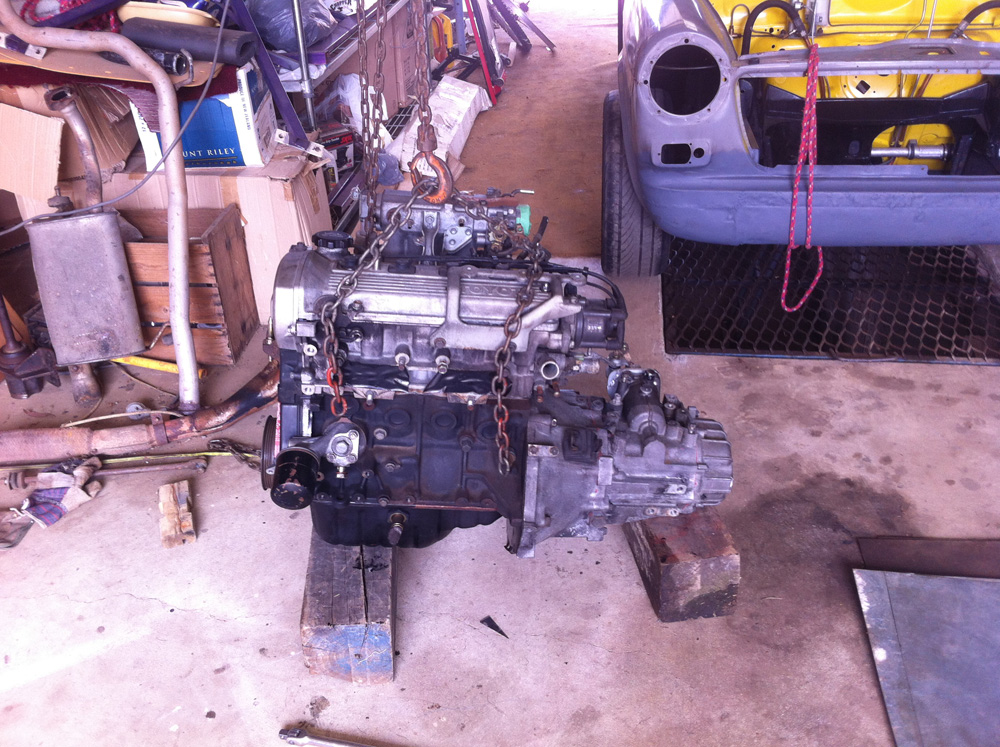
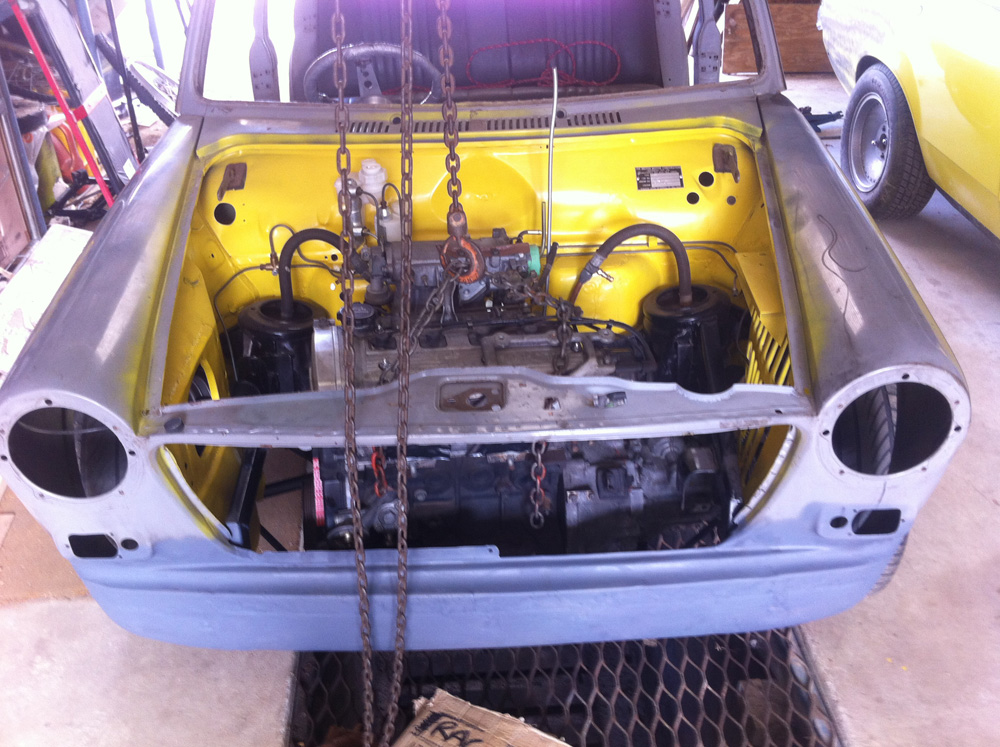
Next time I’ll look at creating some bumper irons to support this, and with no more welding required up front I’ll chuck the power plant in!

Cheers
Madmorrie

Author:  simon k [ Mon Nov 30, 2015 3:59 pm ]
Post subject:  Re: Madmorrie's 4EFTE Morris 1100 conversion

crazy luck with the bumper... maybe something like an Austin A40 Farina??

you will have people scratching their hears about the crank handle hole, unless you plan to weld it up and rechrome it

good ol' hard drive magnets too :)

Author:  madmorrie [ Mon Nov 30, 2015 10:19 pm ]
Post subject:  Re: Madmorrie's 4EFTE Morris 1100 conversion

Yeah, I reckon I'll leave the hole :D

Author:  hallsey [ Sat Dec 05, 2015 7:35 pm ]
Post subject:  Re: Madmorrie's 4EFTE Morris 1100 conversion

Good work Ross

engine in will be a good milestone

cheers Hallsey

Author:  madmorrie [ Fri Jul 08, 2016 12:01 am ]
Post subject:  Re: Madmorrie's 4EFTE Morris 1100 conversion

So, another six months of not updating my build thread...
Work has NOT ceased though. And to throw in an added incentive, I've sold the house and therefore the shed which it is currently residing in. This means that in the very near future it will have to be moved to it's Sixth!! build location, and I really would like to drive it out of that shed under it's own steam.

So what has been happening.

When we last left off I had done the last of the straightening on the front end was getting ready to put the motor and gearbox in.

Outside getting some sun.
Image

Image

So with a new timing belt, and a new heavy duty clutch kit, it was all bolted together and hung on the gantry to drop in.

Image

Image

Image

Image

Image

Image

Since then I fitted up a bunch of the parts I’ve been making for this thing and forgotten about. So as it stands it has a radiator now too. I was looking at trying to make a belt tensioner for the fan belt, but it occurred to me the other day to just try to source a new shorter belt so I’ll try that first. Sadly I have no pics of any of that.

And with the engine in the next thing to my mind was to get some paint on the rest of the car, starting with the boot.

Image

Which allowed me to fit up the fuel tank.

Image

And then I did the interior.

Image

And in case you’re wondering how you paint in country Victoria in winter…
Wool insulation and a fan heater.

Image

So then finally I got some paint on the inside. In the end you will only see the rail around the roof and the pillars, but I wanted it all nice anyway. It’s done in a solid two-pack yellow, and while it is full of crap, and has runs, where it counts it has come out pretty well. And I am so happy it’s done you literally can’t wipe the smile off my face when I sit in it. It’s my new happy place.

TOPCOAT!!!
Image

Image

Image

Image

Image

And all this means I can now start to put stuff in with some hope that it won’t have to come out again.

Image

Loving some progress:)

Author:  simon k [ Fri Jul 08, 2016 10:02 am ]
Post subject:  Re: Madmorrie's 4EFTE Morris 1100 conversion

woo hoo!!

Author:  OnSafari [ Fri Jul 08, 2016 3:21 pm ]
Post subject:  Re: Madmorrie's 4EFTE Morris 1100 conversion

woo hoo x2 !!!!

Author:  zulu_warrior1976 [ Tue Jul 19, 2016 3:48 pm ]
Post subject:  Re: Madmorrie's 4EFTE Morris 1100 conversion

Looking great

Author:  9YaTaH [ Sun Sep 11, 2016 8:28 am ]
Post subject:  Re: Madmorrie's 4EFTE Morris 1100 conversion

Great work 8)

Author:  jb007 [ Sun Sep 11, 2016 8:42 am ]
Post subject:  Re: Madmorrie's 4EFTE Morris 1100 conversion

Fantastic! Love the colour.... just like a Gemini coupe I once owned.

Sent from my GT-I9305T using Tapatalk

Author:  madmorrie [ Fri Dec 30, 2016 8:22 am ]
Post subject:  Re: Madmorrie's 4EFTE Morris 1100 conversion

Ok, my goal this holidays has been to get some life into this thing, that means starting on the wiring :o

First up was to mount the speedo. Ideally I'd love to get a 1300 GT style dash going in this thing, but since mk3 dashes are hens teeth in this country, for now I'll settle for hacking up the original so it works and just black wrinkle painting it. Started by folding up a piece of metal to add to the dash, this will hold the lower mounts of the starlet speedo housing, it needed to come out from the original location to get the angle right. Top mount yet to be worked out.

Image


Image


Image


Image


Image

Which once welded on with some captive nuts seems to work OK. Will arrange some kind of shroud and dash pad later on,

With that done I can start to see how much room there is for the rest of the tangled mess of wiring loom and what needs to go where.

Author:  madmorrie [ Fri Dec 30, 2016 8:32 am ]
Post subject:  Re: Madmorrie's 4EFTE Morris 1100 conversion

The thing holding me up from getting to the wiring for ages has been this hole, or more specifically the lack of it. I needed to cut through the firewall as the starlet loom needs to come back into the cabin up near the wiper motor. On the 1100 that means going through the plenum, which means two holes…

Image

Image
Cutting didn’t go entirely to plan so some JB weld we required to sort out a little tear.

Image
What was removed.

Image
The tool i needed to make to retrieve those bits from the deep, dark depths of the plenum space.

Image
So with that done from the engine bay side it’s looking like this. Will touch up the paint properly later on, for now it’s primed so it won’t rust at least.

Image
And from inside, with the other grommet I had to source…

So now I really can plug everything in and see where it needs to sit.

Author:  madmorrie [ Fri Dec 30, 2016 8:52 am ]
Post subject:  Re: Madmorrie's 4EFTE Morris 1100 conversion

I found that the lid on the fusebox didn't sit right, it was hitting the metal work and not opening properly. That would mean re-engineering the bracket to space it out slightly so it didn't foul. Or making some kind of spacer.

Image

I’m teaching myself CAD and playing with 3d printers a fair bit at the moment so for stuff like this, I’ll put those skills to work.

Image
One Cad design.

Image
ALDI 3d printer:)

Image

Image
Works nicely. Will glue it to the box so it doesn’t go missing.

Page 20 of 24 All times are UTC + 10 hours
Powered by phpBB® Forum Software © phpBB Group
http://www.phpbb.com/