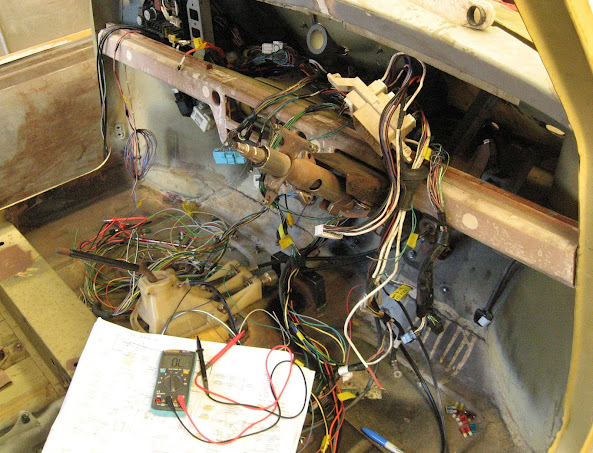
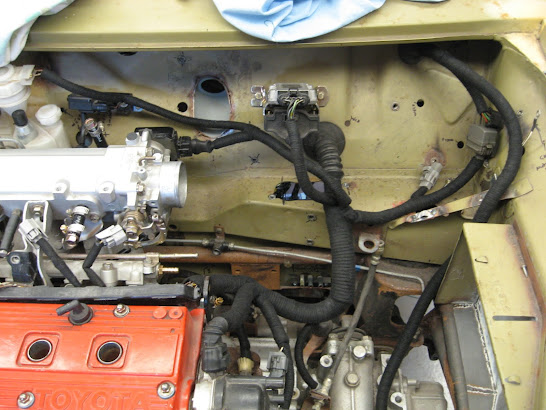
Cabin wiring! It had to be started at some point. This has taken a few months to get to this...
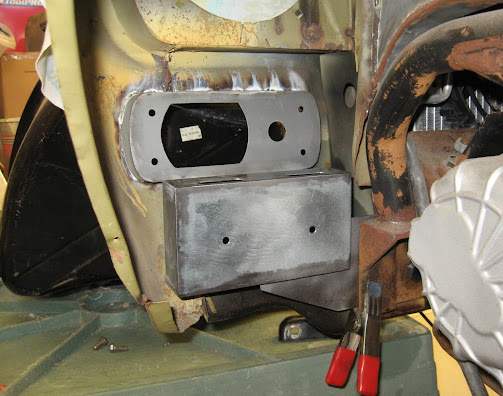
The cabin fuse box was mounted above the accelerator and with the cabin wiring loom plugged into the power distribution box (glovebox area), then the long task begam to route all the wiring and connectors to their known locations, grouping wires into sections and shortening/lengthening and crimping wires where necessary.

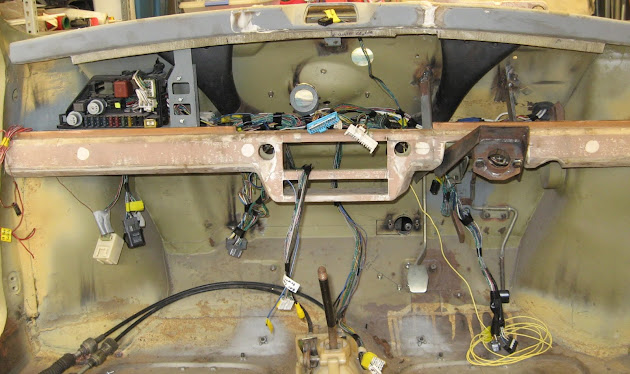
I also extended the rear wiring loom to reach to the boot and all wires that had to be extended were done so with the same colour/trace as the factory wiring. For the rear loom, I added several wires for - power for a boot light, reverse camera power & RCA video cable. The rear loom runs down the centre of the cabin and under the rear seat into the boot. The Mini will be registered as a 2 seater so pinching of any wires underneath the rear seat is not a worry.

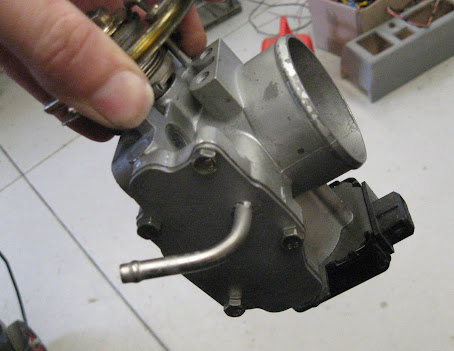
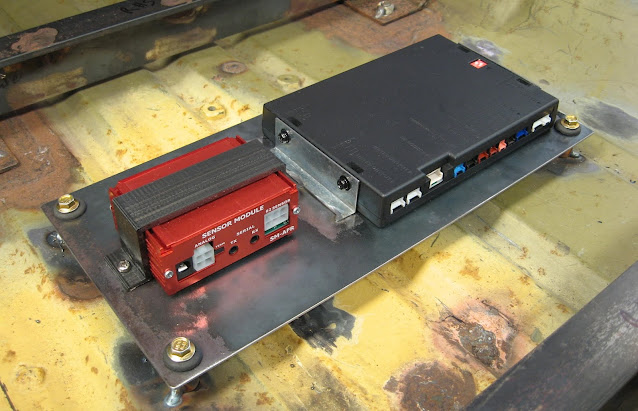
I also had to add wiring for my wideband controller and a digital display controller - these were mounted under the drivers seat as they were far too bulky to fit behind the dash. Various sensor bungs had to be fitted too - Inlet air temp just before throttle body, EGT in dump pipe, Wideband O2 sensor in lower dump pipe, Oil Pressure/Temperature in remote oil filter housing, coolant temperature in old A/C sensor port
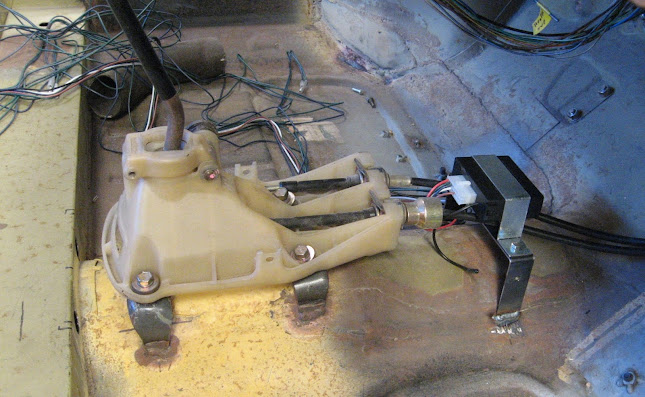
Then there was the central locking controller which was mounted underneath the centre console.
More new wiring was needed... I used the old A/C circuit/fuse for Cigarette lighter outlet, new USB charging ports in the dash and centre console, digital display & wideband controller. Note that the central locking controller has a constant 12V power supply.

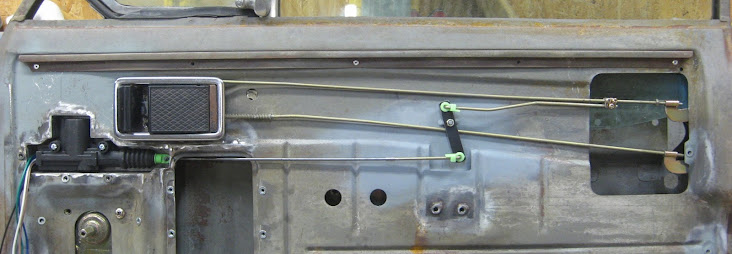
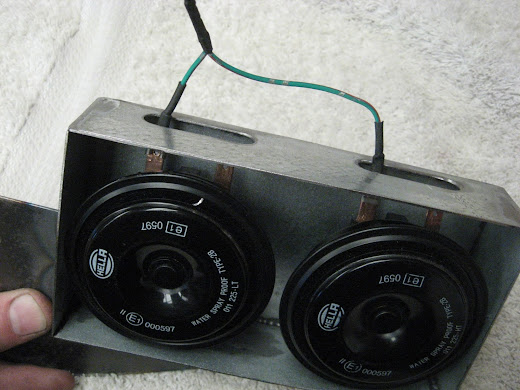
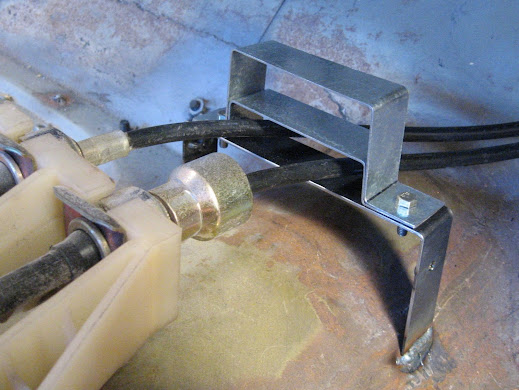
The wiring to/from the 15Amp (auto-reset) circuit breakers for the power windows were labelled.

_________________
-Alan
I blame my dad for my love of minis. I think I was conceived in the back seat of one

I also blame my Dad for me being 6' 1" - not really the optimum height for driving a Mini.