ausmini
https://www.ausmini.com/forums/

Mearcat 4E-FTE Clubman Build (Latest update 3-03-24 Pg 28)
https://www.ausmini.com/forums/viewtopic.php?f=23&t=60133
Page 10 of 28

Author:  Mearcat [ Wed Jan 04, 2012 11:46 pm ]
Post subject: 

Thanks Tricky.

The core size of the factory top mount intercooler is 185 x 185 x 65. The intercooler core that will fit under the limited space in the LHS of the slam panel is 15% larger than stock (270 x 190 x 50) even with 50mm width end tanks. The front mount position combined with an intercooler water spray controller should get some reasonable effeciency gains over the factory size & position - since I'm using the standard CT9 turbo and only tweaking the boost up a little over stock.

Time for an MDF mock up...

Author:  Archangel007 [ Thu Jan 05, 2012 8:22 pm ]
Post subject: 

Best of luck Al!!

Author:  Mearcat [ Mon Jan 30, 2012 3:33 pm ]
Post subject: 

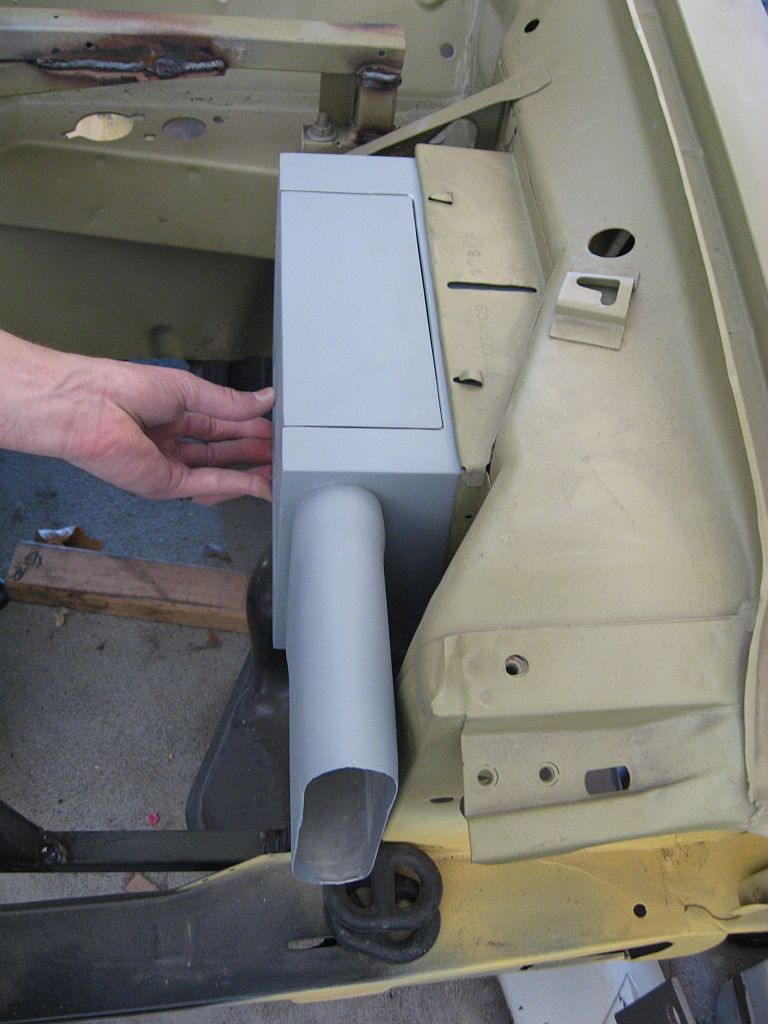
I drove around Perth just before Christmas getting some local quotes and have been quite shocked at the quotes I've been getting for fabricating the radiator and intercooler. The 3 quotes ranged over $780-950 for the radiator and $600+ for the intercooler so I'm also getting some quotes from overseas to get them fabricated.

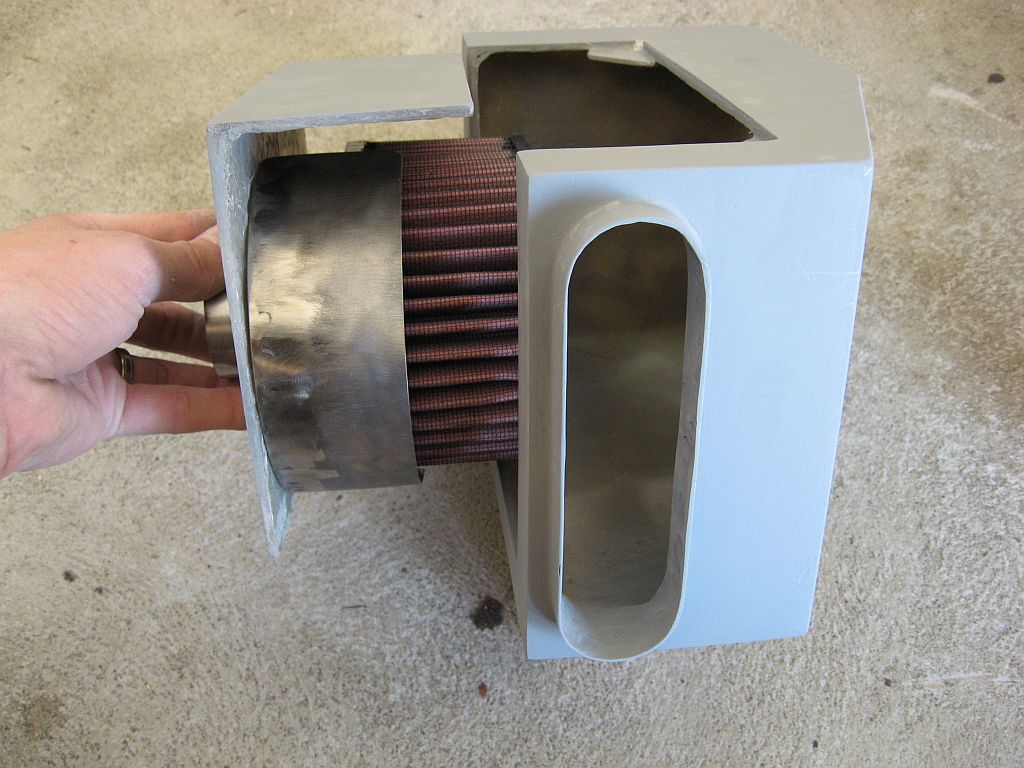
The intercooler will be front mounted under the slam panel - sized at 370W x 180H x 60mm about 20% larger than the factory one - but the biggest improvement will be from being front mounted as opposed to the factory top mount position. There will also be my own electronic intercooler water spray controller installed too which I have used before on a previous car and it improves intake temperatures heaps.

Image

The design of the radiator has been tweaked slightly to stop the lower hose fouling against the (Davies Craig) thermofan, and the upper hose inlet has been moved to allow room to fit an inline temperature sender adapter in the hose.

Here are a couple of pics of the final designs (both pics are not the same scale)
Image

Image


I had purchased a HKS adjustable wastegate actuator and when I installed it, I found when using the bracket that was supplied with it, the actuator sat in a different position to the factory wastegate actuator. The actuator diaphragm casing was too close to the front panel, and the actuator inlet was going to foul against the back of the front mount intercooler I designed.
Image

So I made a new mounting bracket similar to the HKS one. Here is the new mounting plate compared against the HKS mounting plate (both bolted onto the turbo compressor housing).
Image


A side effect of moving the actuator closer to the turbo is that the rod no longer lines up with the wastegate connection.
Image

This was easily solved by cutting the rod and welding in a new section of rod with a slight dog-leg in it.
Image


While I had the turbo off, I figured I'd get the tubular exhaust manifold ceramic coated and fit that as well but I wanted the new manifold hidden and had long since thrown out the factory manifold heat shield. I made one out of some 0.8mm steel from an old cabinet I cut up.

The factory manifold has three bolt mounts on it but the aftermarket one only had a single hole, so I had to weld some upright rods with nuts to allow me to mount the sheet on it. With no factory shield to compare it to, I used a nominal clearance of ~10mm between the sheet and the manifold tubes.
Image


The end product, which will be blasted and painted.
Image

Image

Author:  Kennomini [ Mon Jan 30, 2012 6:23 pm ]
Post subject: 

Nice and neat but a bit of a shame hiding those cool bends in the manifold.

Author:  Archangel007 [ Mon Jan 30, 2012 7:11 pm ]
Post subject: 

Yes Al, nice work there mate.

Keep it up!!

Author:  Mearcat [ Mon Jan 30, 2012 8:40 pm ]
Post subject: 

Kennomini wrote:
Nice and neat but a bit of a shame hiding those cool bends in the manifold.

The main reason for hiding those cool bends is because I didn't get approval for that specific manifold in my modification application to the Dept of Transport, so it's just my paranoia... hide it so they can't pick on it.

Author:  Kennomini [ Tue Jan 31, 2012 10:05 pm ]
Post subject: 

:shock: They seriously need to approve your exhaust manifold :shock: So long as it doesn't leak it should be good enough, stupid government :roll:

Author:  madmorrie [ Tue Jan 31, 2012 11:07 pm ]
Post subject: 

It's probably a pollution control thing. Engine must be as per the manufacturers specs, who made it to comply with whatever regs, therefore if you change something it alters that. Yes the manifold probably won't change emissions that much, but try telling that to a pen pusher who will just point to the rule in the book and shake their head.

Anyway, I reckon that looks pretty good, you just need to panel beat in the word 'HOT' into the top of that and it will look fully factory and no one will ever pick it...

Madmorrie

Author:  Mearcat [ Wed Feb 01, 2012 12:13 am ]
Post subject: 

Sorry guys - Let me clarify the lack of approval.

It's not that they didn't approve it. I didn't include the manifold in the original application because I hadn't thought of fitting one when I submitted the application. Given the hoops I've already jumped through, I can't be bothered resubmitting the application to add that one thing. It will be easy enough to remove the heat shield after registration.

Author:  Archangel007 [ Wed Feb 01, 2012 8:21 pm ]
Post subject: 

It doesnt affect anything Alan and they dont need to know about it - simple!!

Author:  JC [ Thu Feb 02, 2012 1:13 am ]
Post subject: 

Be VERY VERY careful around the top right hand side stud/bolt where manifold bolts to the head. The stud is prone to coming away from the head. Trust me, I was unfortuante enough to find out the hard way.

If you're concerened about it Alan, can't just fit the factory manifold? Its a pretty easy sawp if its something you're going to lose sleep over.

Great to see progress. Keep up the good work.

JC

Author:  Mearcat [ Thu Feb 02, 2012 10:55 am ]
Post subject: 

JC wrote:
The stud is prone to coming away from the head

:shock: For info for others - here's what happened http://austarletclub.com/index.php?/topic/9861-1996-starlet-life/page-3
http://austarletclub.com/index.php?/topic/9861-1996-starlet-life/?p=111432

Author:  Mearcat [ Wed Feb 29, 2012 8:39 pm ]
Post subject: 

My wife has given birth to our first child (Girl) 4 weeks early and with my wife in hospital for a while (1wk in, a few days out then another 1wk back in hospital :shock: ), I've been a bit busy with other stuff to get much done on the Mini. However I have ordered the fabrication of the intercooler and radiator and got some spare time while bub and Mum have been sleeping to install/design the airbox. I even found out that our girl can indeed sleep through the repeated use of an angle grinder :D

I decided to use my favourite material fibreglass for this job and have a K&N universal "pod" filter enclosed in a box mounted in the standard Mini radiator location.

After finding an appropriately sized filter, I mocked up an initial design in MDF and then replicated it in fibreglass. After mulling over various ideas on the easiest way to mount, remove and clean the filter, a simple access panel seemed the best idea bolted on with the help of rivnuts

Image

The filter would be mounted directly onto the back of the access panel with a custom bracket so that all I had to do would be remove a single part of the intake piping and the four screws holding the panel on and pull the filter out.

The airbox would also need to be a cool air feed and when I designed the radiator, I already considered this and left a gap between the radiator and the inner guard for a 40mm wide duct.

So this is what I ended up with
Image

Image

My only concern at this point was the duct would feed air directly on to the filter surface and quickly clog up the filter face with dirt and bugs so I welded an extra piece on to the filter mount bracket which would redirect air around the front of the filter to the rest of the airbox
Image

Image

The airbox is bolted to the factory radiator grills "ribs" with four M6 bolts.
Image

Image

The section that was trimmed to fit the subframe spars was also cleaned up so avoid leaving any jagged edges - I simply welded on some thick clothes hanger wire to secure it.
Image

Author:  Archangel007 [ Sun Mar 04, 2012 5:55 pm ]
Post subject: 

Mearcat wrote:
My wife has given birth to our first child (Girl) 4 weeks early and with my wife in hospital for a while (1wk in, a few days out then another 1wk back in hospital :shock: )


A huge and personal congratulations for me and from all of us here on Ausmini with regards to the birth of your first child Alan. Welcome to fatherhood!!!

I hope mum makes a full and complete recovery and everything goes very smoothly and your wife comes out soon. Good work mate and well done - congratulations again!!

Cheers,
Tricky

P.S. - Good work on the Mini too and make hay while the sun shines mate!!

Author:  Mearcat [ Tue Apr 10, 2012 1:41 pm ]
Post subject: 

Minor update - I've got the tubular exhaust manifold back from getting ceramic coated in satin black (double coated on inside, single coat on outside) and fitted it with a new gasket. After JC's issue of pulling the stud out of the aluminium head, I made sure that the bolts were tightened to the factory spec of 45Nm.

Image

The custom radiator and intercooler have been fabricated so now it's just a matter of trying to get enough time outside of household, family & newborn baby responsibilities to get the IC & rad mounts done and then all the intake piping routed and welded. I'm starting to go batty not having enough spare time to work on the Mini!

Page 10 of 28 All times are UTC + 10 hours
Powered by phpBB® Forum Software © phpBB Group
http://www.phpbb.com/