ausmini
https://www.ausmini.com/forums/

Mearcat 4E-FTE Clubman Build (Latest update 3-03-24 Pg 28)
https://www.ausmini.com/forums/viewtopic.php?f=23&t=60133
Page 11 of 28

Author:  Gordo [ Tue Apr 10, 2012 3:03 pm ]
Post subject: 

Mearcat wrote:
it's just a matter of trying to get enough time outside of household, family & newborn baby responsibilities to get the IC & rad mounts done and then all the intake piping routed and welded. I'm starting to go batty not having enough spare time to work on the Mini!


I'm hearing you! Good luck with it bud, at least there is still forward progress

Author:  cazmo [ Wed Apr 11, 2012 1:18 pm ]
Post subject: 

Quote:
I'm starting to go batty not having enough spare time to work on the Mini!


Welcome to fatherhood mate.

The mini looks great, can't wait to see the finished product.

Author:  Sam W [ Sat Apr 21, 2012 12:30 pm ]
Post subject: 

Hi Alan,

Great thread! Just spend last night and a few hours today reading through it all, so impressed with the high quality of your work, the attention to detail, the beautiful paint job on the engine! I will be following this project through to completion, really inspiring work!

Cheers, Sam

Author:  Mearcat [ Sun Apr 22, 2012 11:30 pm ]
Post subject: 

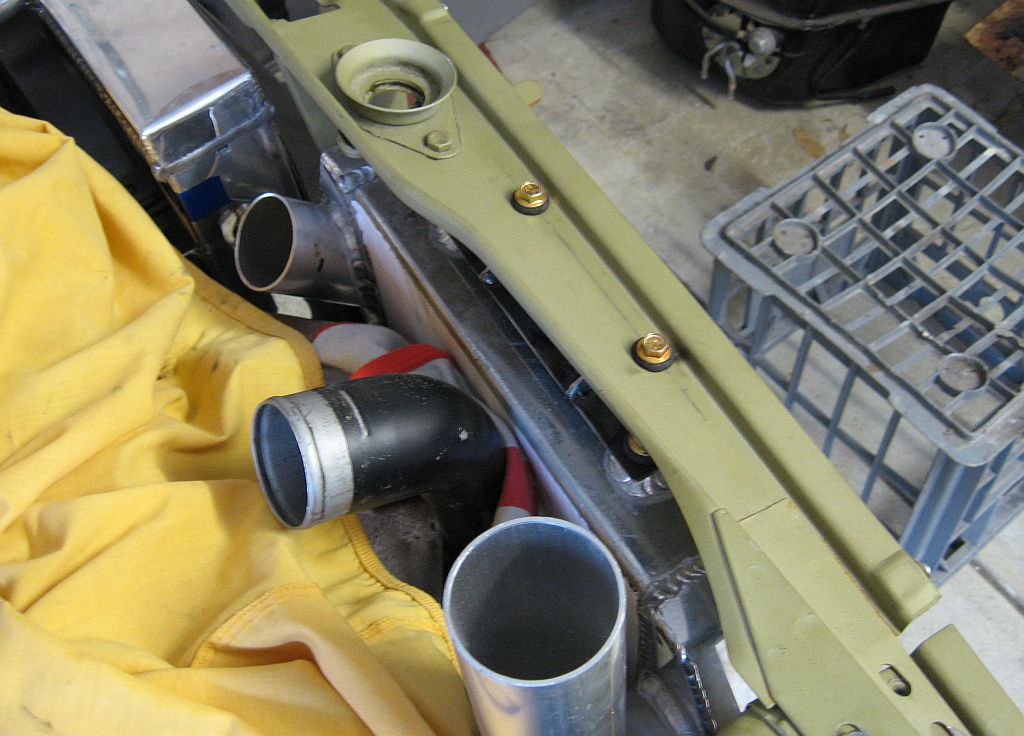
I have completed all the brake and clutch lines in the engine bay, bending up all new lines (from standard 3/16" brake line)

It's easy work but just very time consuming and also very easy to make a mistake in a bend angle or position if you're not paying attention. All the lines in the engine bay you see here took over this weekend approx 5-6 hours to do but there was a LOT of checking, double checking and one mistake in which I had to scrap the line and start again.

Here's a quick pic showing off the nice double/invert flare that can you achieve from a relatively cheap ($60) double flaring tool (after a heap of practice runs to get the technique right :) )

Image


The final layout of the brake and clutch lines. It's worth noting here that the reason for the brake line coming out of the lower brake master cylinder port and making a bit of a convoluted path to the lower firewall was due to a small clearance issues with the intake manifold. The lines will also have a few nylon P-clips to hold them in place.
Image


Instead of trying to make one huge one-piece brake line leading from the master cylinder to the rear subframe, this brake line will stop just after the subframe "wings" and then join (with a female-female joiner) to another long piece that runs the length of the floorpan
Image

You can see here how the line for the front brake is routed around the subframe tower. I won't know how long to make the vertical part until I fit the brake assembly and weld another tab (for mounting the flexible brake hose) onto the subframe.
Image

Author:  Archangel007 [ Mon Apr 23, 2012 7:05 pm ]
Post subject: 

That all looks very familiar Al...

Good work champ!!

Author:  Mearcat [ Sun Jul 29, 2012 10:11 pm ]
Post subject: 

My radiator and intercooler have been fabricated and installed with all the pipework made as well. I got both the intercooler and radiator custom made in China, considering the ridiculous prices I was quoted locally here in Perth and and I am quite happy with the quality end product and of course the price :)

The radiator uses the factory Starlet lower rubber mounts in a bracket that's attached to the front subframe bar (the one that joins to the two spars together). I had two 6mm diameter pins welded onto the underside of the radiator to slot into these mounts.

Image

Image

The upper mount is a simple bracket with a grommet for vibration isolation
Image

The rubber pipes are easy. The lower pipe is actually the factory one in a reversed direction and trimmed! This is the only pic I have of it - from my mock up from a long time ago.
Image

The upper hose is a tight squeeze past the thermofan shroud so I have had to use three bends from various 30mm ID hoses to get something that works. I have had to trim the shroud slightly and still have to make a small bracket/clamp that will hold the hose closer to the engine and stop it from rubbing on the shroud.
Image

I have installed an adapter which I will use for the temperature gauge thermocouple.
Image

The intercooler is where my conversion differs from everybody elses so far on ausmini. I chose to utilise an air-to-air IC in much more discrete front mounted position behind the grille. The 60mm thick IC (and slightly larger core volume than the factory IC) will be mounted behind the front grille and eventually painted black. There are two bolts holding the IC onto the bumper and a top bracket with some more grommets (to allow for some movement since it's pipework is very close to the turb outlet - the IC can actually move up to ~4mm as the engine revs/rocks)
Image

Image


The pipework has also been completed in 2"/51mm mild steel. I can hear the people now... "why didn't you make it from aluminium?". Well simply because my budget is currently quite tight and can't justify the extra cost of ally and TIG work when I can weld steel myself. The pipes will ultimately be blasted, painted (and wrapped?). There is a reducer pre-turbo since the turbo inlet is only 40mm diameter.
Image

This pic shows the (fully welded) airbox to turbo pipe and shows the 51mm-40mm silicon reducer for the turbo inlet
Image

Author:  meeni [ Sun Jul 29, 2012 10:19 pm ]
Post subject: 

Looks very neat and tidy! Good stuff

Author:  willy [ Sun Jul 29, 2012 10:28 pm ]
Post subject: 

Nice brake lines brother!
Something about neat brake lines that gets me excited.

:D

Author:  Archangel007 [ Mon Jul 30, 2012 9:09 pm ]
Post subject: 

willy wrote:
Something about neat brake lines that gets me excited.

:D


That's disturbing!!

:shock:

Yep, nice work Al!

Cheers,
Tricky

Author:  Mearcat [ Mon Aug 06, 2012 10:00 pm ]
Post subject: 

willy wrote:
Nice brake lines brother!
Something about neat brake lines that gets me excited.

:D


Well here's another one to keep you excited. Not much, just the clutch line I bent up this evening. From this photo angle, it's looks like parts of it have been hand bent (perish the thought!) but each bend keeps the clutch line nice and close to the gearbox.

Image

Author:  Mearcat [ Tue Nov 13, 2012 11:35 pm ]
Post subject: 

It's been a few months since the last post and I haven't really got much more done. However I did fit in a 6 week UK/Europe holiday :)

I decided I will be using the Mini steady bar on the Starlet engine at some point but for now, only a Turbosmart blow-off valve with 25mm intake/outlets has been installed between the pre & post turbo intake piping. I love the Kompact series thanks to their OEM look and being much smaller than the normal BOVs. And yes, I'm aware that the Turbosmart BOV is installed with the ports the wrong way around when I took the photos.
Image

The disappointing thing now is that we have decided to move house, probably beginning of next year. The downside - the new place need lots of work & renovations and won't get time to work on the Mini. On the upside, when the renovations are finished I get a new 7x7 garage all to myself instead of currently sharing a double garage with the wife's car. So don't expect any updates for a fair while :(

Author:  hallsey [ Wed Nov 14, 2012 8:11 am ]
Post subject: 

Engine steady bar is a brilliant idea

I had heaps of movement in mine to the point it was bending the
brake lines on the master cylinder, engine was rocking about 20mm.
I put some powerflex poly engine mounts in which solved the
problem but gave the car a lot more vibration than the rubber mounts.

Good about the house move bad about no worky on the car
good luck with it ,hope its not too long

Cheers Hallsey

Author:  Archangel007 [ Wed Nov 14, 2012 10:56 am ]
Post subject: 

Hi Alan,

Yes, it concerned me too about the engine movement and I guess it depends on the condition and age of the standard mounts. Some people say it moves, some say not at all.

If mine prove to be unsatisfactory, I am going the Powerflex mounts like Hallsey. But I agree, engine steady is a good and cheap option - well done!!

Ahh yes, moving house, I know what thats like. Looks like we will be moving too come mid-next year. The shed will be a huge bonus and allow you to complete the conversion twice as fast!! All the best with it Al!!!

Cheers,
Tricky

Author:  glenno [ Wed Nov 14, 2012 5:20 pm ]
Post subject: 

I did almost the same with my throttle pedal-moving where it came through the bulkhead to a higher position and also lengthened as you did.
What resulted was a very sensitive throttle - because of the change ie lengthening, it has changed the leverage and causes the throttle cable to travel further for a given foot movement - made my car very uncomfortable to drive.
To over come this, I sourced another stock pedal, kept the new higher bulk head position of the cable, bolted the pedal in to suit (will have to use nuts and bolts through firewall) and then simply lengthened on the other side of the fulcrum ie made the pedal contact rubber further down the floor.
The throttle is way less sensitive and makes the car better to drive.

Very tidy brake line work by the way, very nice workmanship indeed

Author:  arjay [ Thu Nov 15, 2012 11:39 am ]
Post subject: 

@glenno

could you possibly post an image of this modifcation.. I've also found the pedal to be very sensitive whilst driving. I tried attaching a spring midway from the pedal to firewall - to the pedal assembly bracket. Worked rather well but the spring was quite firm and became quite annoying after a while.

Page 11 of 28 All times are UTC + 10 hours
Powered by phpBB® Forum Software © phpBB Group
http://www.phpbb.com/