ausmini
https://www.ausmini.com/forums/

meeni goes modern.. ish. suzuki g13b conversion
https://www.ausmini.com/forums/viewtopic.php?f=23&t=75755
Page 1 of 29

Author:  meeni [ Thu Mar 01, 2012 7:55 pm ]
Post subject:  meeni goes modern.. ish. suzuki g13b conversion

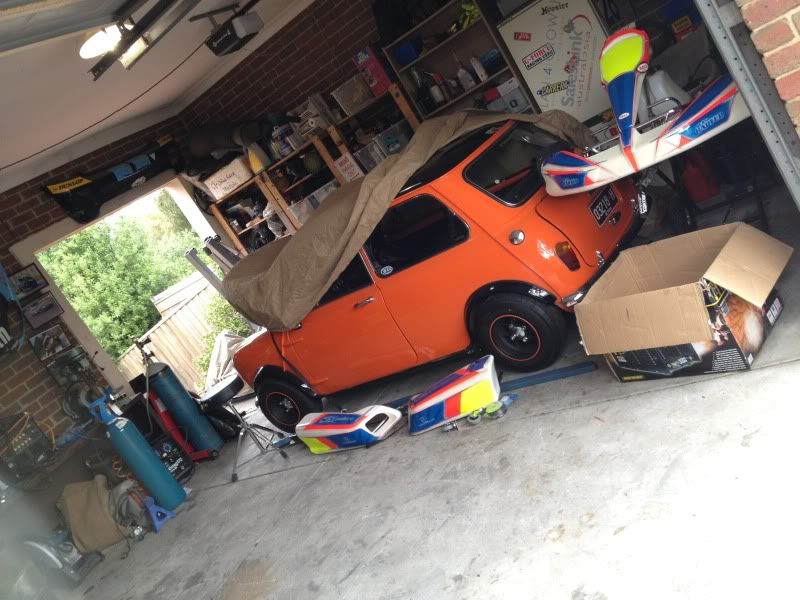
well its happening! and this will eventually be a build thread

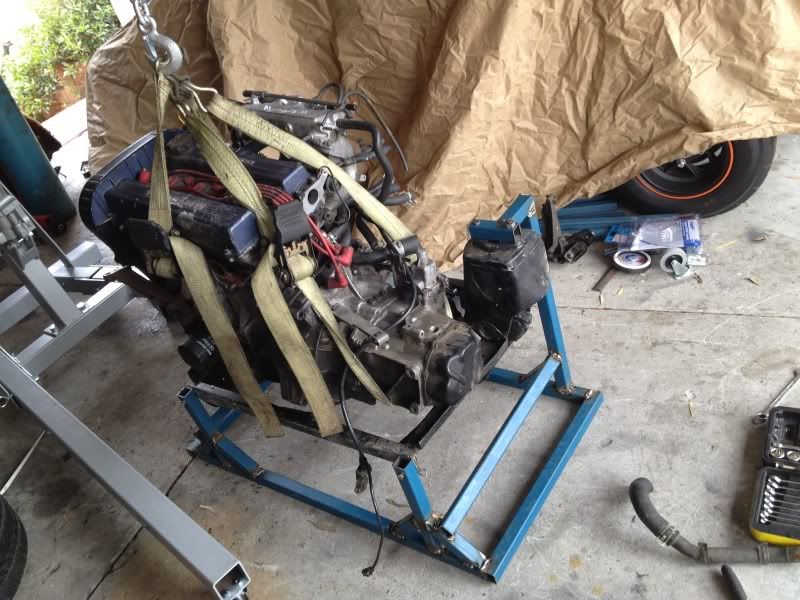
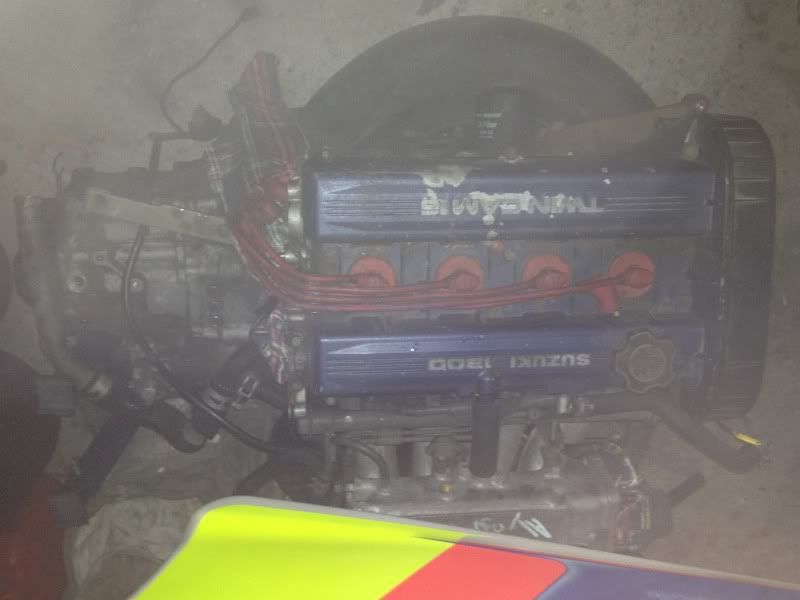
picked up a g13b today, its a mk2 engine, was cheap as chips and came with a full loom and all the bits that go with it so even if it just works as a mock up its worth it..

so, hopefully by this time next year meeni will have a suzuki lump motoring him along.

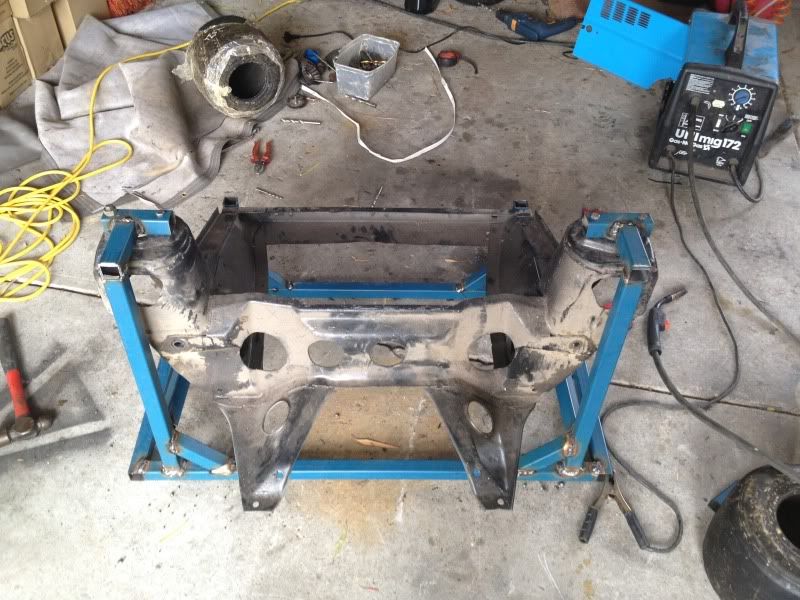
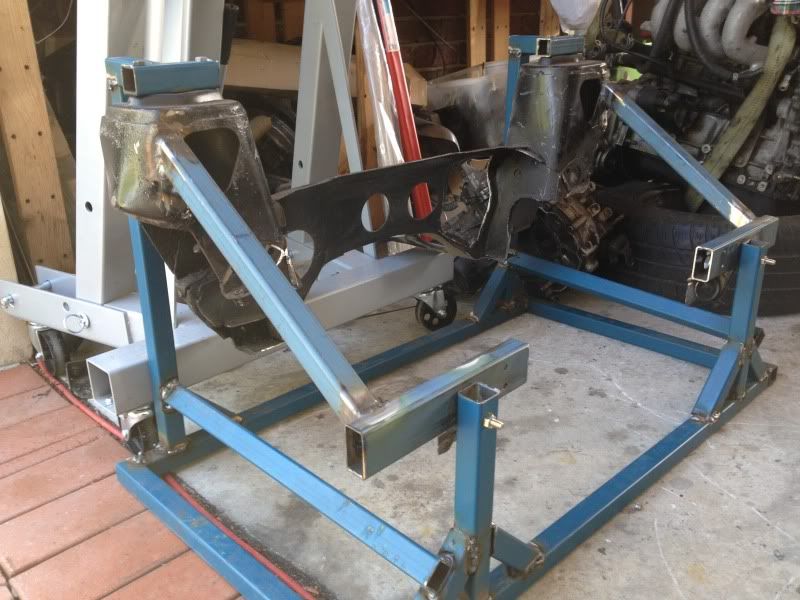
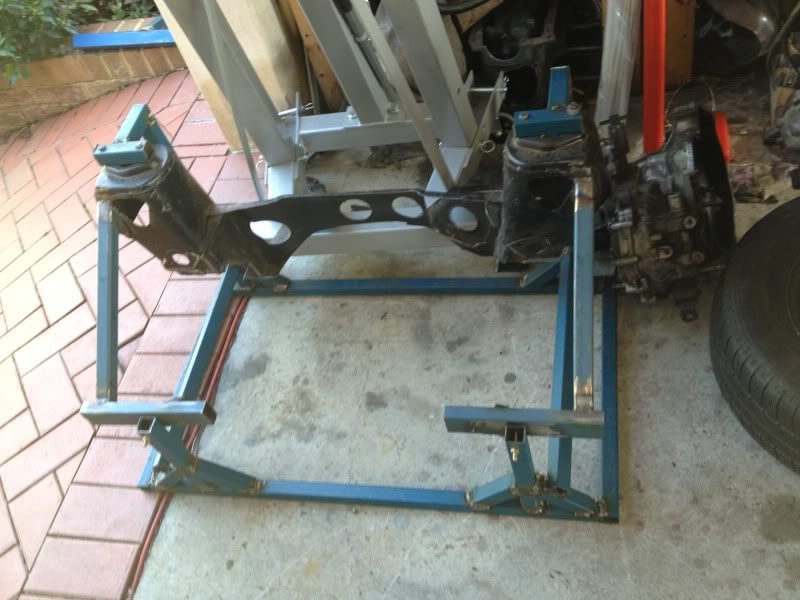
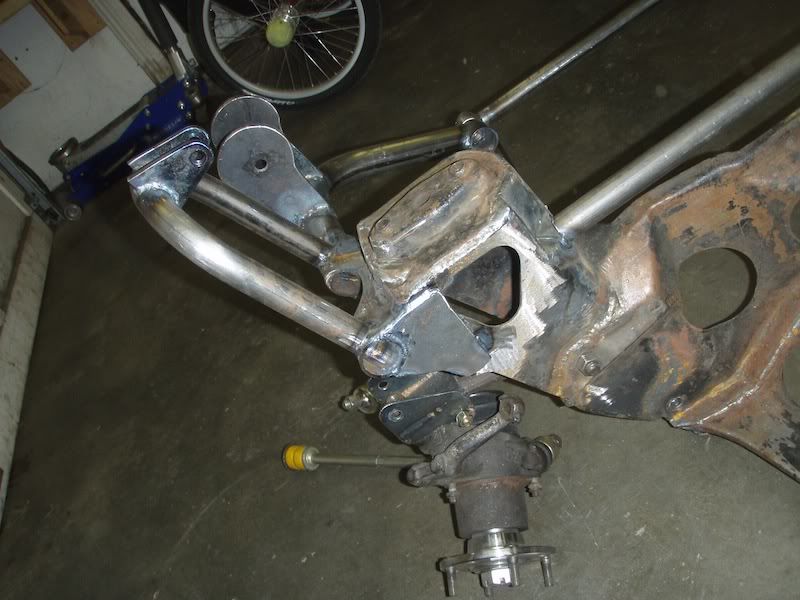
my plan of action (and one that the engineer thinks is a good idea) is to build it all up into a front end that i bought a couple of weeks ago, make sure its all feasable and built to a sufficient standard by the engineer, then i can transfer everything into meeni which will minimise the time the car is off the road and il be fitting it in conjunction with a body freshen up and respray so really the car will be off the road anyway! happy days.

il begin my subframe jig on the weekend and depending on the time i have maybe get some subframe built, but that can take as long as it wants as im in no real rush..

my one question, and its a fairly basic one, but essential, what thickness steel tube are most guys using? im going to head out and get some tubing and a piece of flat plate to make engine mounts etc out of, i just need to know what i need (not type of steel but just the sizing, ie 2mm tube and 3mm plate blah blah..)

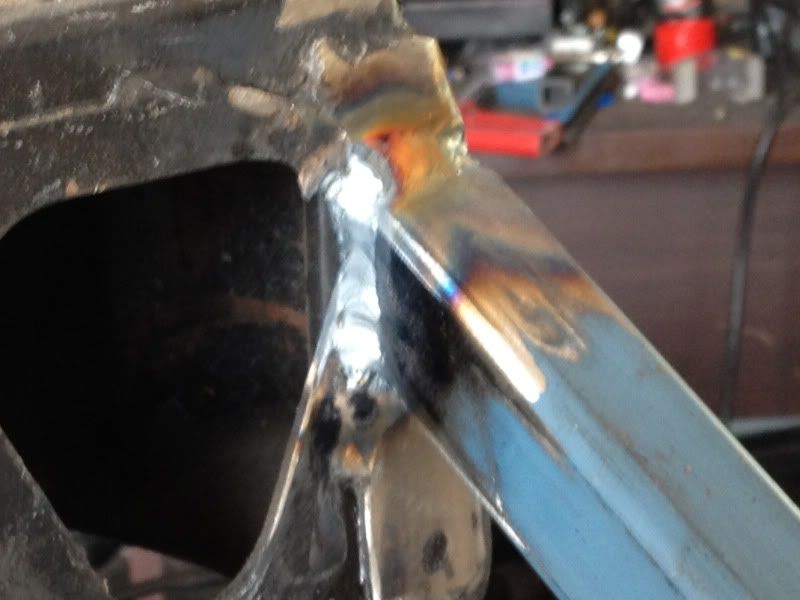
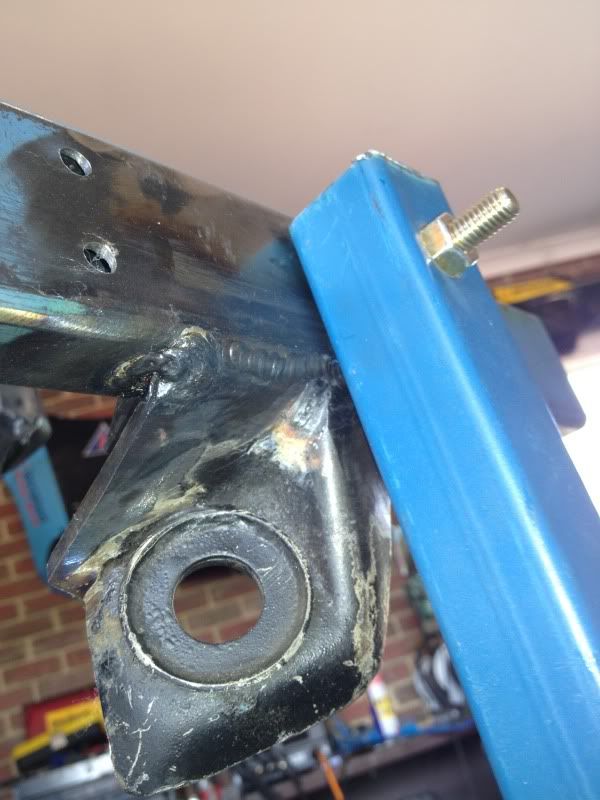
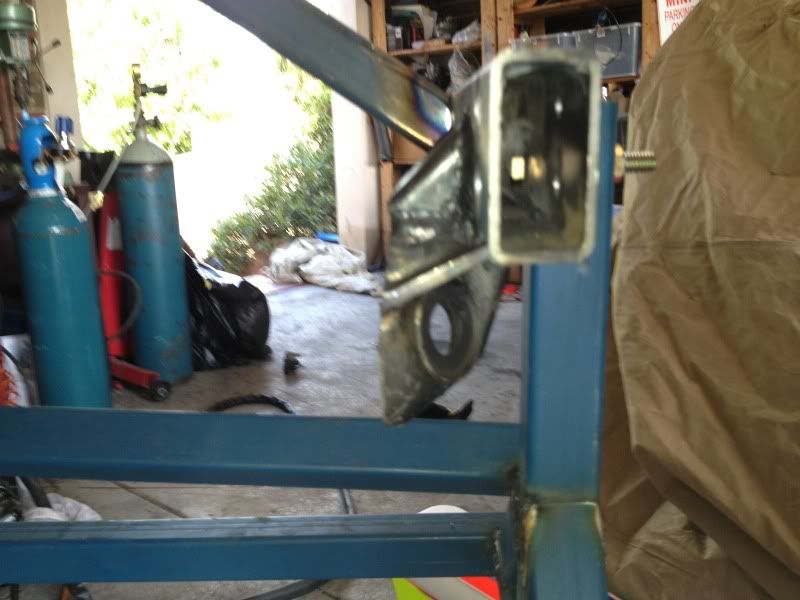
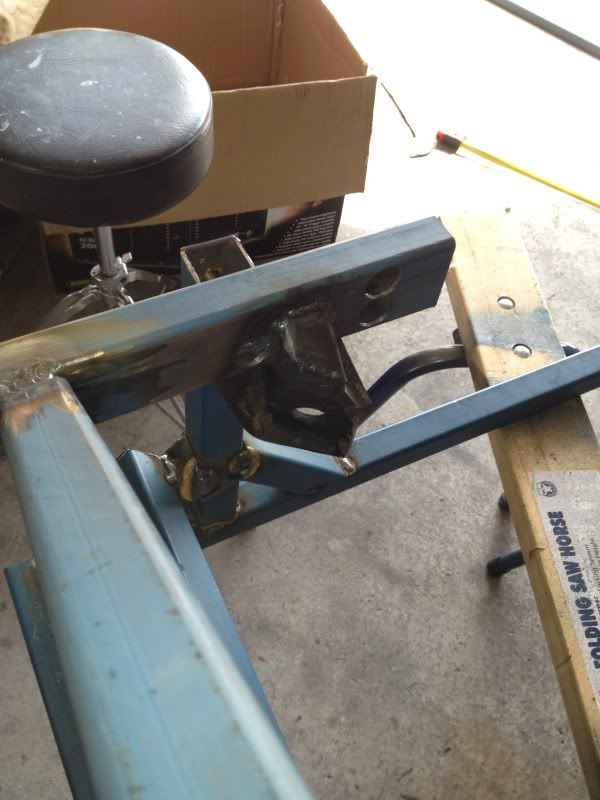
anyway expect some updates and pictures that arent hiddeous in the not to distant future, but for now, heres one hiddeous one :roll:

Image

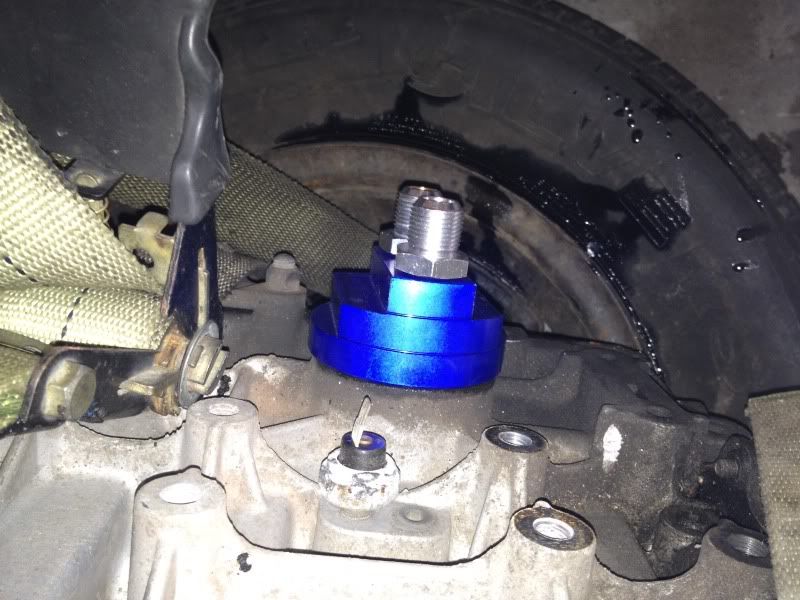
oh and i made another purchase relating to the build:

Image

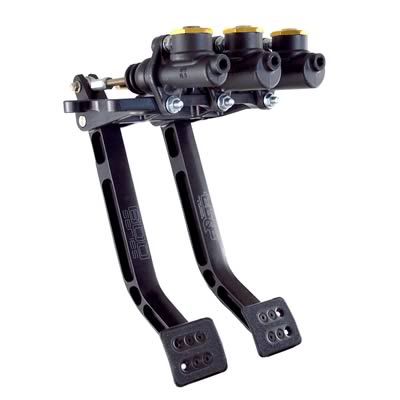
the fun part about these will be getting the rear brakes working right, but i'l make it happen.

Author:  JC [ Fri Mar 02, 2012 3:13 am ]
Post subject: 

FYI - You can buy a clutch slave cylinder off another suzuki (the exact model escapes me) and it bolts directly to the gearbox. It will save you having to stuff around with the cable operated clutch.

Author:  meeni [ Fri Mar 02, 2012 8:33 am ]
Post subject: 

Yeah was going to either do that or do a racing generic clutch master. Did you know any steel thickness off te top of your head?

Author:  JC [ Fri Mar 02, 2012 9:11 am ]
Post subject: 

i actually have at home the "templates" used by bluemin for his gti frame. I was meaning to send them to him but I never got around to it. I personally wouldn't start on anything until you have guidance from an engineer who is goign to sign on the dotted line on your behalf.

Not sure if yours was a typo or not but I mean SLAVE cylinder, not Master. It really does make the clutch a much easier solution it it just bolts together.

Author:  meeni [ Fri Mar 02, 2012 9:42 am ]
Post subject: 

Yep typo, and my engineer basically said start build a mock up and il tell you what's right and wrong..

Author:  meeni [ Fri Mar 02, 2012 6:13 pm ]
Post subject: 

bought some steel today and made a subframe jig up.. spent most of the time adjusting my welder, and discovering something not quite right in the trigger region which is letting gas out before it gets to the nozzle.. so some average welds occured, but its sorted now so they (should) be good when i go to weld the actual frame up..

Image

thats all i need to do right? :lol:

Image

have a freeish weekend so i might get a little bit done, i cut out the middle of the subframe, just ran out of wheels to get it completely cut down :roll:

cheers

sean

Author:  madmorrie [ Fri Mar 02, 2012 9:19 pm ]
Post subject: 

Nice going, and yeah, buy the cut off wheels by the 10 pack, you'll need a few to go on with. Most of us are using 3mm wall thickness structural tube. Round or square depending on design. I ended up using 25x50 for mine to save on space so i can still get the engine out the top.

I basically did what you are doing then the engineer came a took a look and was pretty happy with the work. He kinda said, add a brace here and a gusset there and its all good. Now I just need to finish it before he retires...

Good luck.
Madmorrie

Author:  JC [ Sat Mar 03, 2012 12:16 am ]
Post subject: 

It would be ALOT of work I know but it would be prudent to check that that frame fits in your car. Tricky, Tony and I worked on two or three frame over the course of two weekends and all three had a different "shape".

I have also been through the exercise of using a template front end. As it turned out that front end was bent...

Author:  Archangel007 [ Sun Mar 04, 2012 5:34 pm ]
Post subject: 

JC wrote:
It would be ALOT of work I know but it would be prudent to check that that frame fits in your car. Tricky, Tony and I worked on two or three frame over the course of two weekends and all three had a different "shape".

I have also been through the exercise of using a template front end. As it turned out that front end was bent...


Yep, I remember those two weekends, I was amazed how far 'out' the front ends were from one to the other, and each subframe was subtly different.

JC has hit it right on the head though - test fit the frame first, then build the jig to the frame - might save you some headaches in the long run!!

Author:  meeni [ Wed Mar 07, 2012 6:32 pm ]
Post subject: 

the frame had been in the car before so hoping it goes back in, dad doesnt have a car at the moment so i cant take meeni off the road at the moment as i use it fairly often, so il hope that it still fits, if not il have to do something about it then

made some progress today, after my mid welder decided it was going to be difficult i thought why p!ss around and decided to borrow my mates tig welder (hes a fabricator for sonic racing)

i havnt tig welded since i was at tafe a few years ago but remembered most of it and i must admit, you cant go too wrong with thick mild steel. takes alot longer, but far more enjoyable and, i feel, easier to get nice penetration, no, im not quite at the perfect row of coins skill level but its good enough to hold on :lol:

i made the top braces and front crash bar mounts which have the front tie bar mounts on them, as you can see i welded them to the bottom of a bit of rectangle steel, not sure what everyone else does but after bracing it from behind with a triangular bit of box section i dont think its going anywhere! tomorrow il make the crash bar which will bolt onto the front there to clear the remote oil filter housing and exhaust manifold, then il probably stick the frame into the test front i have and get the engine positioning correct before making up the lower braces and engine mounts! oh and i have been test fitting the engine while building this dont worry! enjoy the crappy pictures of dodgy tig welding :wink:

Image

Image

Image

Image

Image

oh and the holes are so you can tighten the bolts to the body/impact bar, means you done have that ugly squashed metal look..
Image

il close up all the holes and tidy everything up obviously once its built but i feel like that should work well

cheers

sean

Author:  Archangel007 [ Wed Mar 07, 2012 9:32 pm ]
Post subject: 

Looks good so far!

Author:  meeni [ Thu Mar 08, 2012 7:15 pm ]
Post subject: 

cheers mate!

made up my removable front piece today, so not alot of excitement.. all this does is gives room for the oil filter and exhaust and makes life easier when fitting the frame into a body, the front piece can be added later to save tilting and general stuffing around

the oil filter is one of the things that gets in the way on the suzuki setup so i thought id put a remote oil filter on there, this is the adapter, but i need to put some 90 degree fittings on it.

Image

heres how i made the bar,

started with some 5mm plate, and welded some nuts on there

Image

heres the reverse angle and why i cut holes in the tubing (steel looks really thin in the pics, i promise its not)

Image

and then added the bar which is just a series of 45 degree cuts..

Image

having fun trying to make this all happen in a 2 car garage which has, shelving on one side, two benches at the back a MINI on one side, meeni on the other with a go kart squeezed in for good measure... packing everything up is a pain

Image

Author:  simon k [ Fri Mar 09, 2012 11:48 am ]
Post subject: 

meeni wrote:
Image


you're not going to like this, but that picture there shows the number 1 problem I see with any engine conversion subframe. It's been kept quiet, but at least two subframes that have been made like that have torn apart because they were made the same way you've done it

That part of the original subframe isn't designed to take any load, in any direction other than what it gets from the suspension in compression, and that spar poking out from there will tear the front of the tower off - you've already made a stress point with where you've burnt through to the edge. You might say that you're going to put a brace or gusset down from that spar to the tower as well, but that's just a bandaid and makes a fulcrum point for more flexing. It's just a crap idea

You should go back to Nigel's build and look at things like this. He's tied that spar to the side of the tower, and it's basically joined on all the way around the tower, front to rear. The coilover mount has nothing to do with the way the forward spar is held up.

Image

Author:  Harley [ Fri Mar 09, 2012 6:03 pm ]
Post subject: 

Using half of the old subframe is a bit of a silly thing to do anyway, there are problems that go beyond where bits and bobs get welded. Other things like grade of material, quality of welding, and preheating before weld out can influence the life of the frame too.

Author:  meeni [ Fri Mar 09, 2012 8:17 pm ]
Post subject: 

i wouldnt of thought it would be totally bullet proof i just saw every conversion doing it that way and thought thats the way to go.

considering i spent all of today building the rest of the subframe to a point where its nearly finished, how would you go about bracing it to take the load of those points? surely you could make something to spread the load slightly..

out of intrest whos frames have broken? would be interesting to see/ learn from that

Page 1 of 29 All times are UTC + 10 hours
Powered by phpBB® Forum Software © phpBB Group
http://www.phpbb.com/