Welcome to the ultimate in laziness

Many thanks must go to Mick.
Please Note: This will not work on a Clubman - the hinges are on the outer edges of the bonnet and this system will not work. This is for a round nose with the bonnet hinges closer to the centre of the bonnet. Please check that you have sufficient room to fit this (i.e. heater hoses not in the way / engine steady etc). This has been done on a round nose with no heater and a remote change 'box (i.e. no left hand engine steady).
You may have to modify this idea to suit your particular vehicle.
If you stuff this up it is your own fault. I hold no responsibility if this goes pear shaped while you are converting your car to the strut, now or into the future......you are on your own!
Parts you will need:

Some premade 75mm x 75mm 90° brackets (steel - I used ones that are 2.3mm thick - still quite workable enough; I would not go thinner, thicker would be even better (as long as they are still workable))
M8 x 25 bolts (I used stainless steel ones with an allen head)
M8 nuts (I couldn't find stainless ones so I bought high tensile ones)
Some washers (that will fit the 8mm bolts & some 6mm ones if you like)
A VE Commodore Boot Strut (Part # GM-92159097).


M6 x 16 nuts and bolts (in stainless)
 Tools you will need:
Locking Pliars
Long handled adjustable pliars (the ones you can move depending on the diameter of the thing you are trying to grab - you know the ones
)
At least a propane torch (that cigarette lighter just ain't gonna cut it)
Angle grinder
Drill & Various drill bits
Centrepunch
Dremel Rotary Tool (or similar) *Not totally nessasary but I used it to make it look pretty - not needed for it to 'just' work etc*
A Bucket with a bit of water in it
A vice or something you can clamp the brackets to (even just a G-clamp and something solid will do)
_____________________________________________________________
The Strut Modifying Process:
Step 1) Remove the little metal things on each end of the strut (the little things that would clip around something on a normal car). We do not need them.
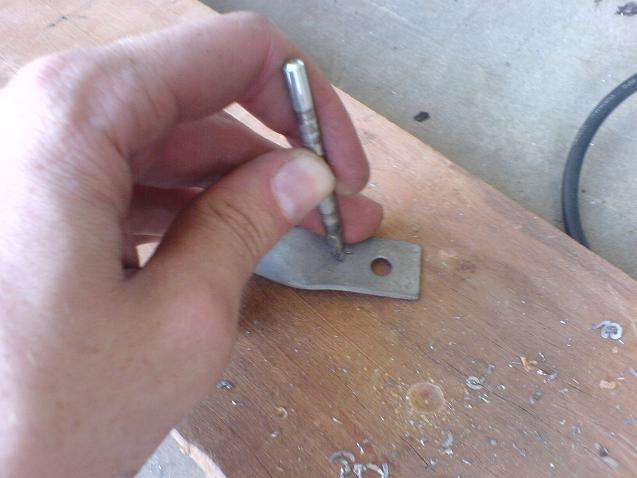
Step 2) Drill a 9mm hole in the body end of the attachment so that the 8mm bolt can fit through.

Step 3) Smooth off the ends with a file so that once it is all put together, each area that will rub against something is nice and smooth.

Step 4) Change to the other end of the strut (the non body end). Do the same thing again but with a 7mm hole (to fit the bit smaller bolt thread through).
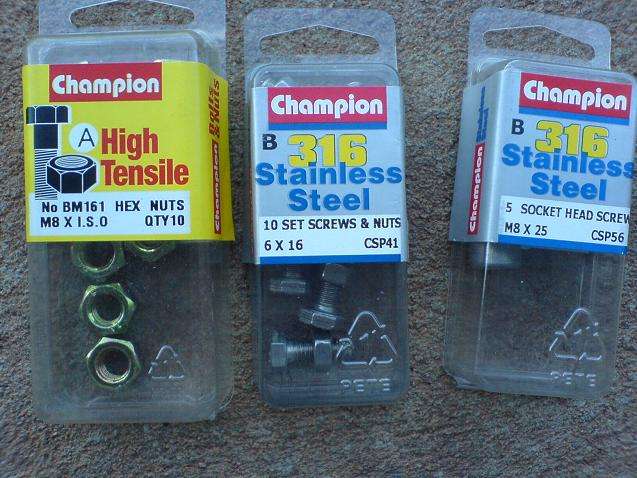
Step 5) Drill a hole a bit bigger than the head of the bolt
PART WAY through the plastic end.
It should end up looking like:

^Note I did not drill all the way through
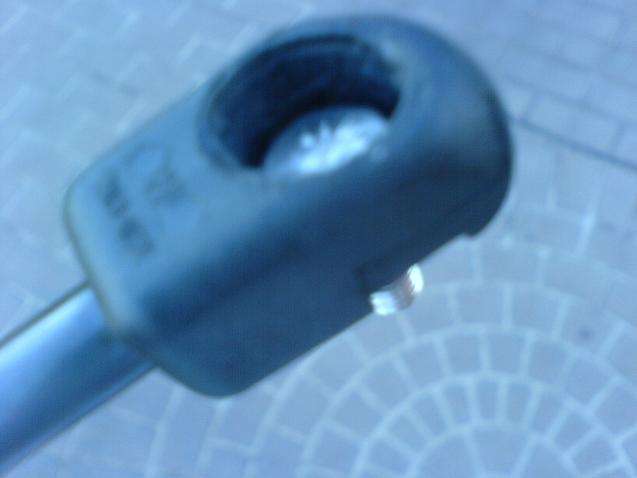
^You should be able to do this
Step 6) Congratulate yourself on what a fine job you have done converting the strut.
_____________________________________________________________
Hinge Hole Positioning Process:
Step 1) You have to make your bracket (up to step 10 - just the general shape - you will have to guess at this stage. Try and get it as close as you can shape wise because if you don't you'll end up with a bonnet that doesn't open very far.
Step 2) Once all of it is together (bracket & strut) attach it to the car and push the bonnet up as far as it will confortably go. Mark the position where the top of the strut will probably go. You will also have a feel for how the bracket will sit (i.e. your angles). Bend the bracket a little bit if it doesn't look quite right (you will hopefully get what I mean).
Hopefully you didn't stuff it up.
Step 3) Take the bracket & strut out of the car and clear away the washer bottle etc if you haven't all ready.
Step 4) Take the bonnet off (use an old blanket to avoid scratches). Make sure you mark the positions of where the bolts are so that it is easier to put back into alignment when you put it back on.
Step 5) Remove the passenger side hinge by undoing the nut & bolt up under the scuttle panel. Don't loose the two brass washers that run either side of the hinge!
Step 6) Centre punch where you have marked the hole and drill away with a 6.5 / 7mm hole (obviously this will vary depending on what size bolts you are using).
Step 7) After you have drilled the hole, hope like hell you put it in the right spot otherwise you will have to break the welder out and have another go (or source another set of hinges).
Step 8 ) Reassemble the hinge back on the car & re-fit the bonnet (reverse of the removal procedure).
Step 9) Put the bracket & strut back in and see how it fits. Hopefully it will work fine and you didn't stuff up. Open and close the bonnet a few times to make sure you are happy with it.
If you aren't (i.e. if you stuffed up

) you may have to remake the bracket and move the bracket hole in the end closer to the centre if your bonnet doesn't open enough.
Step 10) Continue on with making the bracket
_____________________________________________________________
The Bracket Making Process:
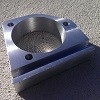
Step 1) I went to my local hardware store and bought some steel pre-made brackets (75mm x 75mm) with a couple of holes drilled in each side

While you are there buy your fasteners so that you don't have to make a separate trip (I bought mine from supercheap).
Step 2) Clamp the bracket down to something solid. About 20mm from the centre bend, bend the bracket 90° so that it looks kind of like a 'Z'. (You can bend it a little less if you want)
From this:
Use this if you would like:
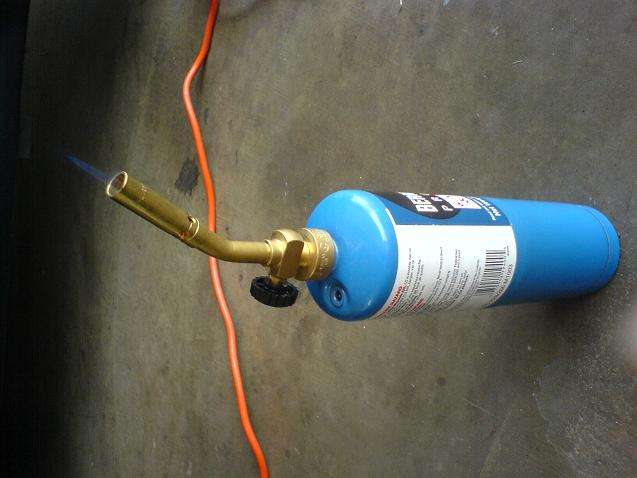
Use these by themselves or combine with the propane torch:
And finish off with a hammer:

So it then looks like this:

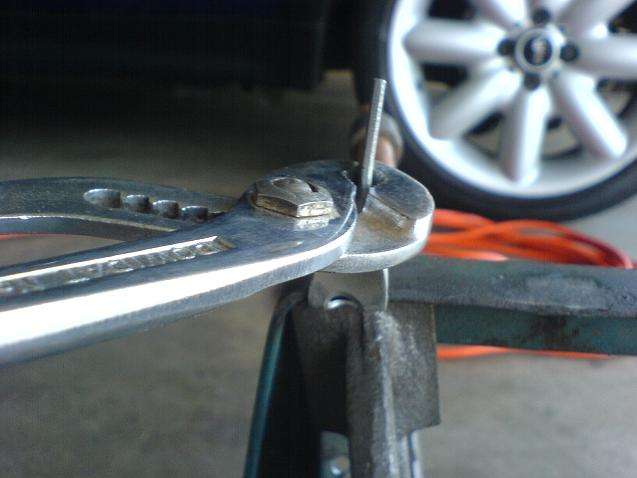
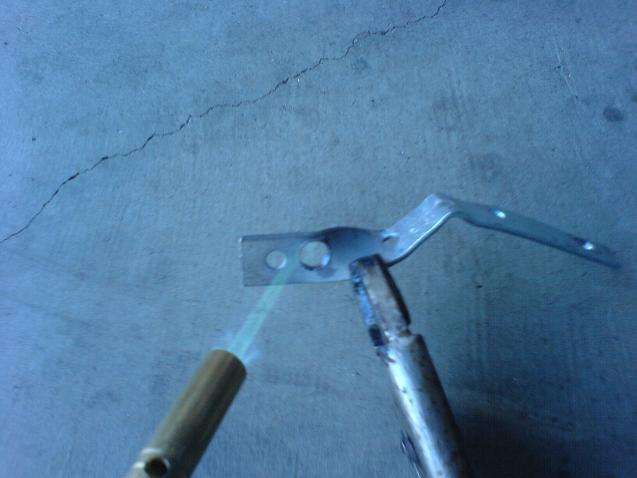
Step 3) Grab your pliars and propane torch heat the area under the pliars (as shown in the picture)


Your aim is to twist the bracket 90° in a clockwise motion (you can go anti clockwise but just trust me when I say that it works out better if you go clockwise)
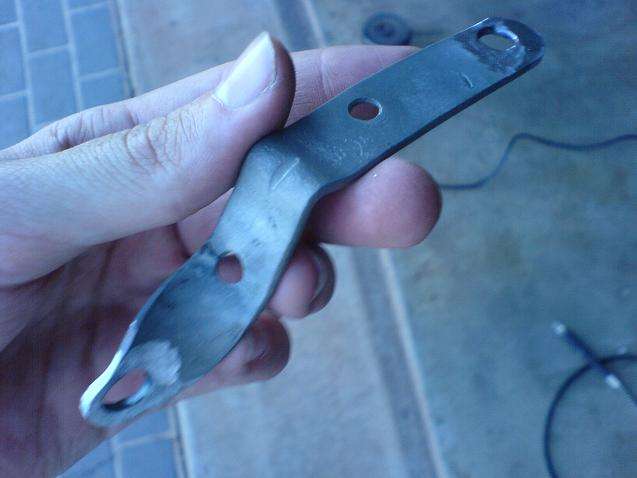
Your bracket should now look like this:
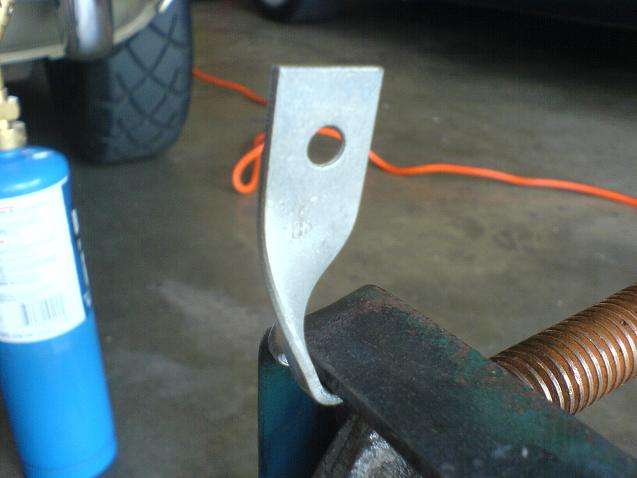
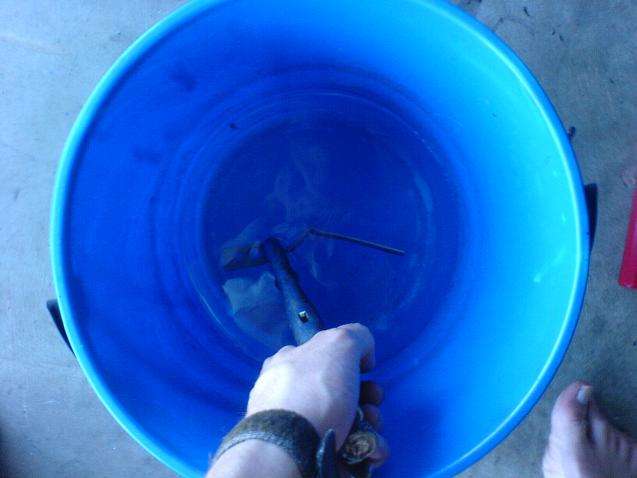
Step 4) Quench it in a bucket of water to cool it down so you can touch it

It should now look like this:
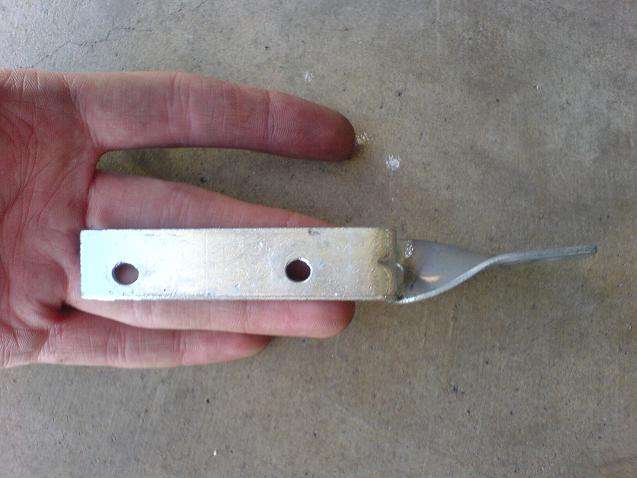
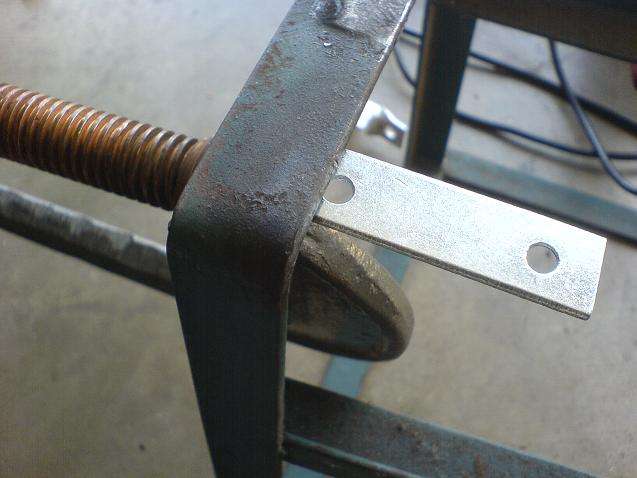
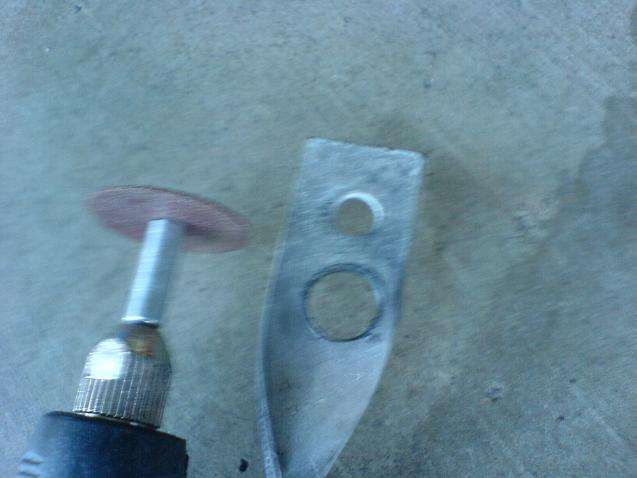
Step 5) Next you want to enlarge the holes in the bracket to fit the size of the bolts that hold the master cylinders on (but on the other side - there will be nuts & bolts there not really doing anything). I used 9mm holes because that's the closest drill bit I could find - You can go a bit smaller.

N.B. The predrilled hole in the bracket lined up perfectly with where I wanted - so all I did was enlarge it.
It should now look like this:
Step 6) At about 47mm or so along from the original 90° bend (on the other side to where you just drilled - i.e. the side you've bent) centre punch a hole and drill another 9mm hole. This hole should be located *just* after the twist.
Step 7) Drill the hole:
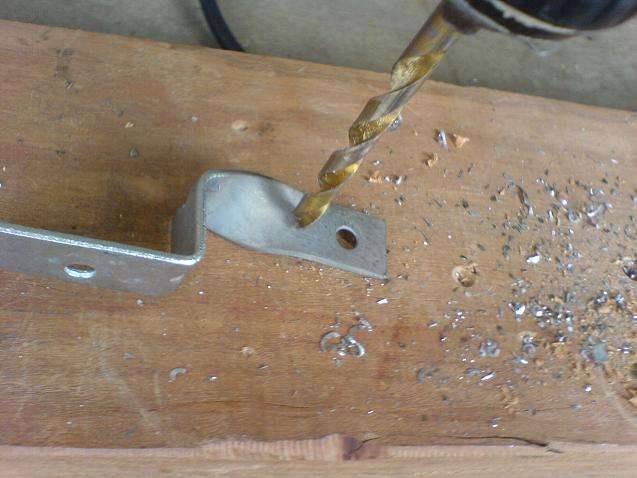
It should look something like this:
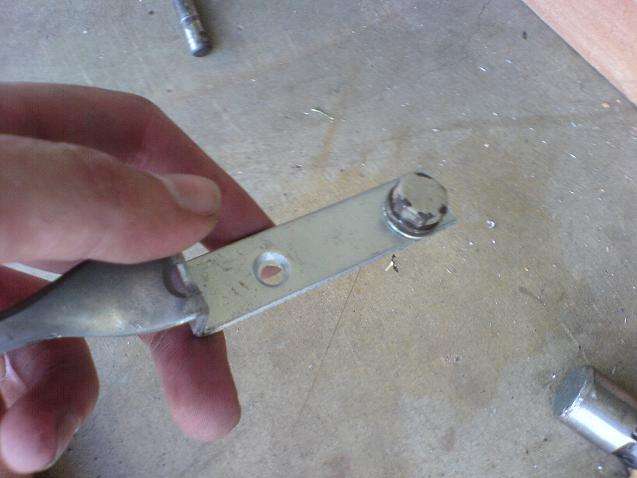
Step 8 ) Mock everything up together

Step 9) Trial fit it. I used the bolt where the master cylinders go on a left hand drive mini - the one the furthurest to the left (right when looking at it through the engine bay). It is one of the ones closest to the inside of the car.

I used locking pliars to hold the nut in place while I did it up / undid the bolt (because I did this by myself).

Do it up!
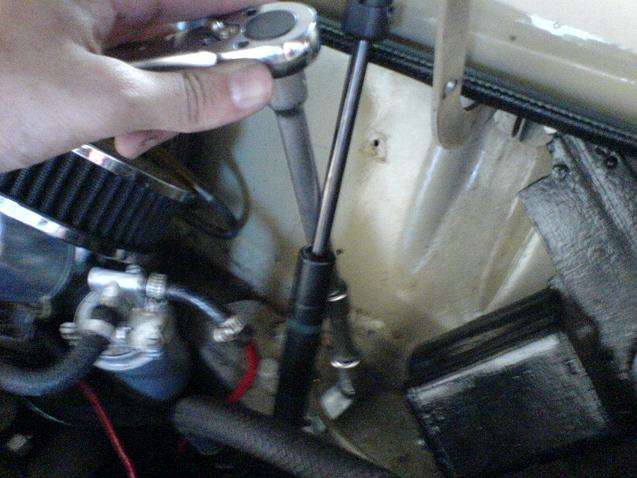
Also put the bolt in through the hinge and do it up also.
Step 10) Open and close the bonnet a couple of times to make sure it opens as far as you want (this depends on where you drilled the hole in your hinge and also how far along the bracket you drilled the hole - you may need to repeat the first few steps and make a new bracket it you really stuffed up

)
It should come out some thing like this:

Step 11) Heat it up with the propane torch (the one I have says it goes up to 1800 / 1900°C). Heat it until it starts to turn a different colour and then quench it in the bucket of water straight away after you take the heat away. Keep it evenly heated before putting it in the water.
I can't quite remember the process name but this hardens the metal (makes it more brittle, rather than ductile). This just helps the bracket keep it's shape a little better.

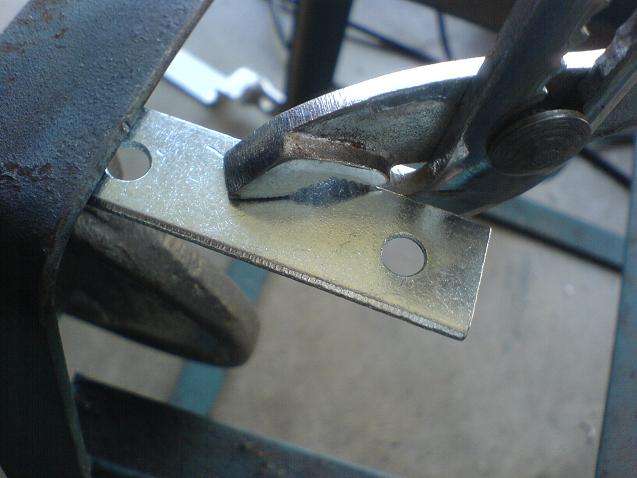
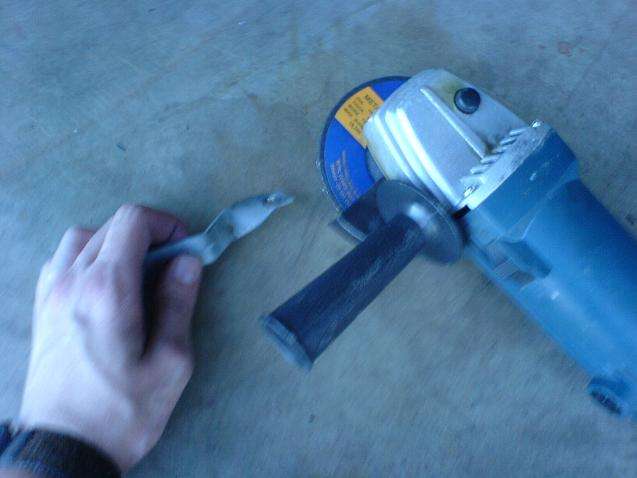
Step 12) Cut off that ugly end bit (we don't need it). I used my rotary tool for this.
I also roughly cut the ends into a kind of round shape - just to make it look nicer.
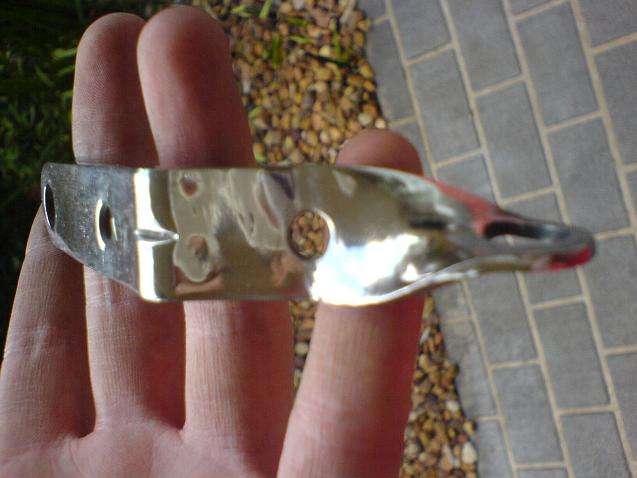
Step 13) Clean up the cuts on the angle grinder and work the ends into a nicer & neater radius

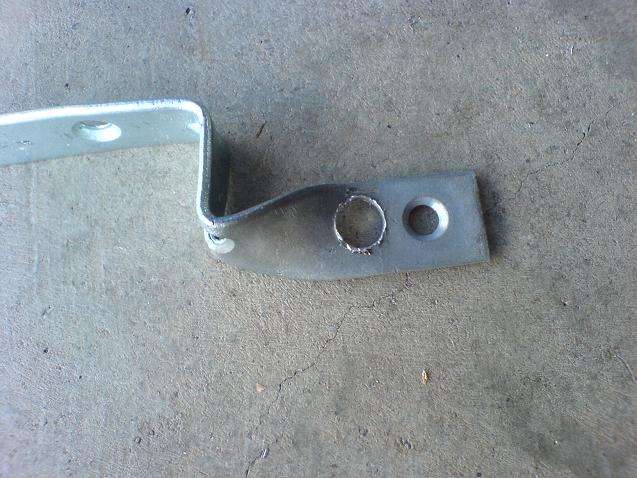
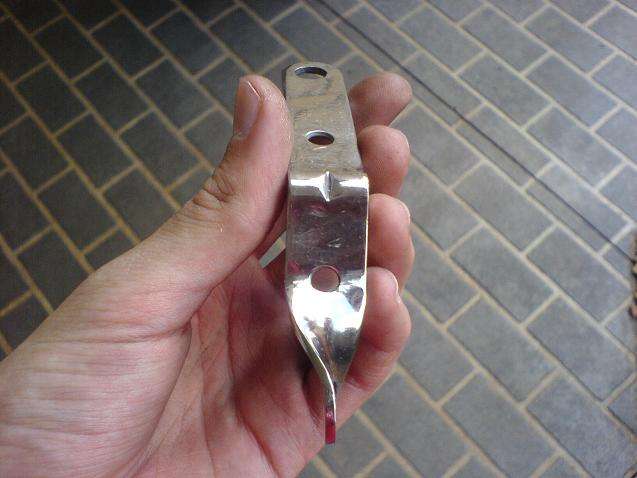
Your bracket should kind of look like this:
Step 14) I trial fitted it again to ensure everything still lines up.


Step 15) If you want to make it look really flash I polished my bracket using the same method as I used in my 'Polishing Alloy Wheels' How To. If you do it correctly it should come out good enough to give Mr. Bling (Gafmo) a semi.
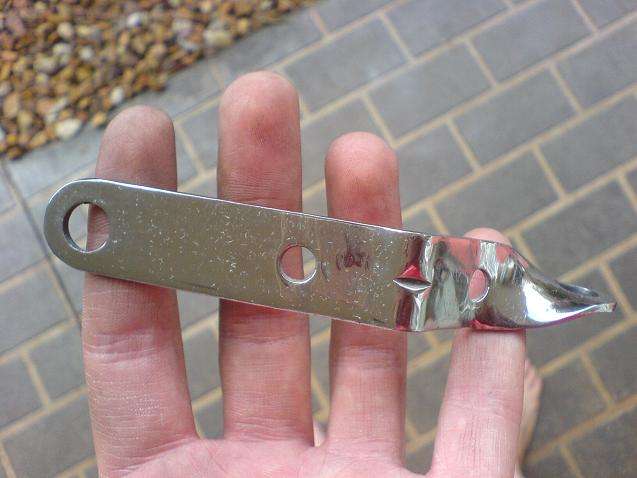
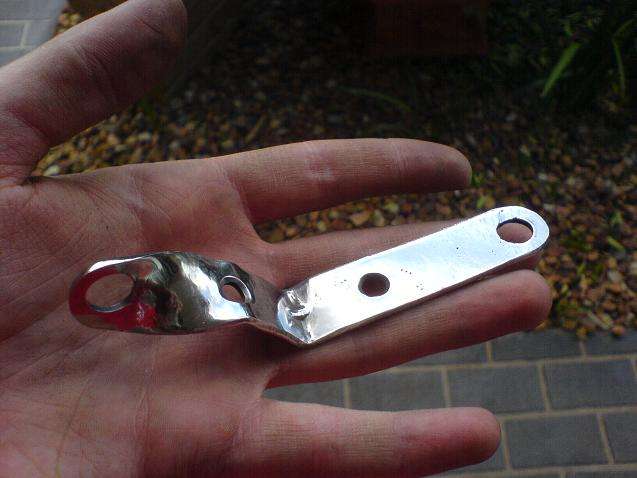
(There is a bit of a residue from the tissues after I cleaned it - those little white bits (tissue fluff) will wipe off. Any unusual marks on the bracket are reflections.
Step 16) Fit it all together, do a test run, have a beer and admire your handi-work!
_____________________________________________________________
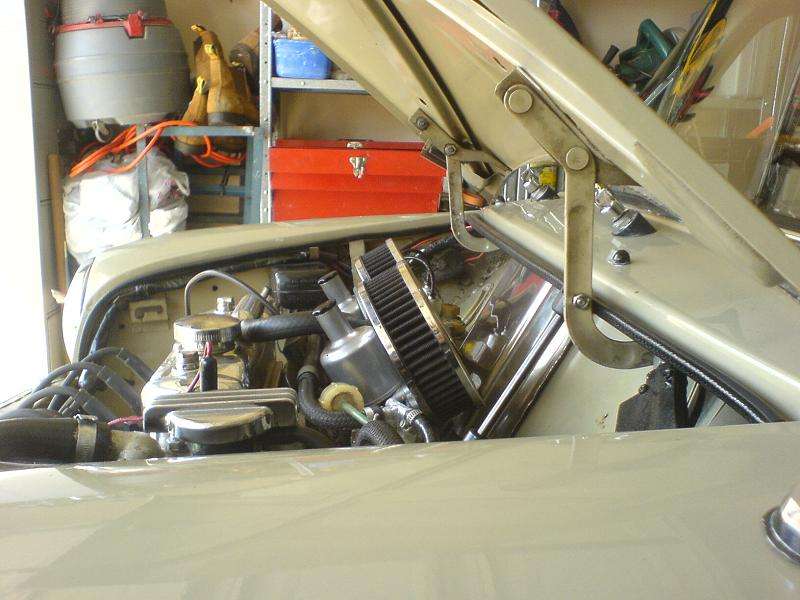
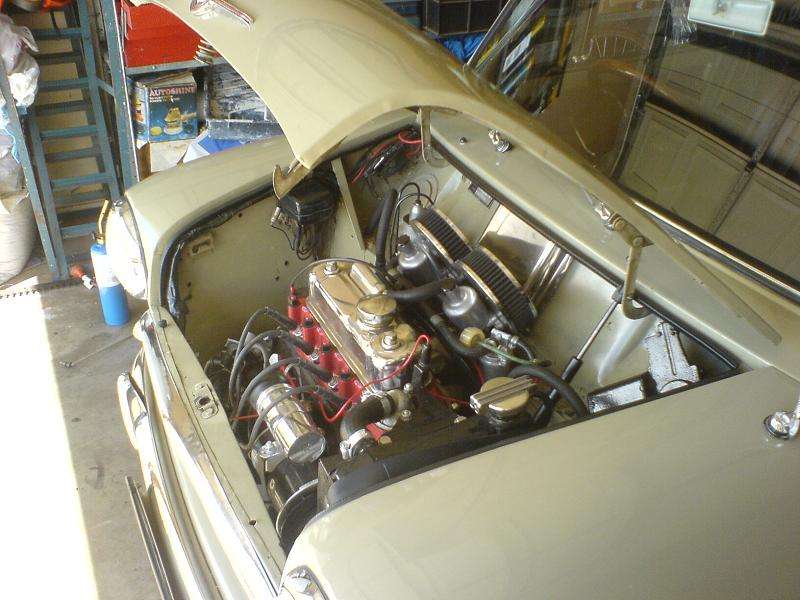
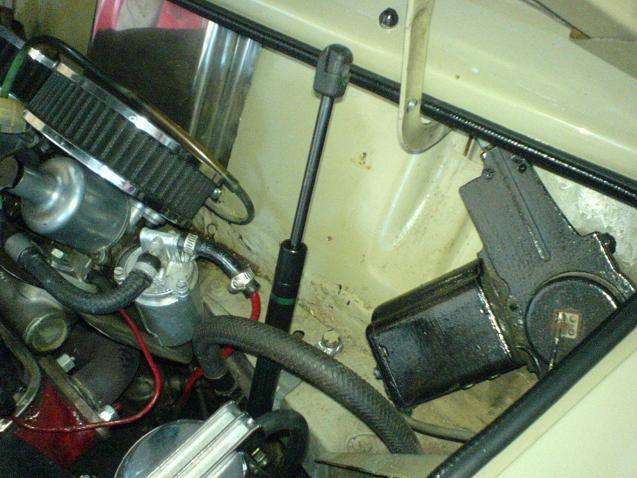
As you can see it does not take up much space. I can still remove / replace the washer bottle with everything fitted up. You may need to re adjust your bonnet to make sure it still fits correctly.
Please feel free to ask me questions about a particular part if I did not explain it clearly enough. Please realise that the dimensions that I have given are only approximate. I just know where to bend; all the files etc are on the ol' meat computer

A video of the bracket actually working can be seen
here.
Cheers, Nick