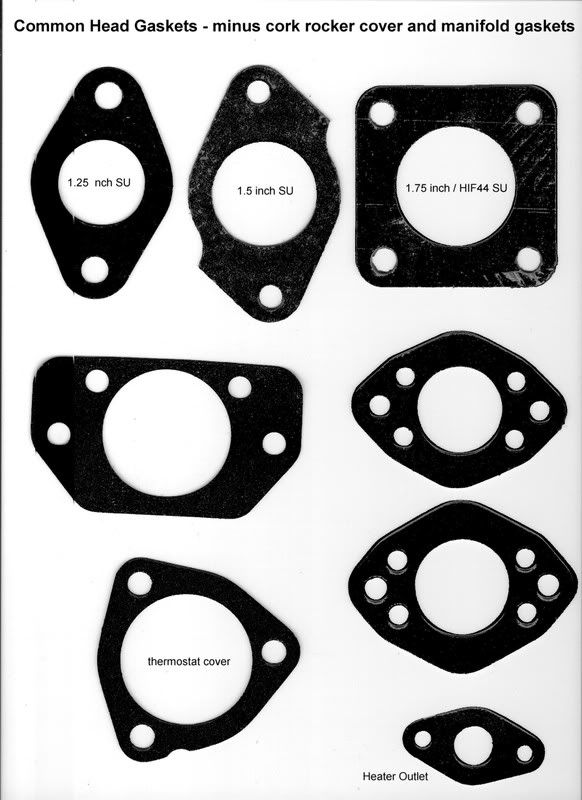
If you haven't cut your own gaskets before, it is super easy, and will get you out of a tight spot on a lazy Sunday afternoon.
If you do find yourself in a spot, then you can simply print some off using these images, and cut them out.
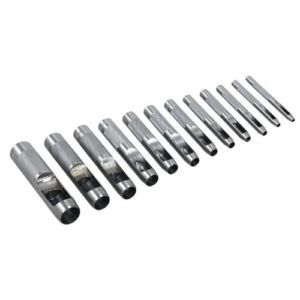
If you haven't done this before, you will need a roll of gasket paper (from the gasket isle in Supercheap Auto, Repco, Bursons or similar for a few dollars), a pair of scissors, and a pack of gasket hole punches (also available from the auto shops for not a lot of coin). these will be how you punch the holes into the gasket for a professional finish.
the gasket hole punches look like this:
There's two ways of putting the shapes here onto the gasket paper. The first is to print the picture in standard A4 and cut the gasket out with a piece of gasket paper stuck behind it. Or, you can as I do, print it directly onto an A4 piece of gasket paper I have fed through the bubble jet printer.
These have been scanned in A4 size, so should print out correctly. However, print a page in A4 to check against a known gasket first to be sure. if they are different slightly, you can shrink or expand in printer setup to adjust. I have tried this out however on a few computers and have not had a problem. Just save the image, and print in A4 and the result will be as it is below, a perfect copy.
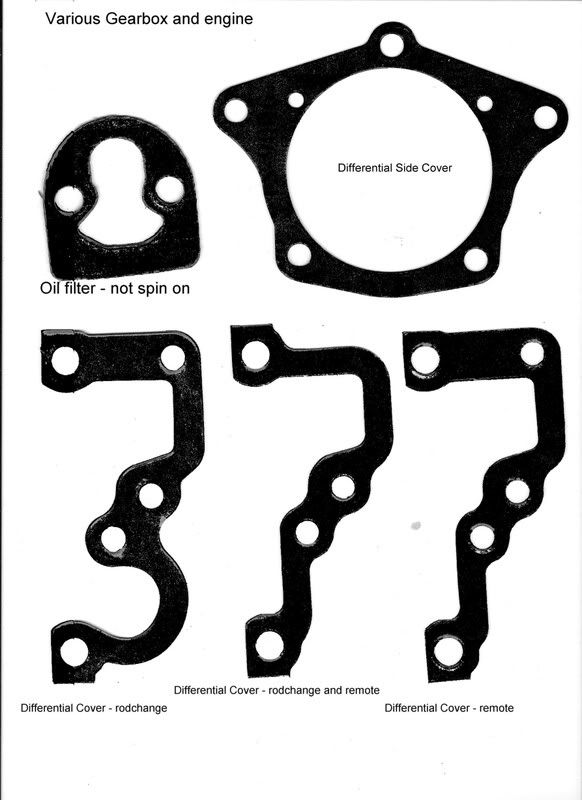
Some gaskets are just too large to scan in on A4, so I have not included them here. However, I have included the gearbox flange gaskets anyway. You may manage to think of a way of combining them. If anyone wishes, I can do the same for the primary cover gasket.
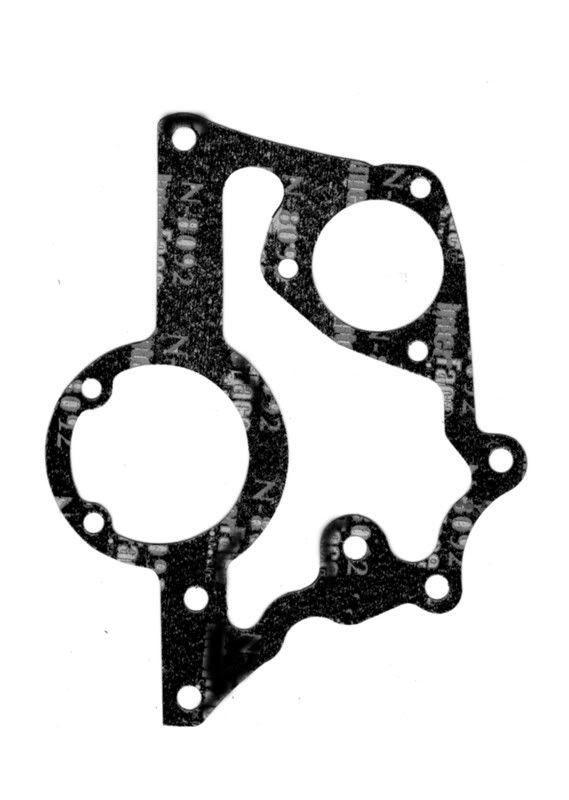
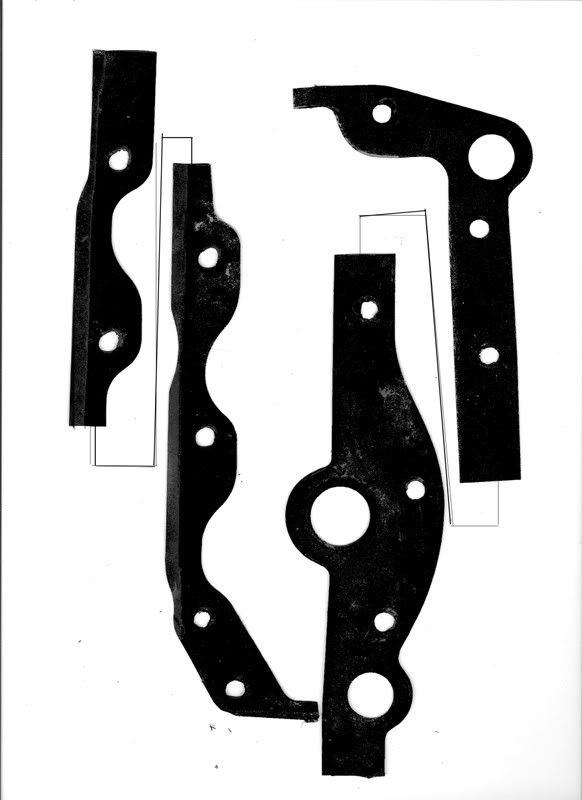
These next two are for the A+ timing cover and backplate (with the tensioner installed).
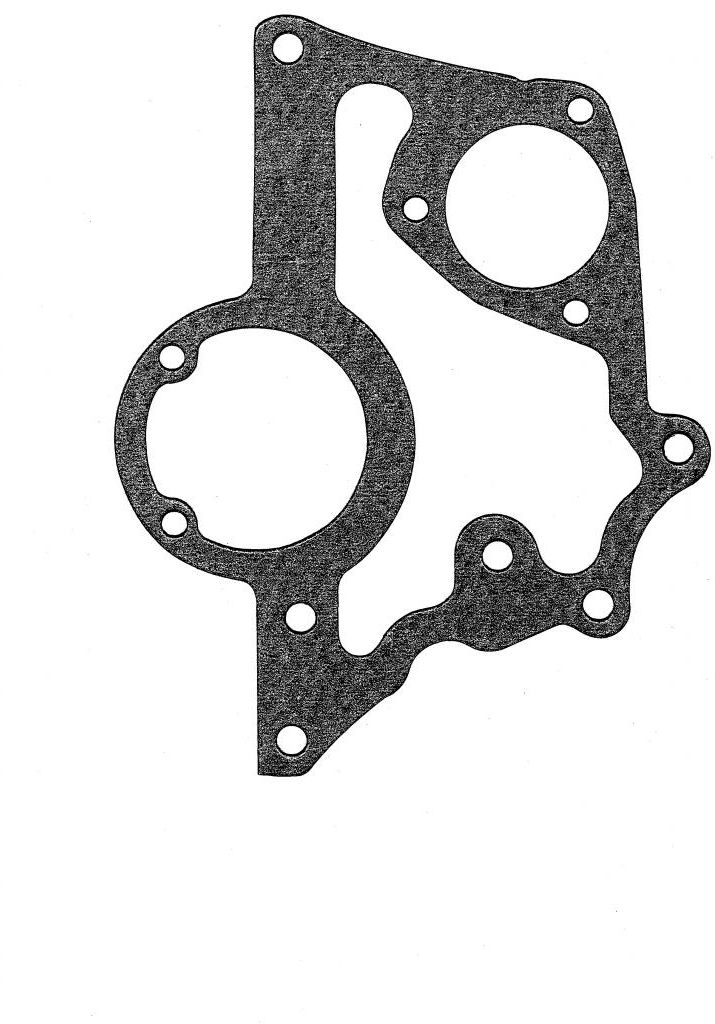
A+ backplate
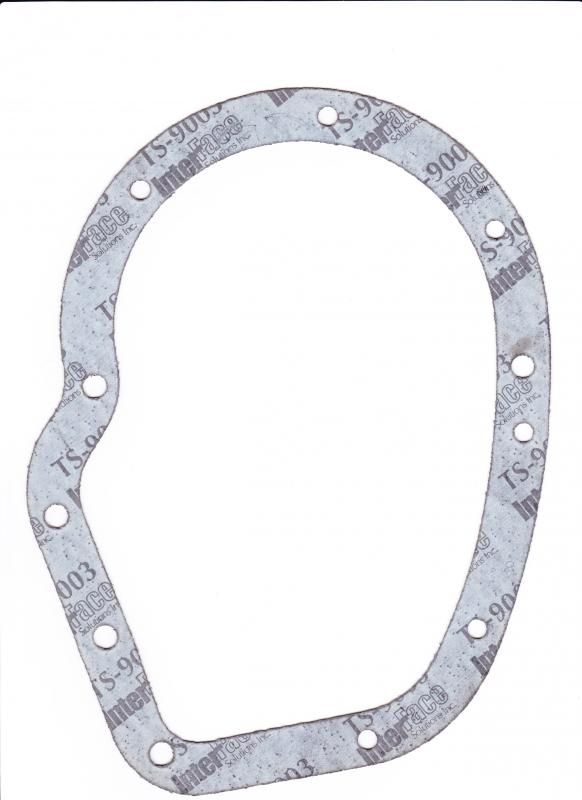

A+ Gasket will go here.