Ausmini
It is currently Tue Mar 19, 2024 5:08 pm

All times are UTC + 10 hours


Post new topic Reply to topic  [ 346 posts ]  Go to page Previous  1 ... 19, 20, 21, 22, 23, 24  Next
Author Message
PostPosted: Thu Apr 06, 2017 10:21 am 
Offline
998cc
998cc
User avatar

Joined: Tue Nov 13, 2007 4:17 pm
Posts: 946
Location: NOR, Perth, W.A.
peterb wrote:
Any updates on this one?

He just gave an update 2 days ago!

_________________
-Alan
I blame my dad for my love of minis. I think I was conceived in the back seat of one :D
I also blame my Dad for me being 6' 1" - not really the optimum height for driving a Mini.


Top
 Profile  
 
PostPosted: Thu Apr 06, 2017 5:46 pm 
Offline
1098cc
1098cc

Joined: Sat Jul 23, 2011 8:17 am
Posts: 1964
Location: san remo nsw
Two days is a long time when you're following great threads. I already have to watch broject binky 12 times between episodes.


Top
 Profile  
 
PostPosted: Thu Apr 06, 2017 7:55 pm 
Offline
998cc
998cc
User avatar

Joined: Fri Jan 28, 2011 1:19 pm
Posts: 533
Location: Adelaide
peterb wrote:
Two days is a long time when you're following great threads. I already have to watch broject binky 12 times between episodes.


I feel your pain. You wait 3-4 months for those guys and it's all over in 30 mins leaving you gagging for more!
:D :D :D

_________________
Zulu...

1967 mini Cooper S


Top
 Profile  
 
PostPosted: Tue Apr 11, 2017 8:22 pm 
Offline
998cc
998cc
User avatar

Joined: Mon Jan 16, 2006 1:15 pm
Posts: 678
Location: Melbourne
Haha, I know what you guys mean. There's some epic threads out there and you get to the end and are just like "cmon, hurry up!!!"
Maybe build-threads.com should do a compilation of all the epic-but-stalled build threads.

My build won't make it on though, cause it aint stalled just yet...
There are updates since last time, I just need to compile and post the photos.
So, patience chaps :)


Top
 Profile  
 
PostPosted: Thu Apr 20, 2017 10:37 pm 
Offline
998cc
998cc
User avatar

Joined: Mon Jan 16, 2006 1:15 pm
Posts: 678
Location: Melbourne
So there lot's of news on the build, but for now I'll just leave this here...

https://youtu.be/M2_bDHpDc2I

:)


Top
 Profile  
 
PostPosted: Thu Apr 20, 2017 11:17 pm 
Offline
848cc
848cc

Joined: Tue Jan 02, 2007 3:05 pm
Posts: 487
Location: Jimboomba
Awesome man!! All that hard work finally it runs

Sent from my SM-G920I using Tapatalk

_________________
Image

'66 Morris Mini DeLuxe. In pieces.
'88 Honda EE2 4WDWagovan. DOHC.
'94 Honda EG4 Civic. -Daily-
'82 Toyota KE70 Corolla -Drifter- x2
'95 Honda DC2 Integra


Top
 Profile  
 
PostPosted: Fri Apr 21, 2017 11:20 am 
Offline
1275cc
1275cc
User avatar

Joined: Sun Mar 21, 2004 10:28 am
Posts: 2452
Location: Wollongong
Great milestone! well done.

Seems to be idling pretty high, maybe a vacuum leak or TPS error?

_________________
1974 Moke - 998cc
76 Clubman B16a2 Vtec AWD Turbo 12.9@105mph
https://www.youtube.com/watch?v=V9PW49e1hYs


Top
 Profile  
 
PostPosted: Fri Apr 21, 2017 6:55 pm 
Offline
998cc
998cc
User avatar

Joined: Mon Jan 16, 2006 1:15 pm
Posts: 678
Location: Melbourne
Yeah, it's definitely not running 100% right yet. Still chasing a million little things to get it right. And I suspect both of those things are contributing, still very happy with having it running though:)


Top
 Profile  
 
PostPosted: Tue Jan 08, 2019 3:31 pm 
Offline
998cc
998cc
User avatar

Joined: Mon Jan 16, 2006 1:15 pm
Posts: 678
Location: Melbourne
Hello Ausmini. Happy 2019 :)

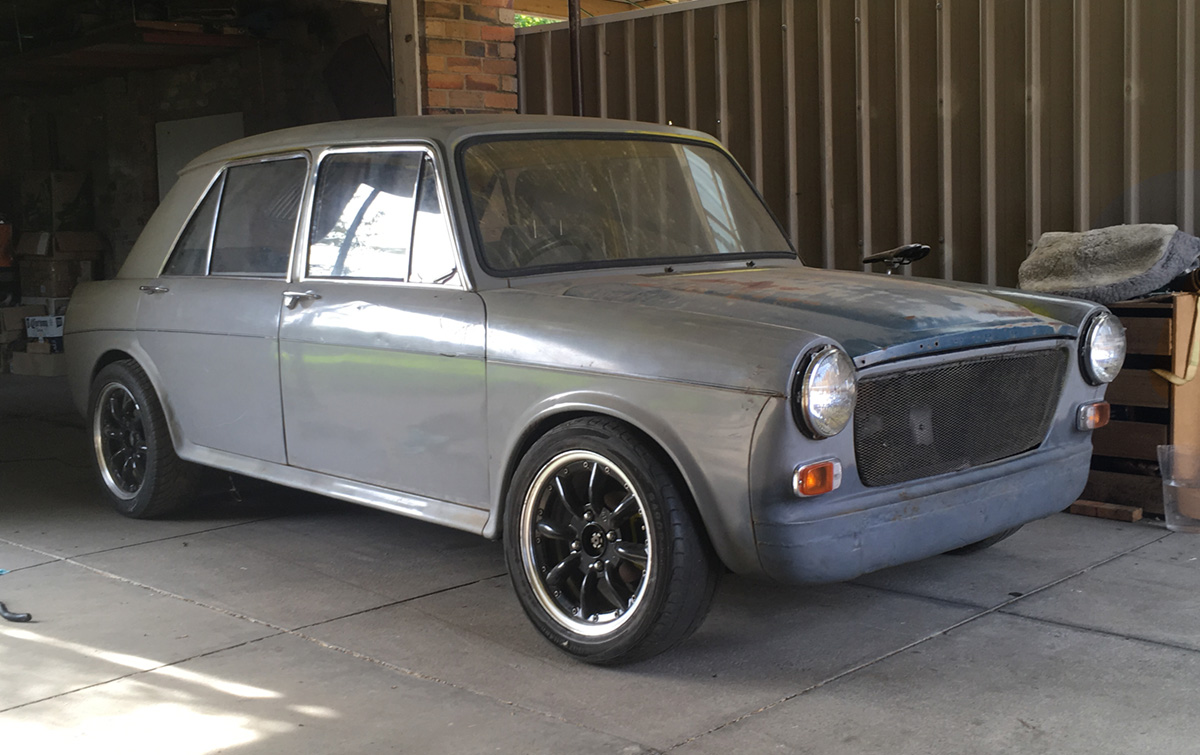
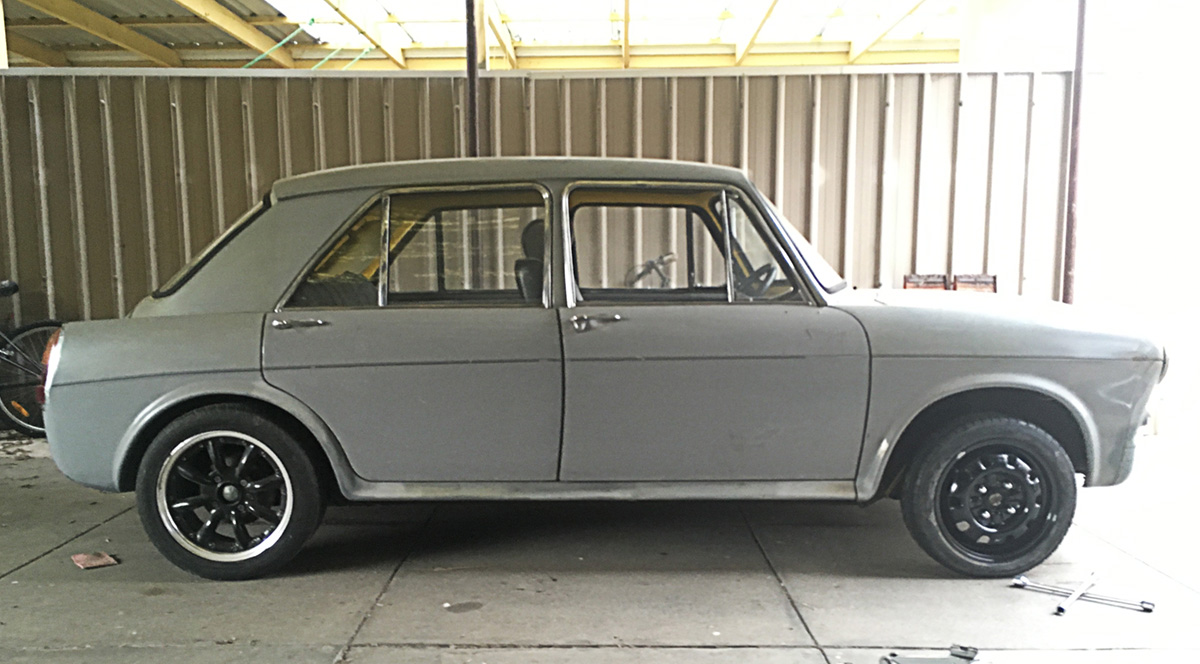
I’m still working away on the Morris, it drives and the last direction I got from the engineer was ‘just get it roadworthy’.

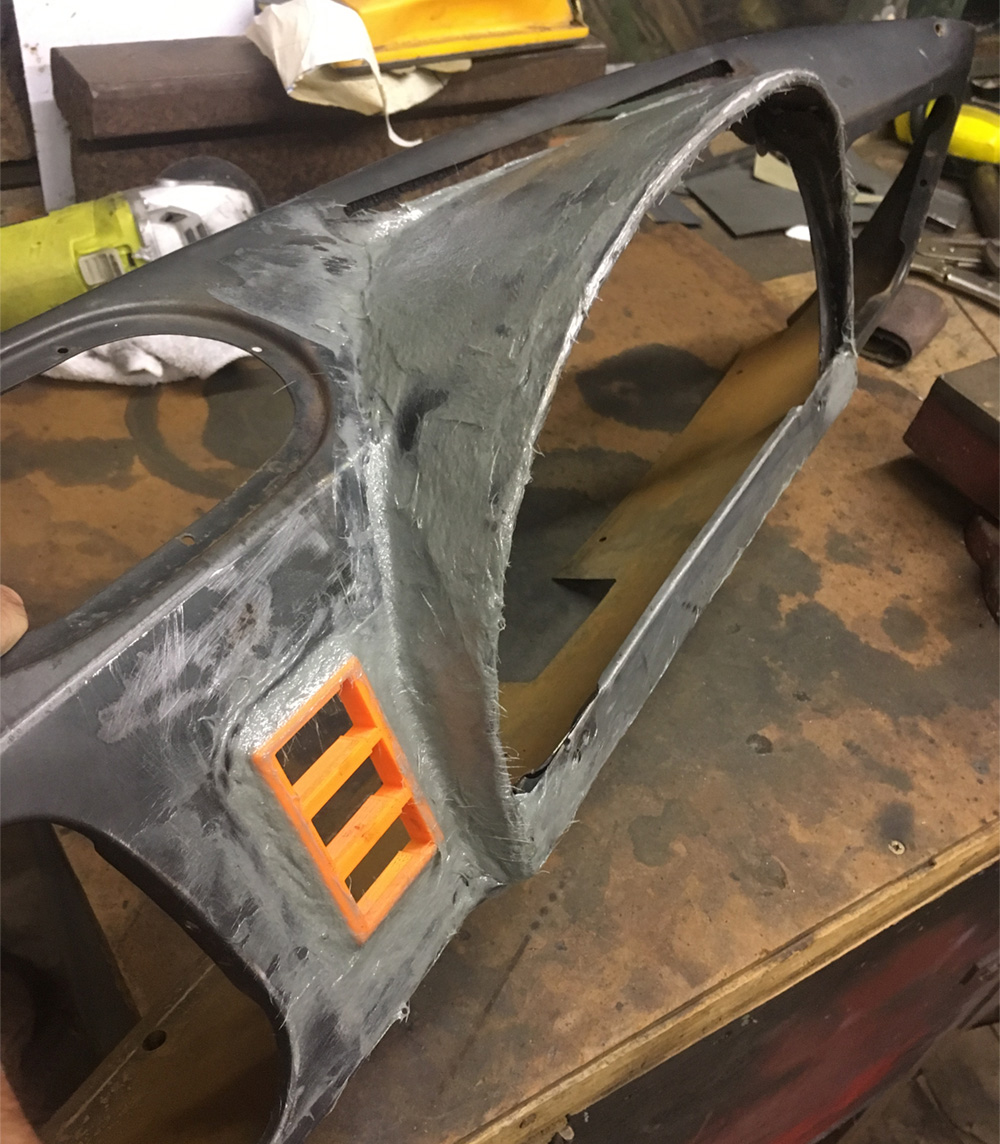
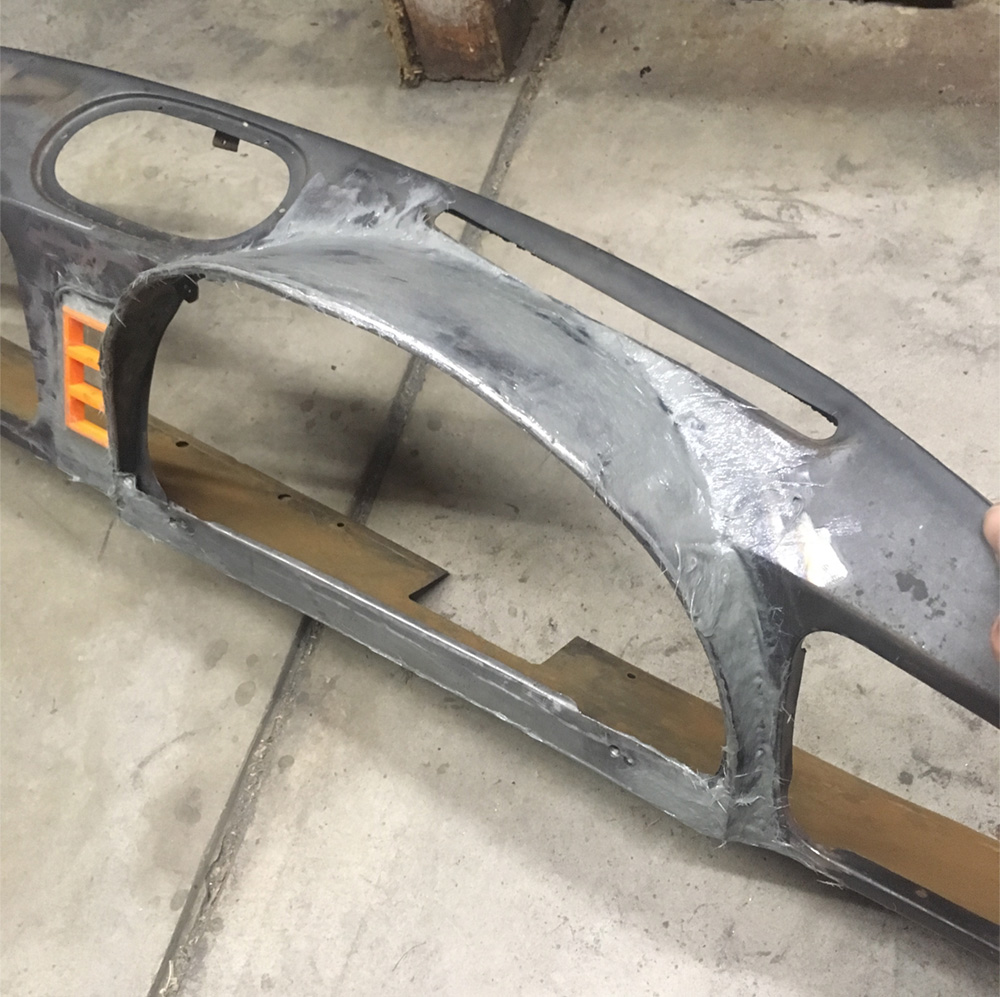
So in the interests of kicking off this year with some solid progress towards that goal, I decided getting the interior to a habitable and roadworthy was an easy place to start. First up, some nice trims for the C pillars. Note that the whole interior was sold when I purchased the car so I have to make everything from scratch.


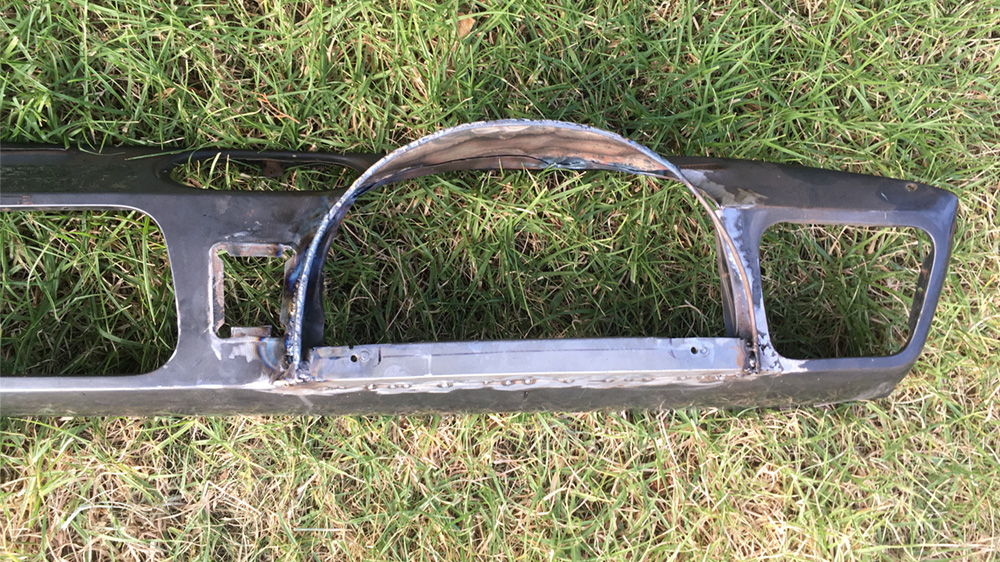
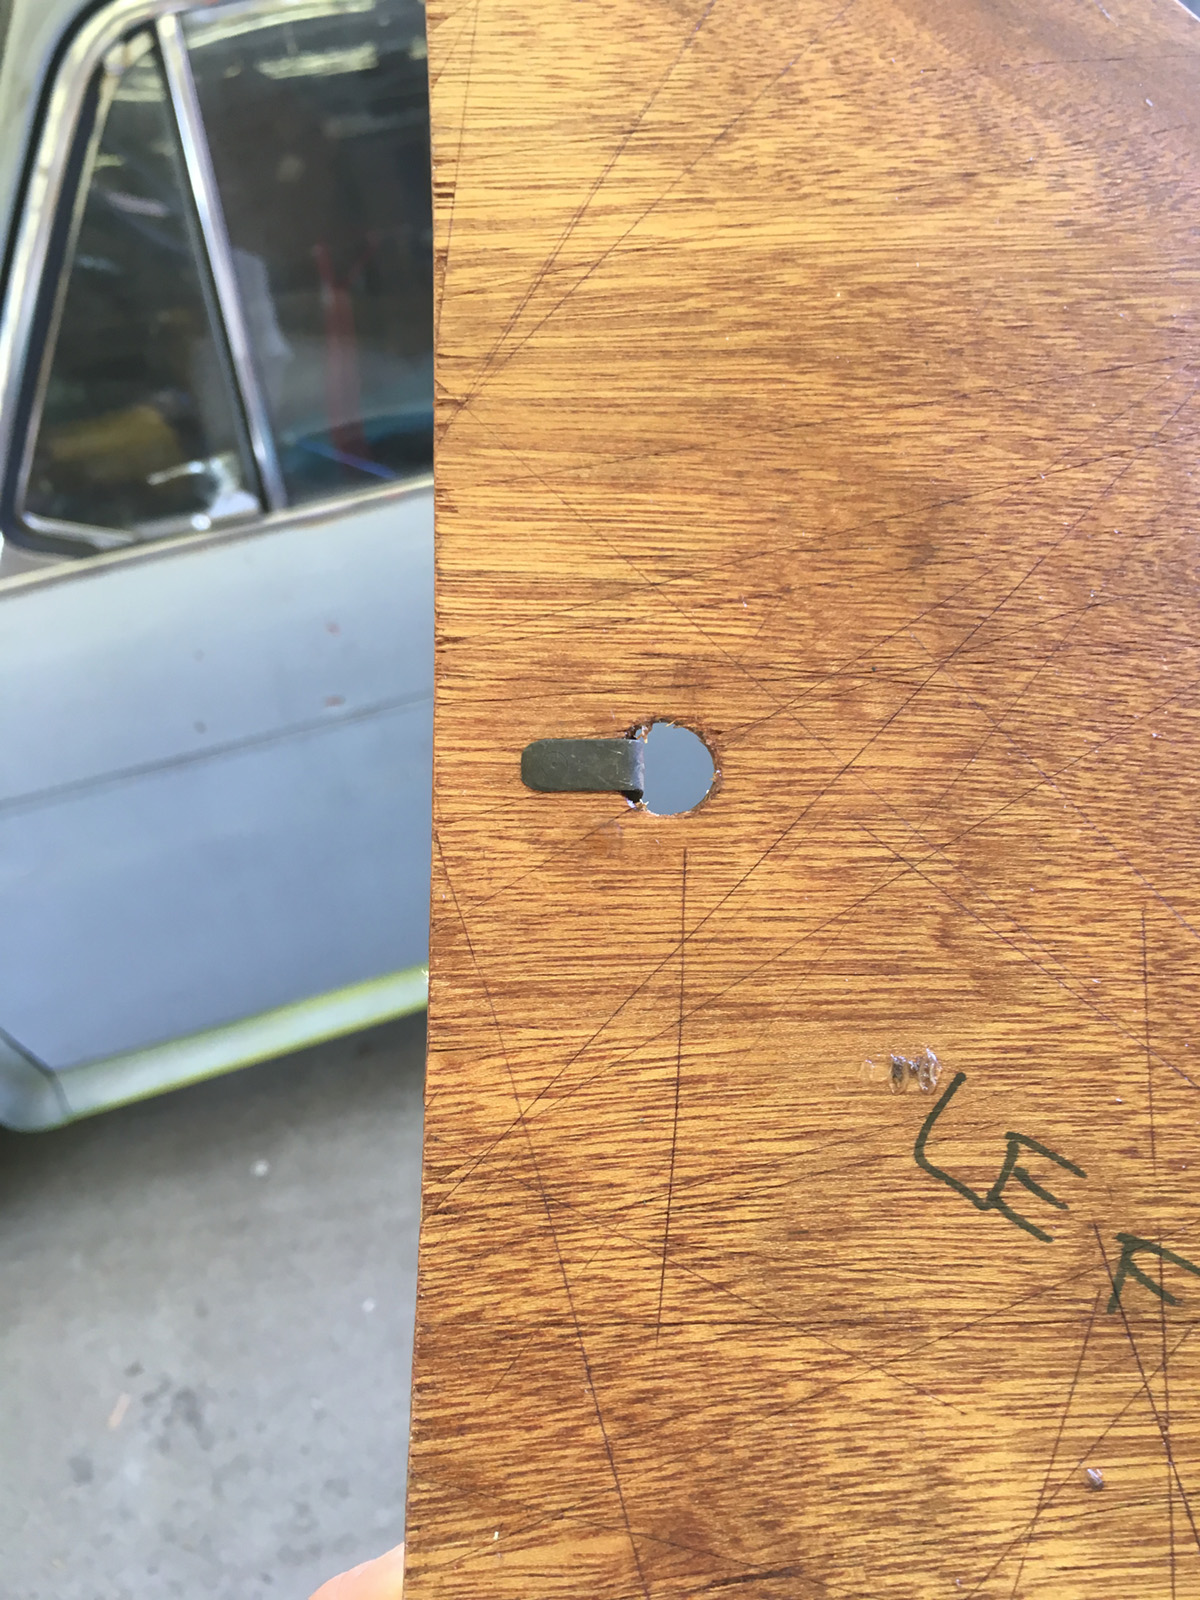
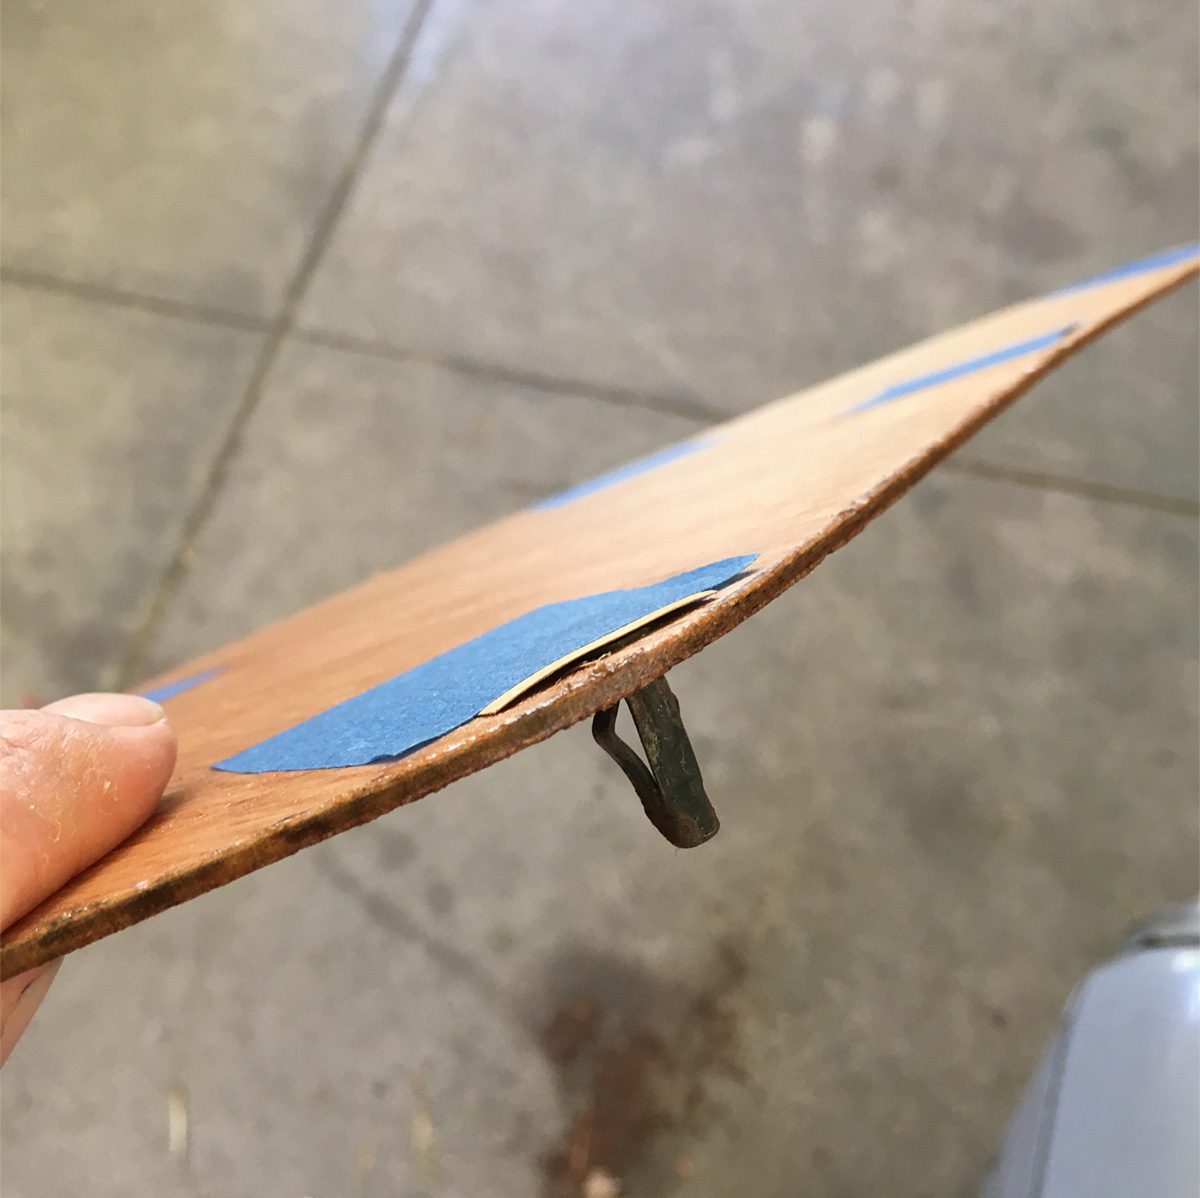
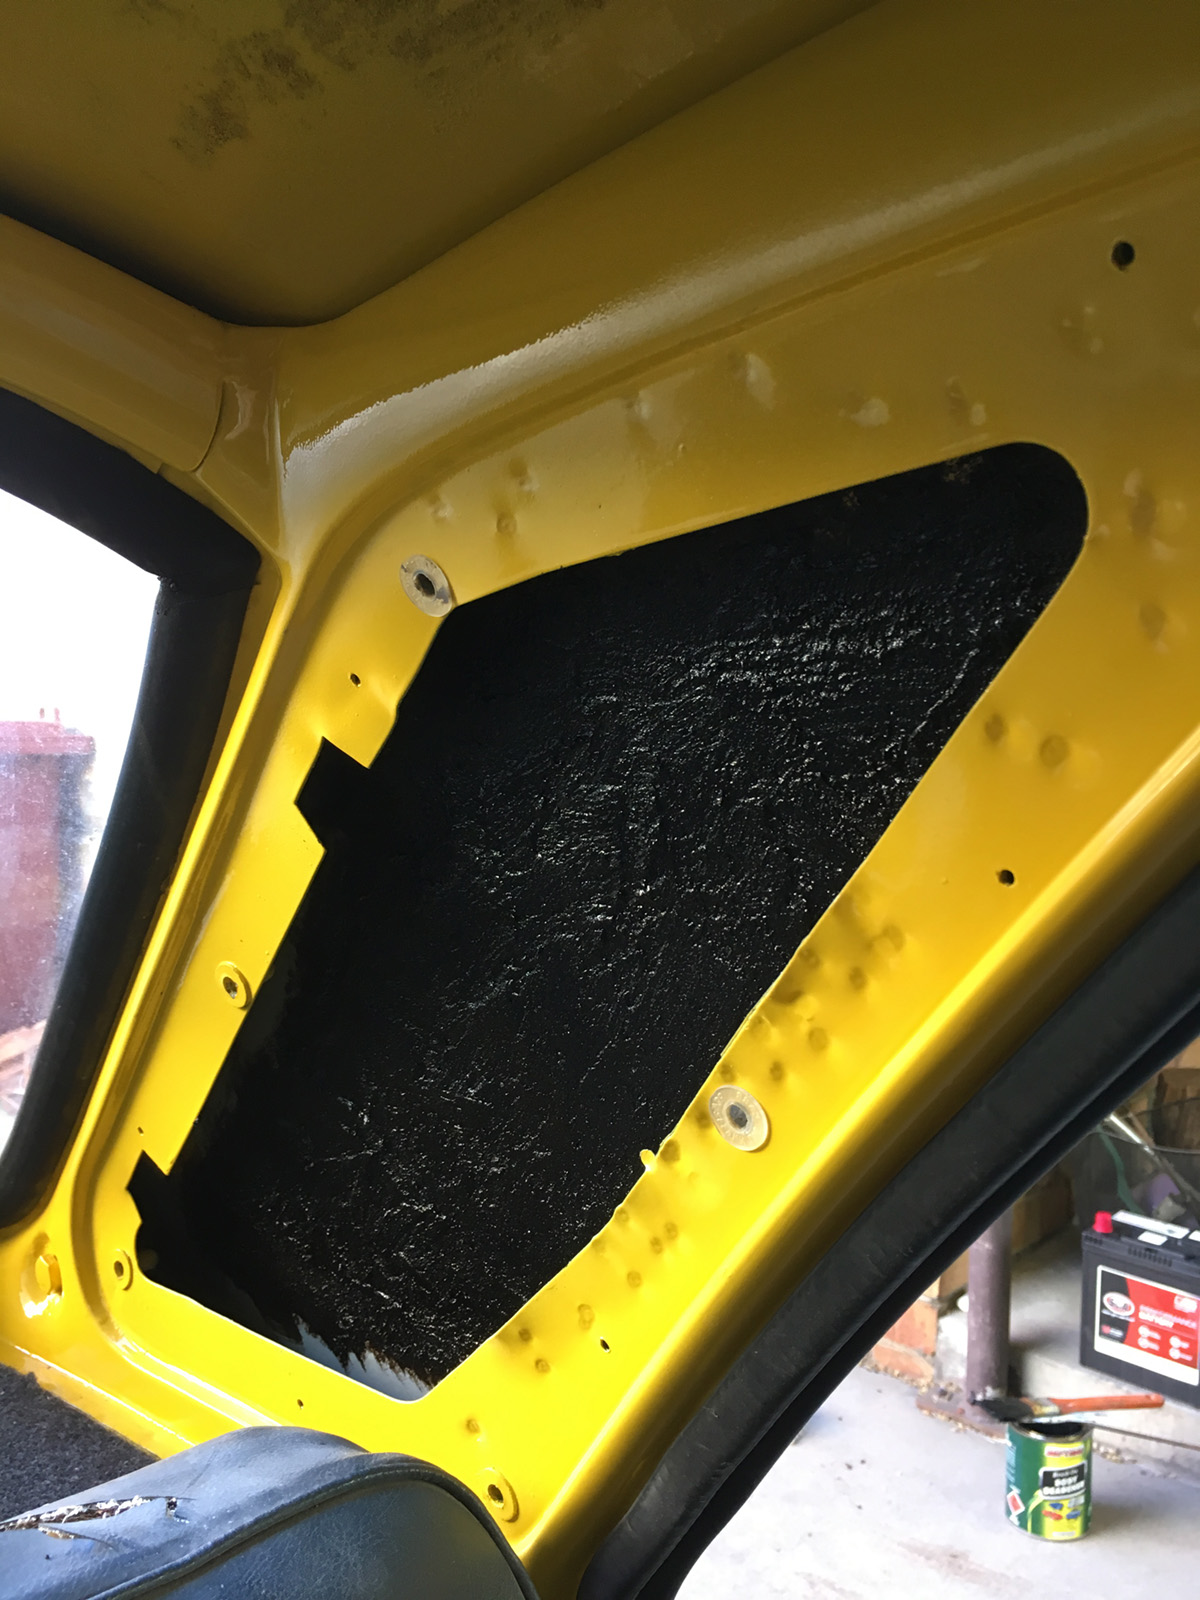
To fill these holes.
Image

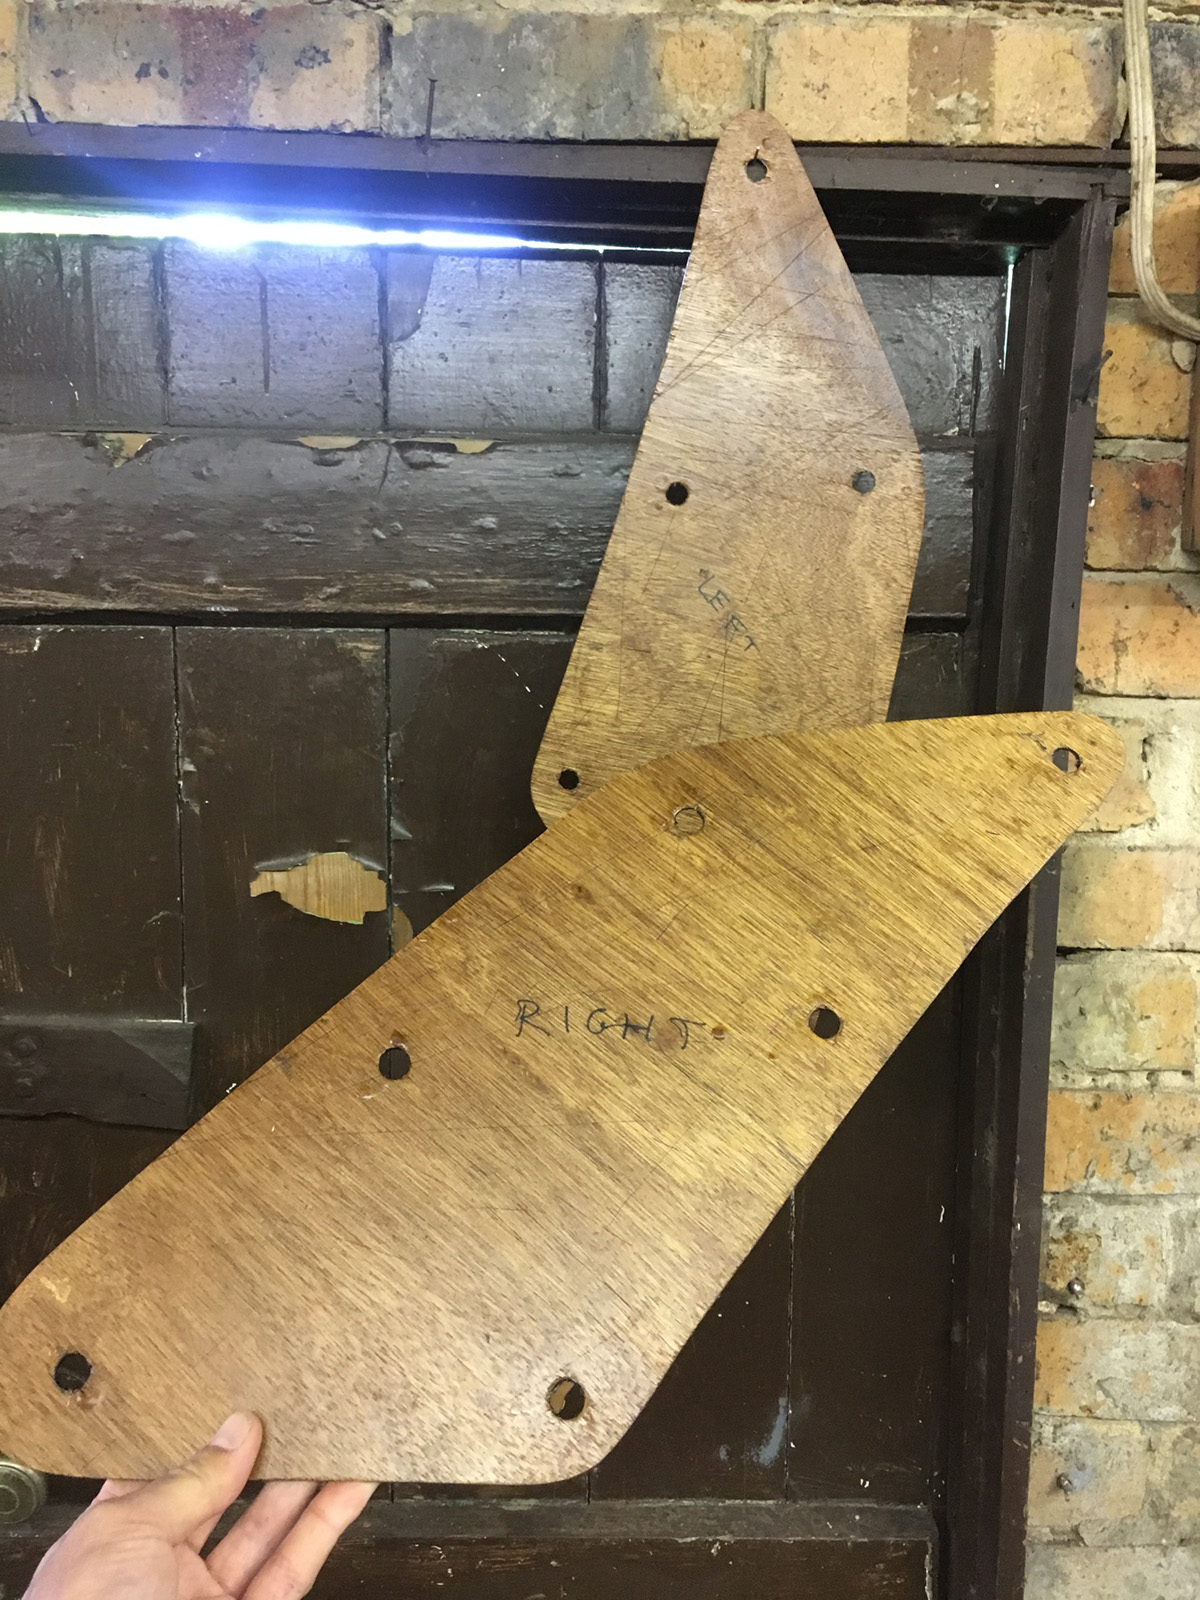
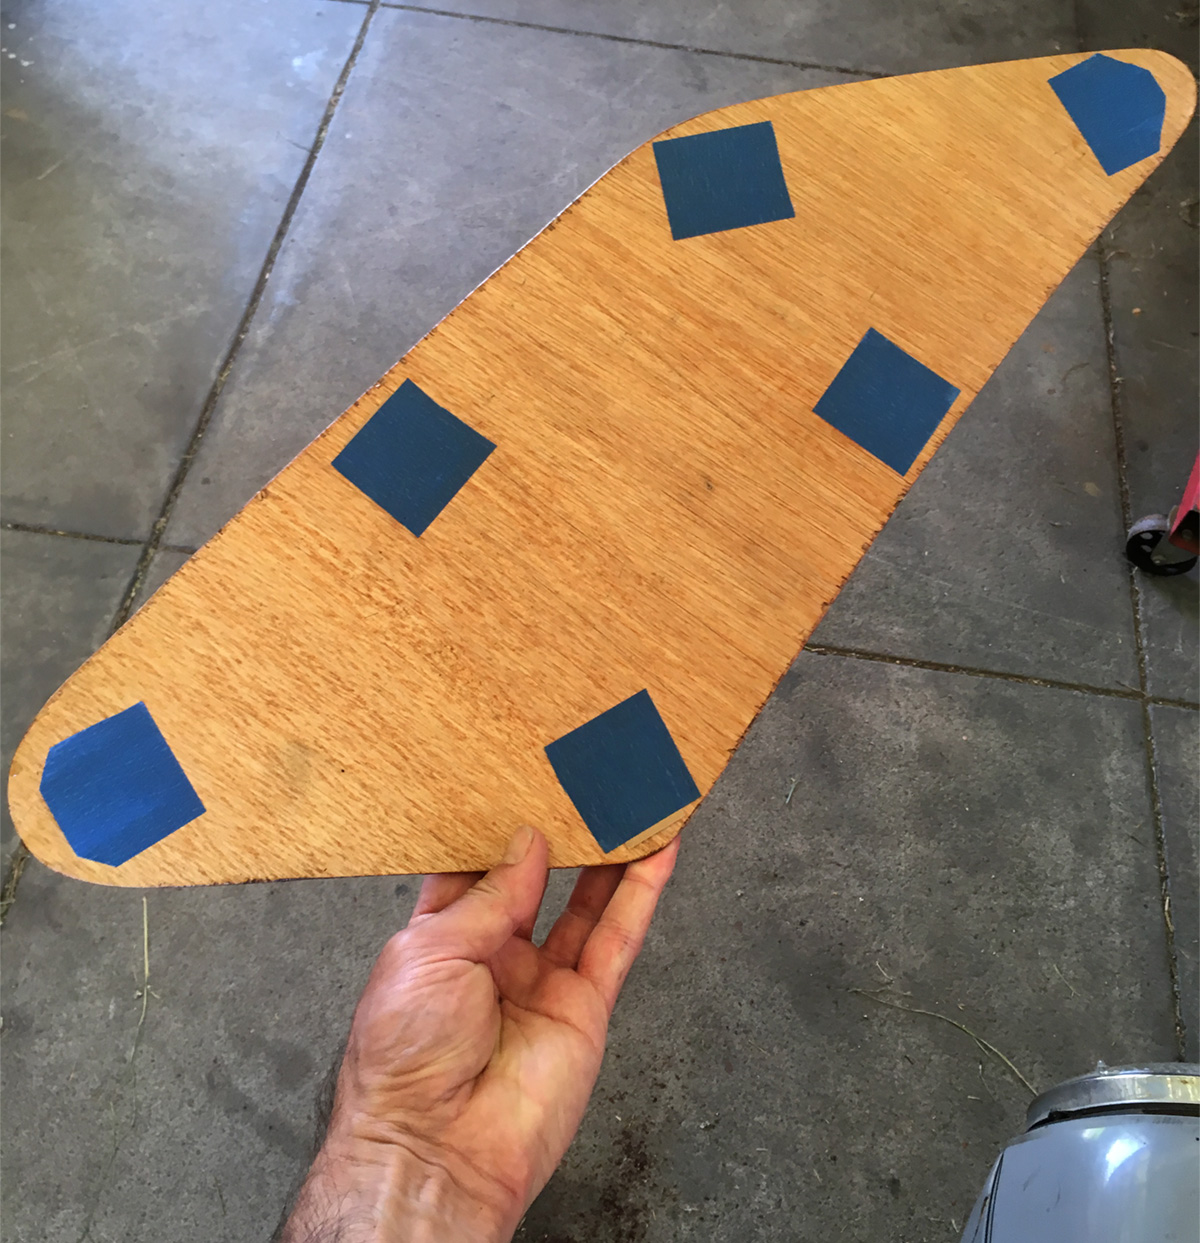
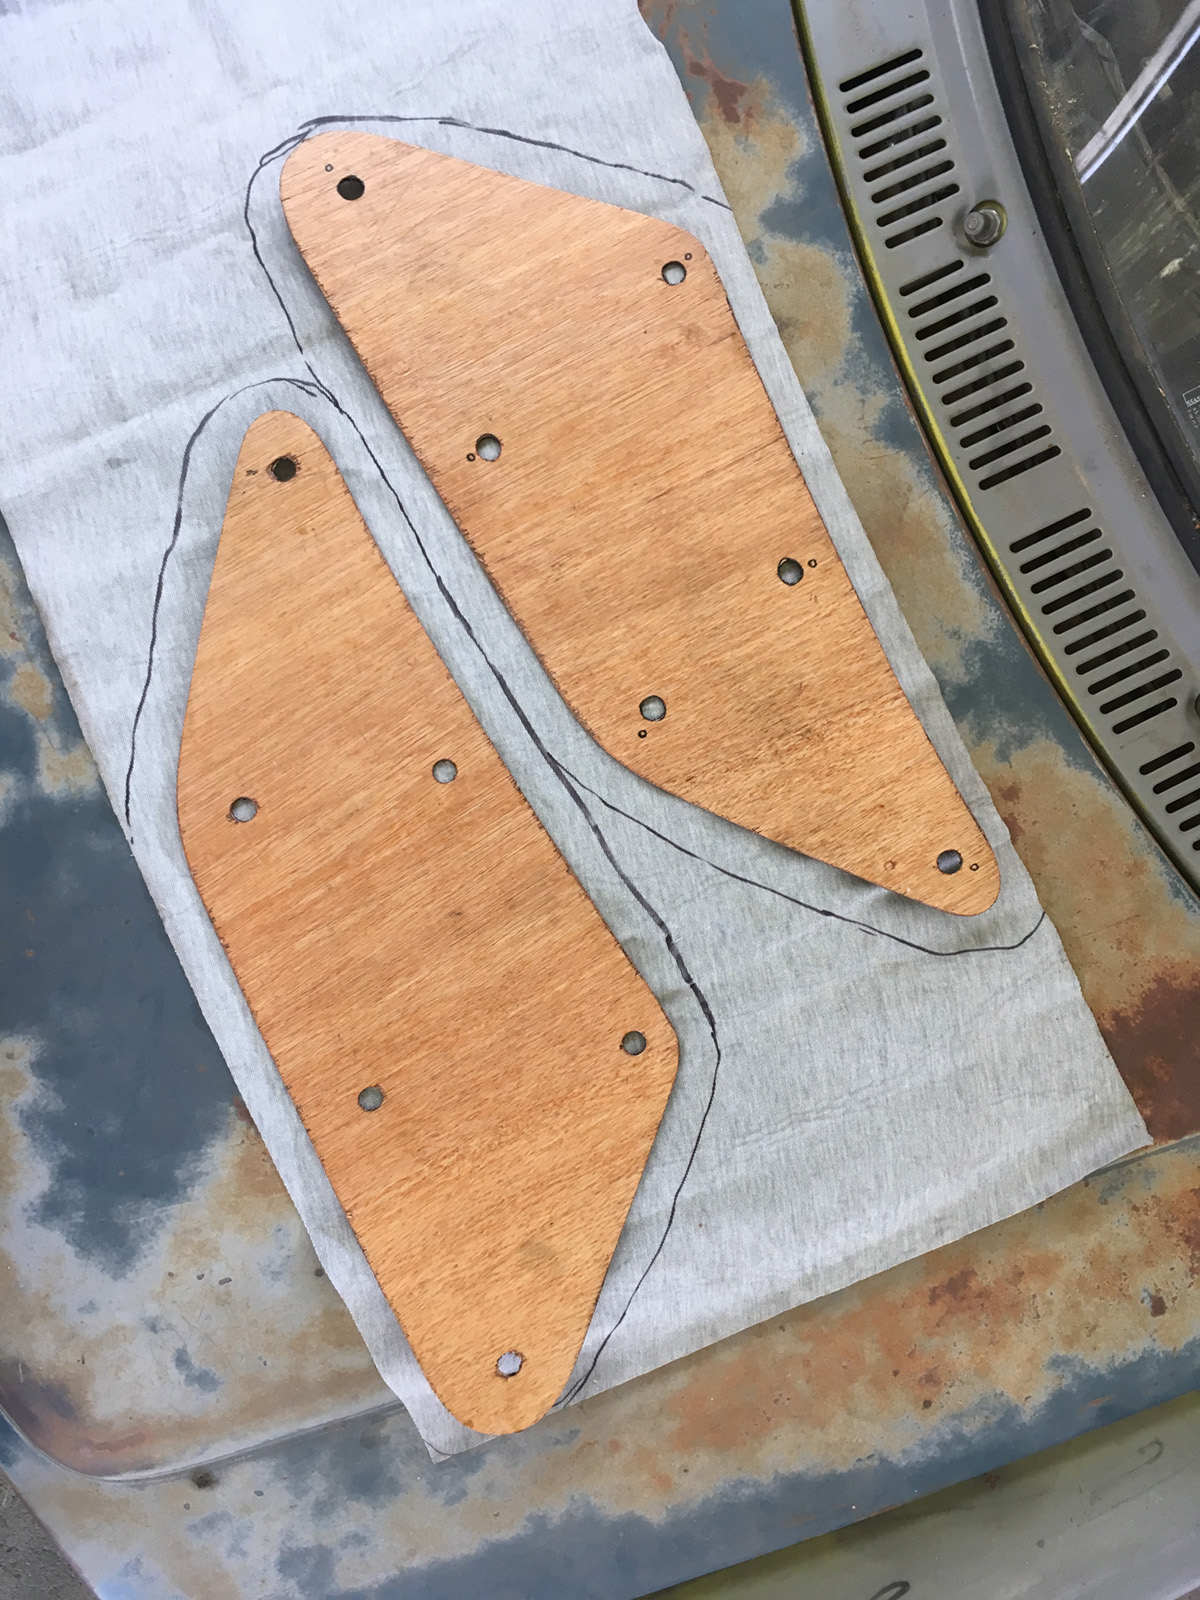
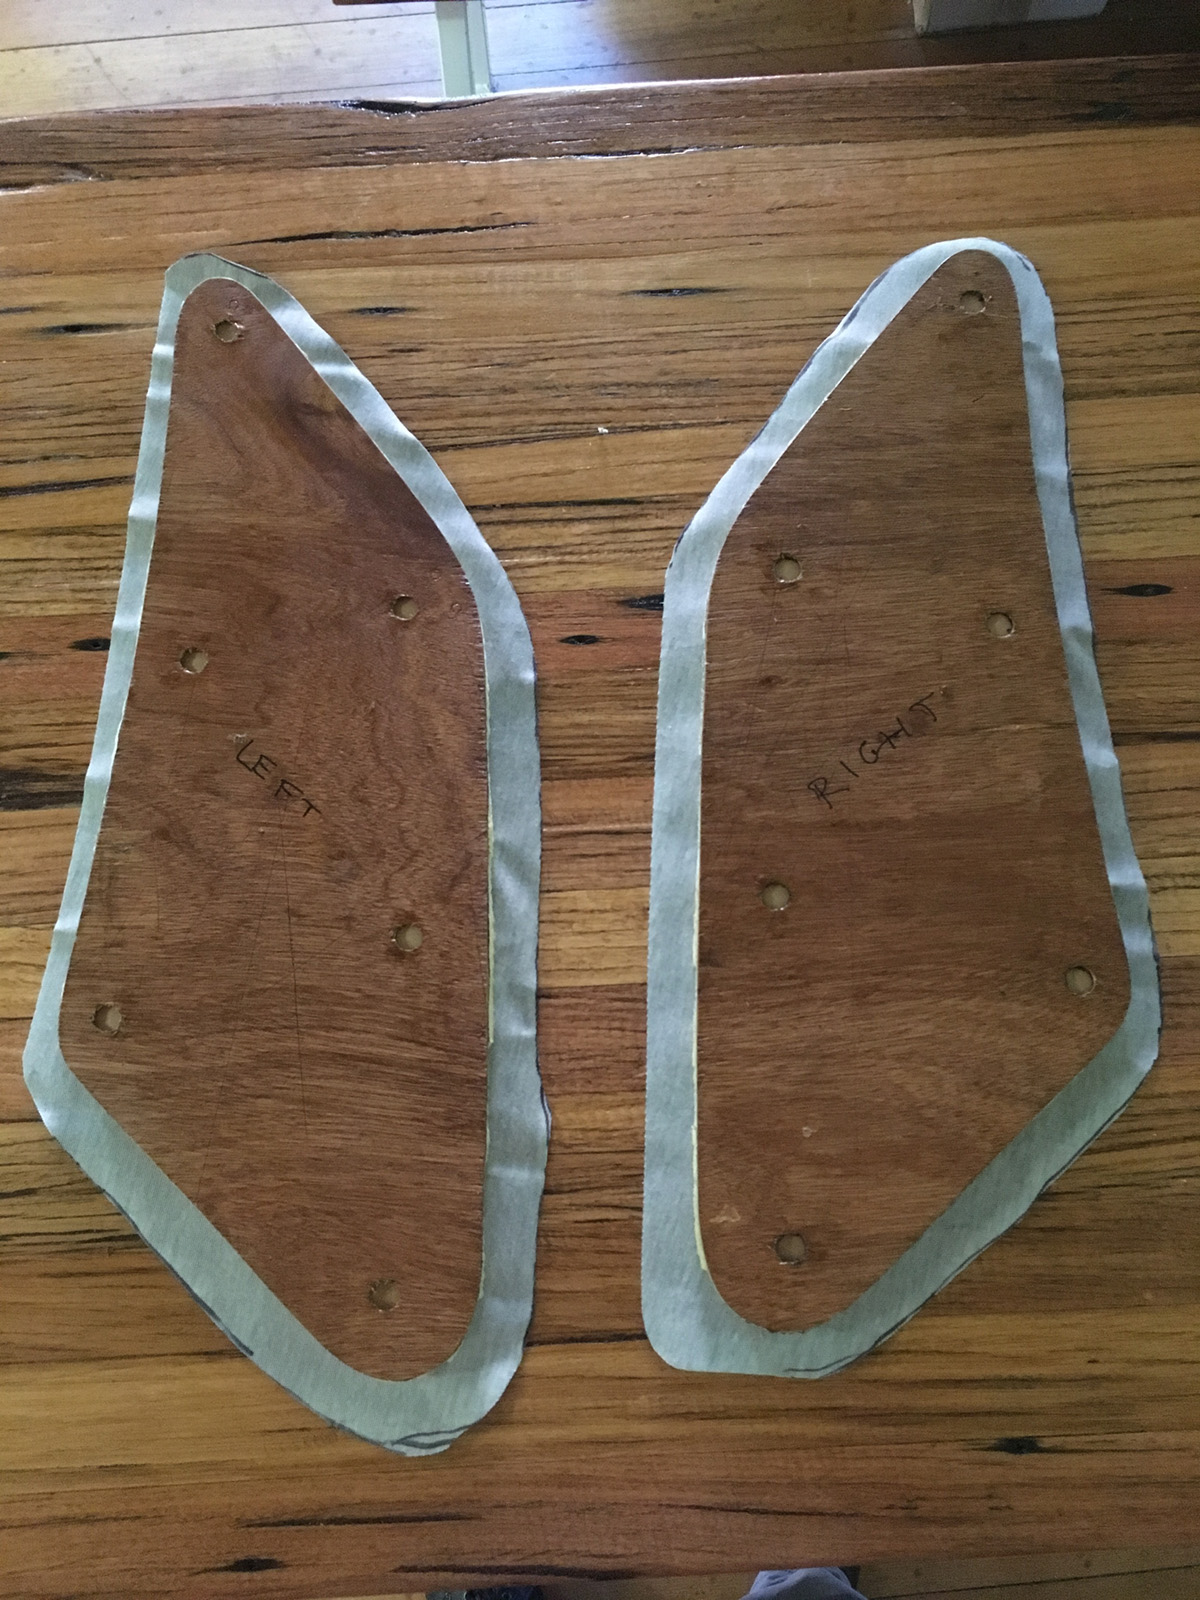
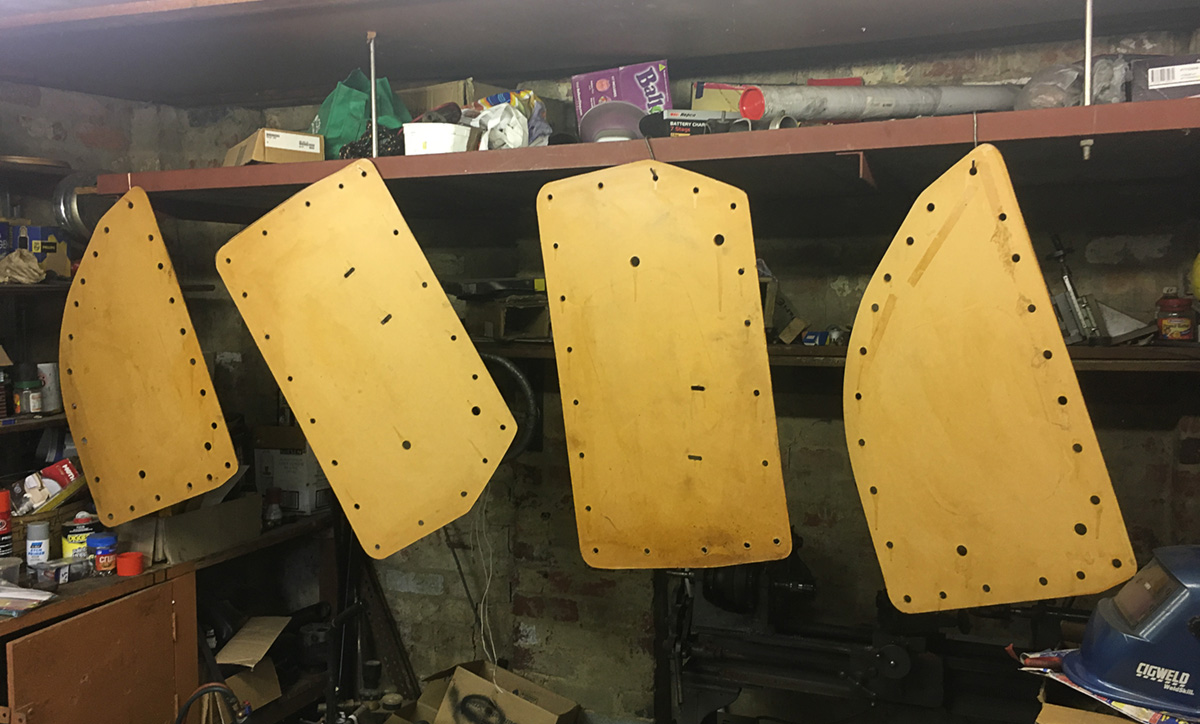
I cut these up out of some plywood. Gave them a few coats of polyurethane varnish I had just to tidy them up a bit.
Image

The trick with these is to allow room for the trim clips to slide in. Don’t glue your foam straight to the backboard, thankfully I learnt this lesson a while back on a previous project.
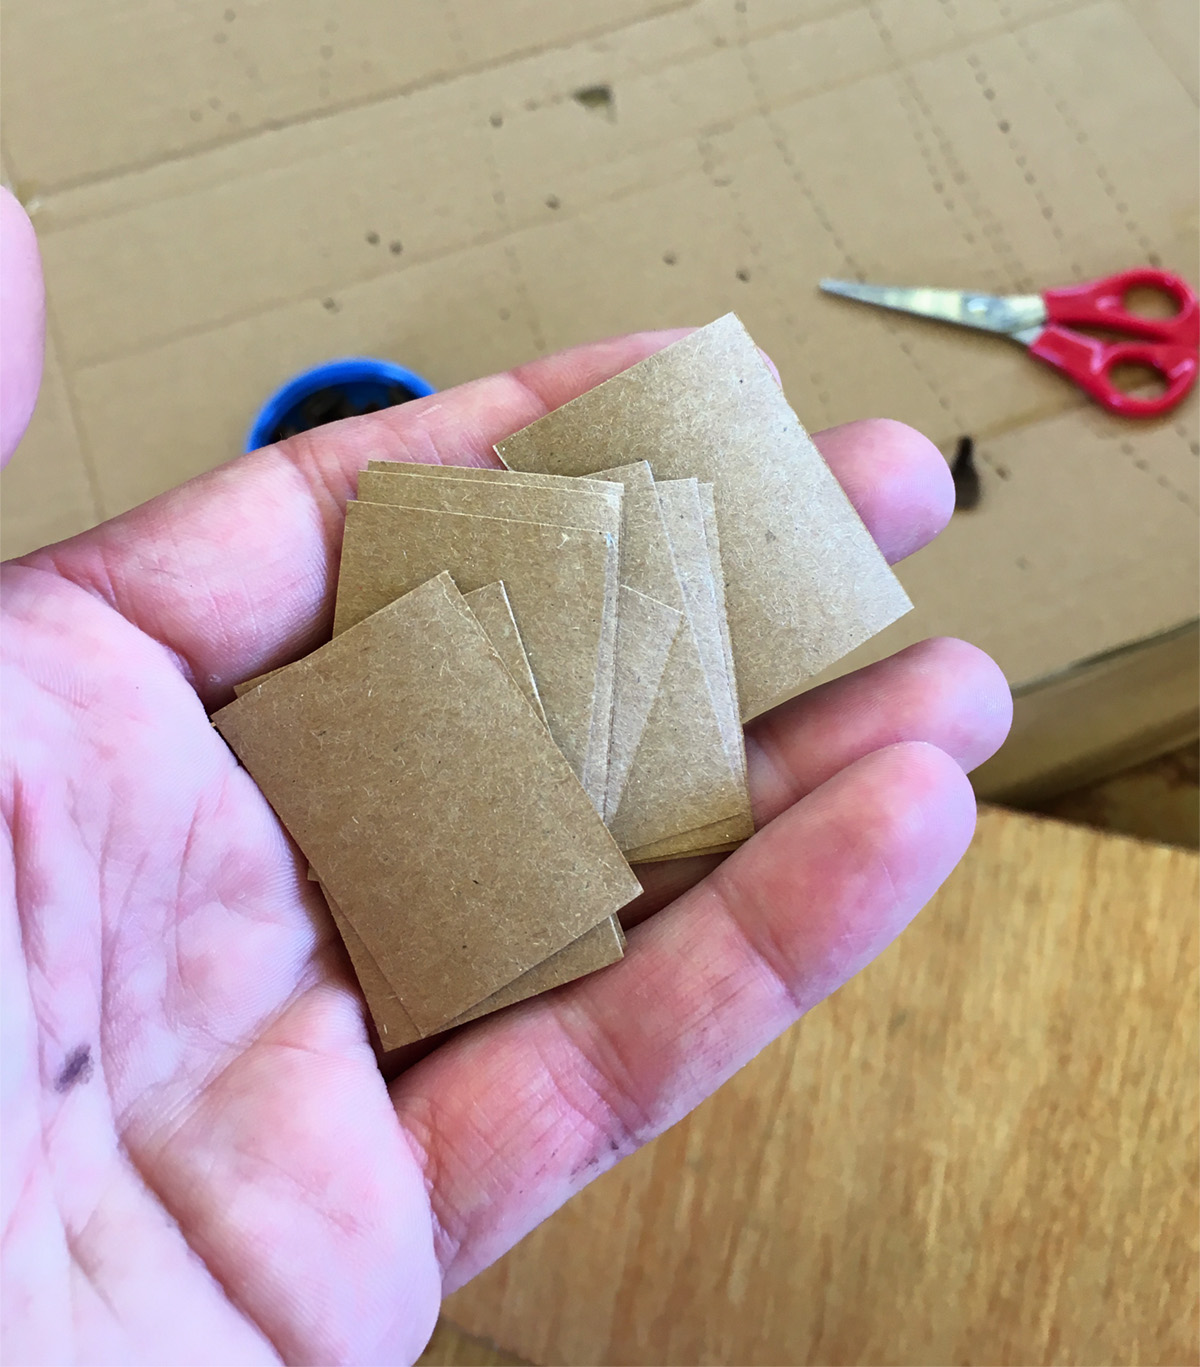
Image

Some thin card.
Image

Taped over the holes should do.
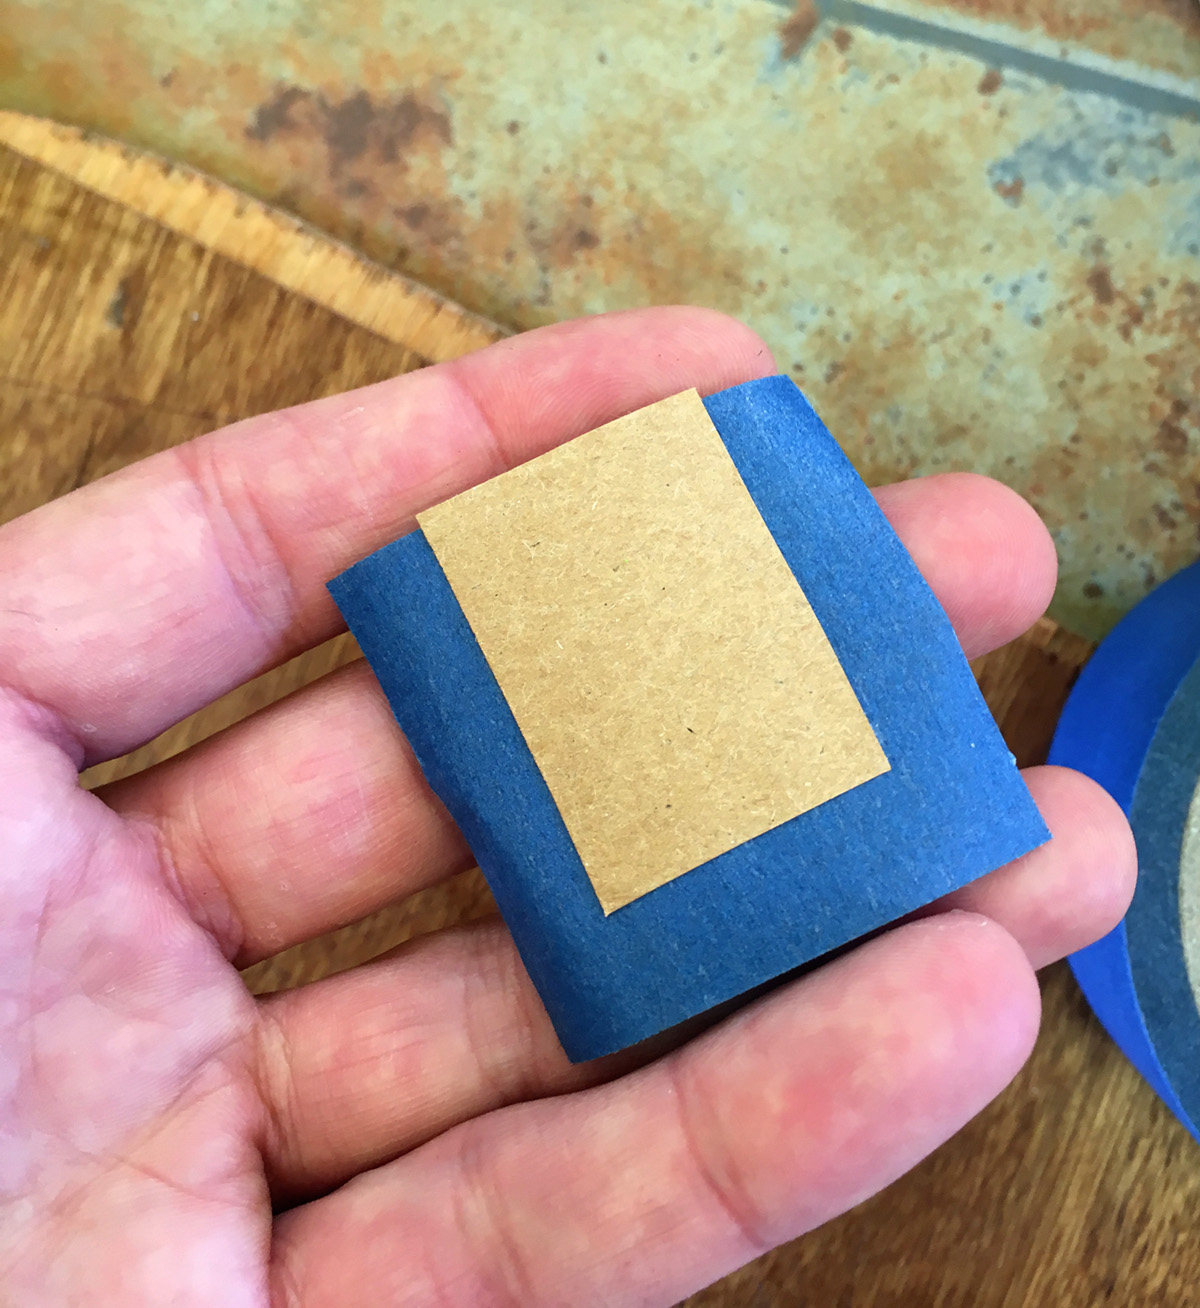
Image

Like so.
Image

Allowing the clips to slide in without grabbing the foam.
Image

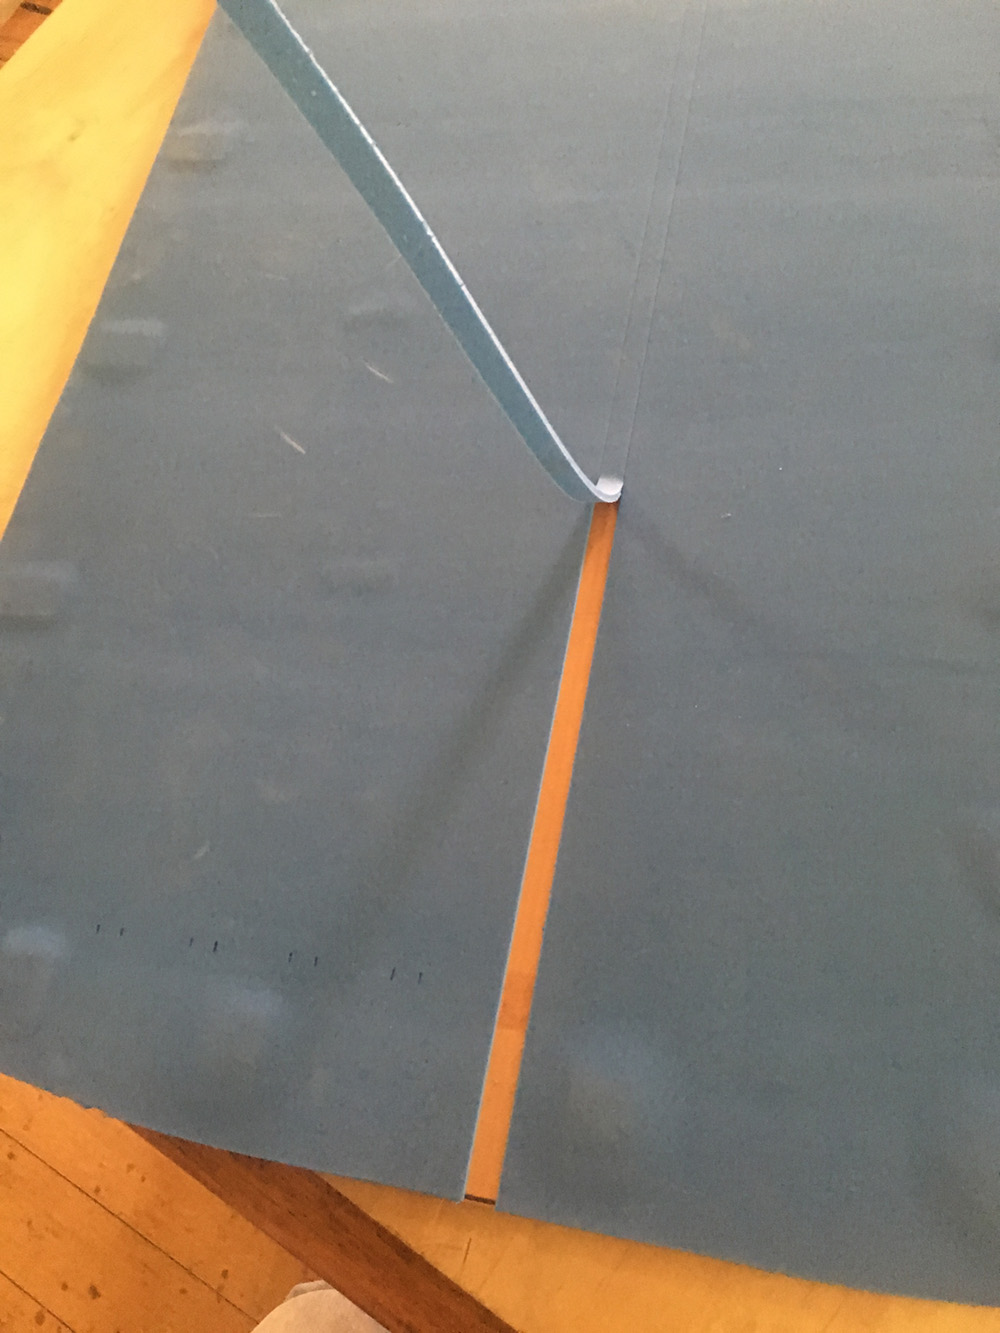
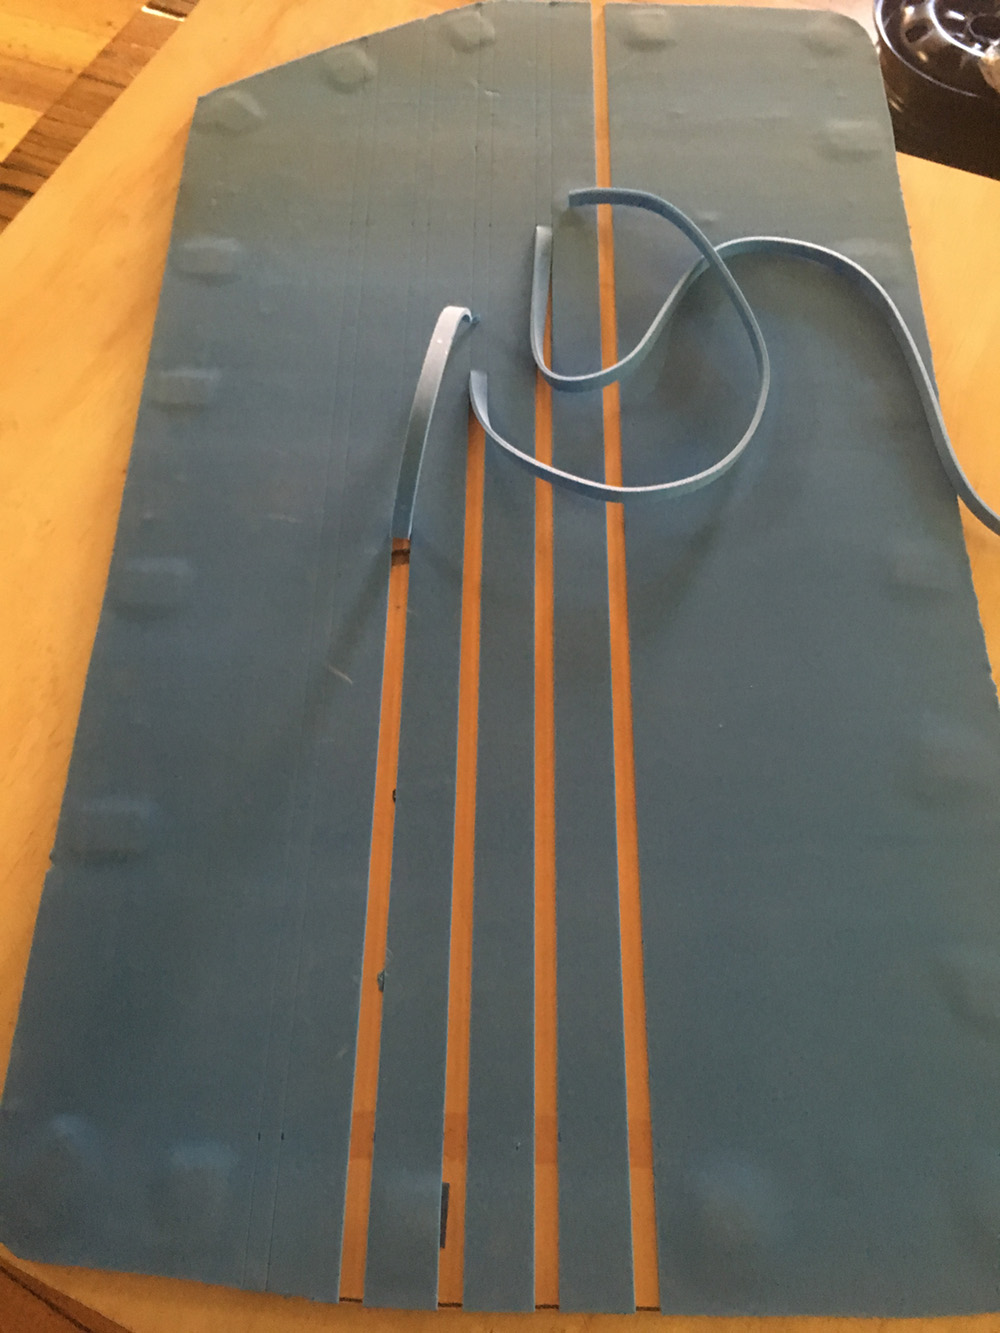
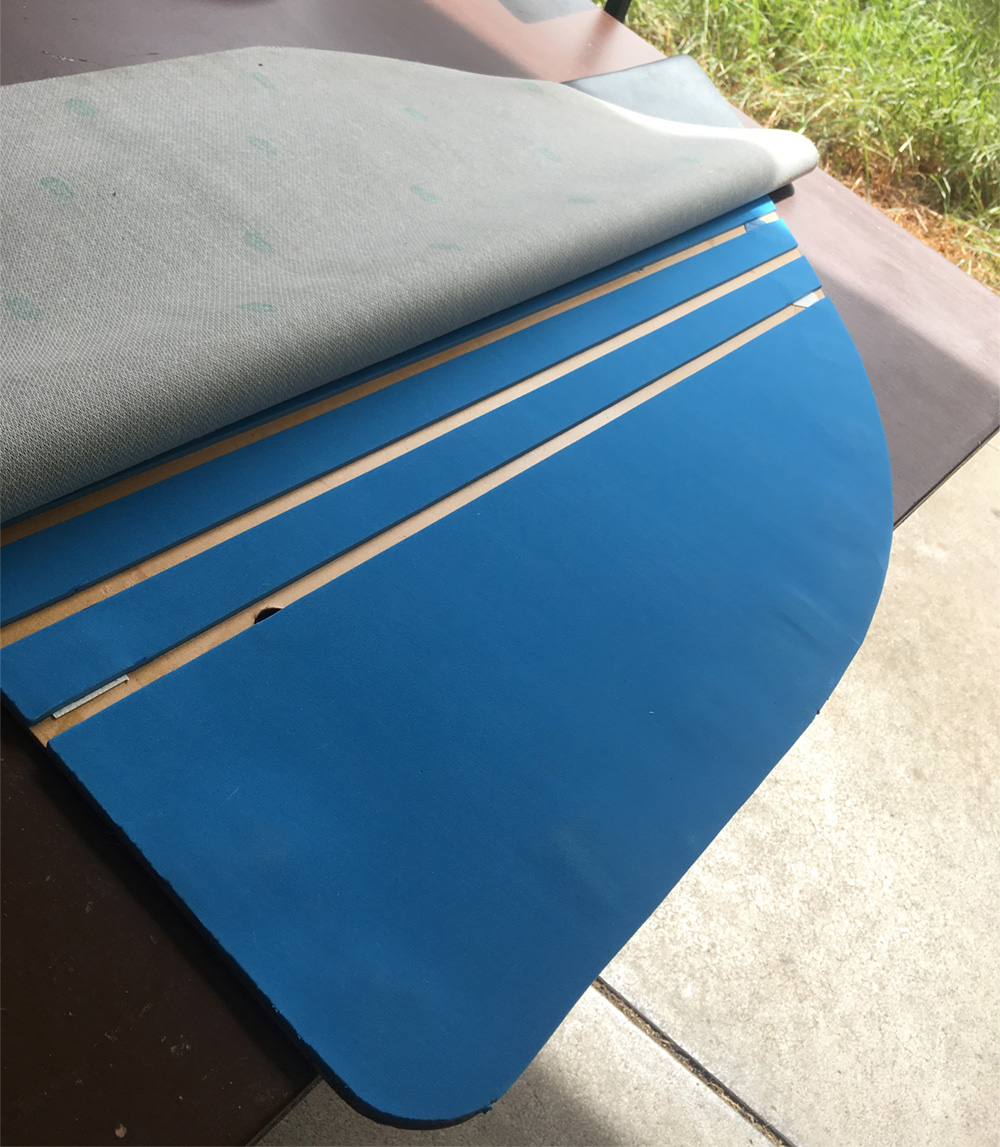
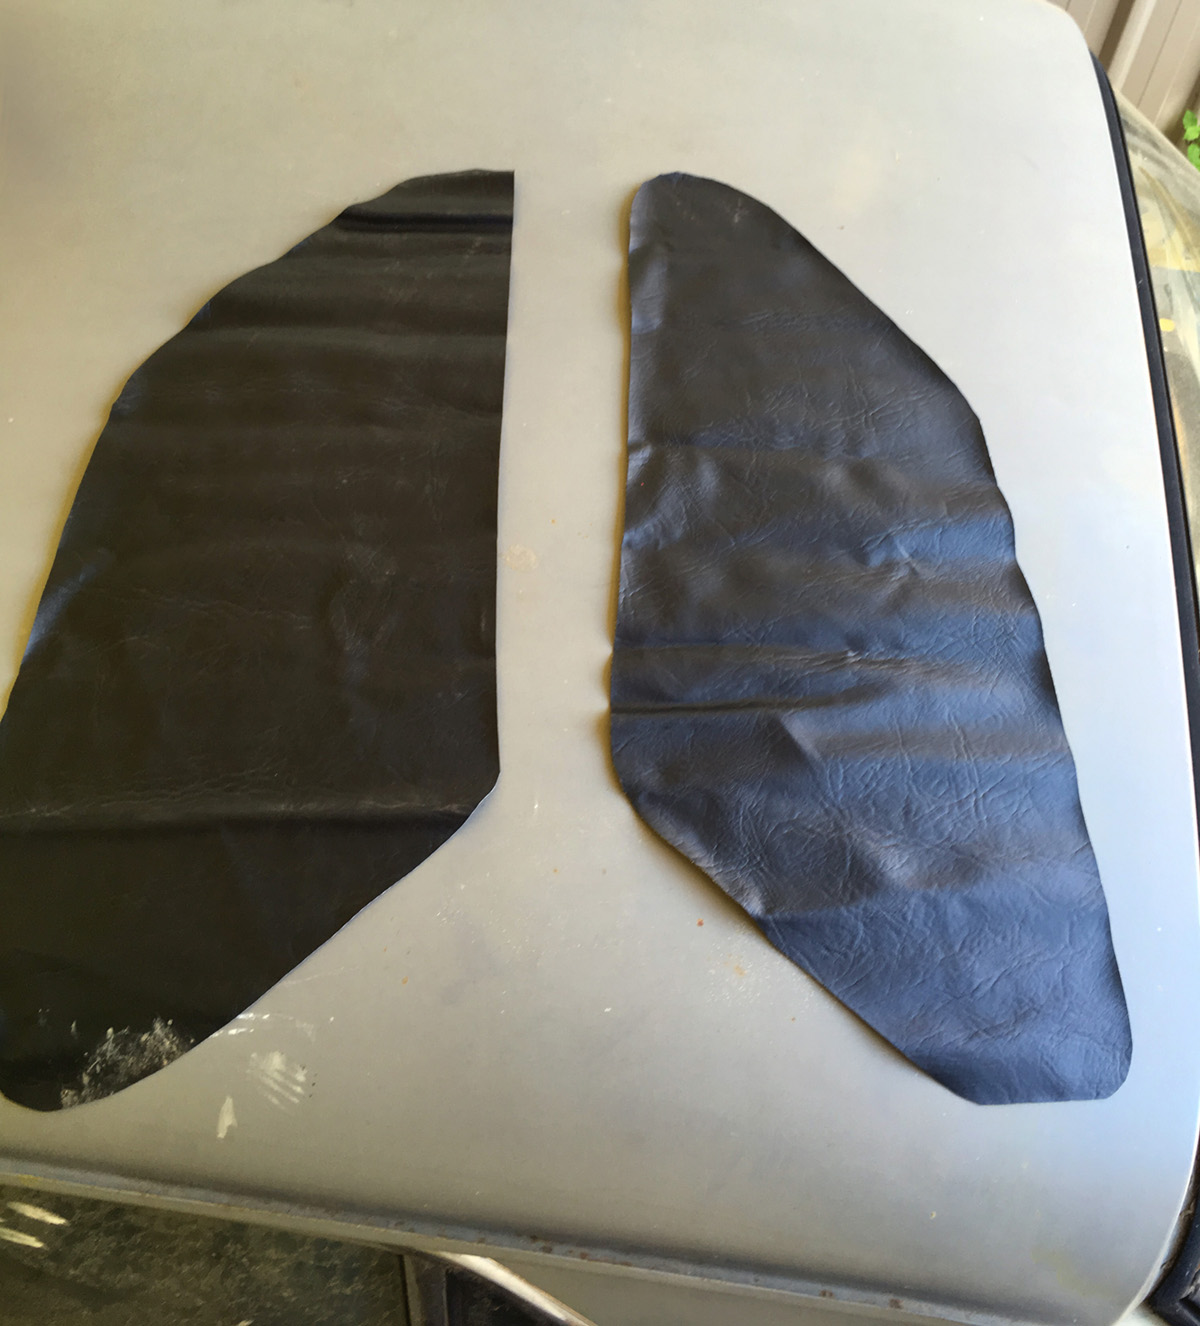
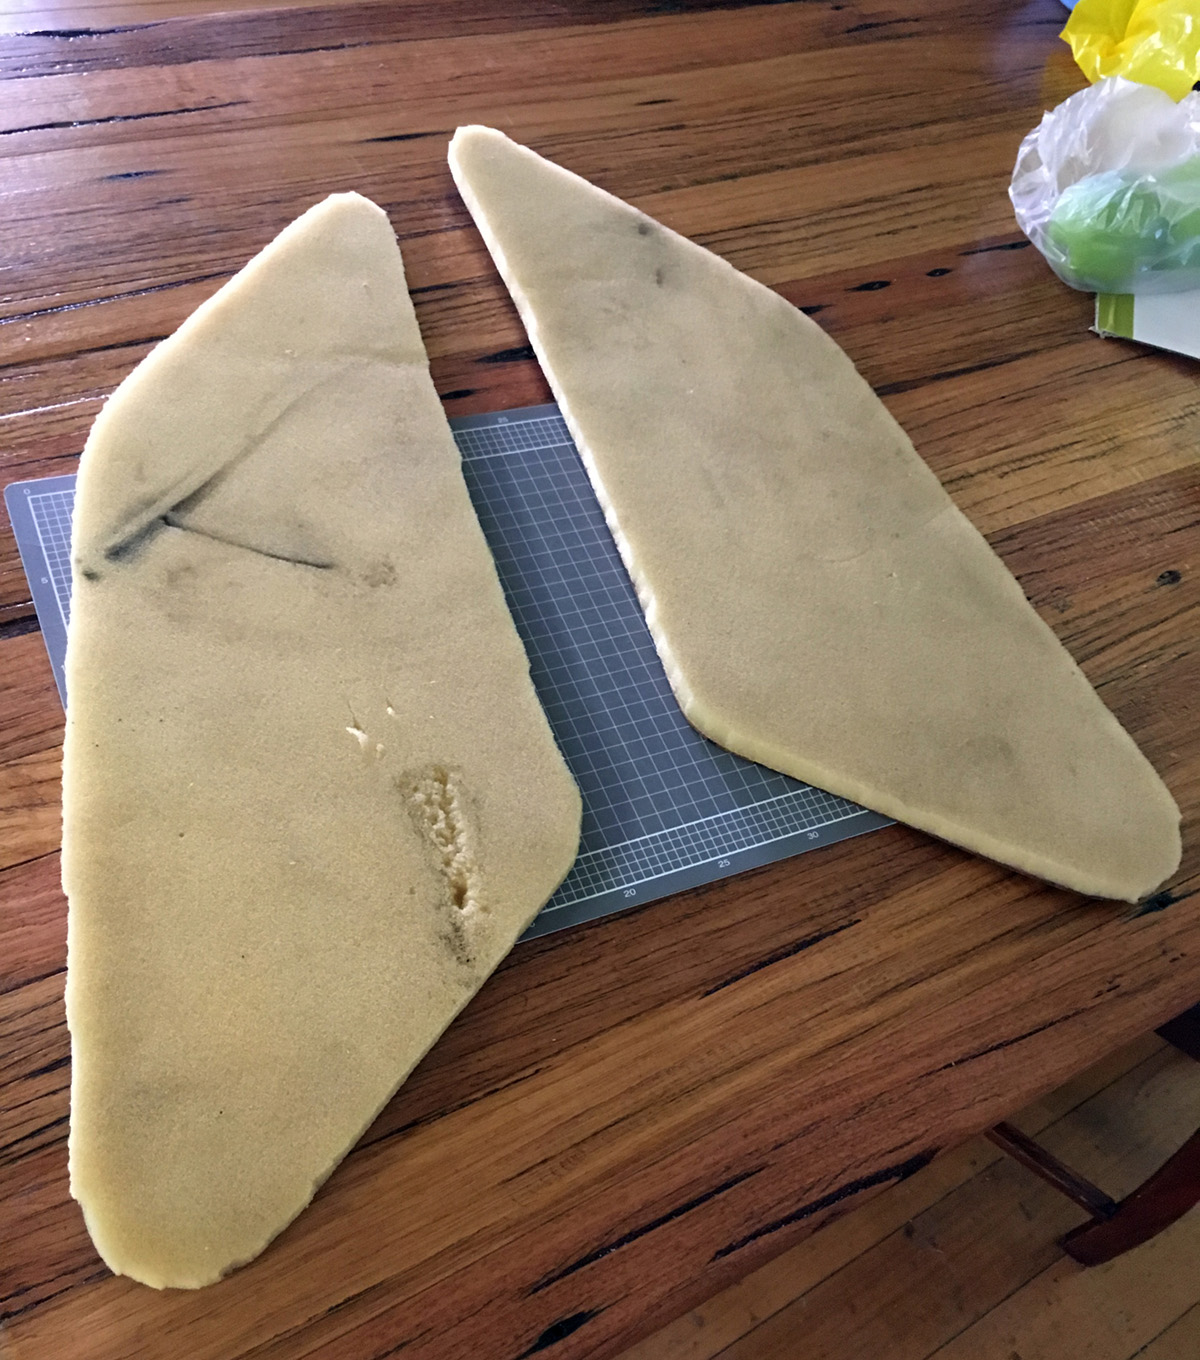
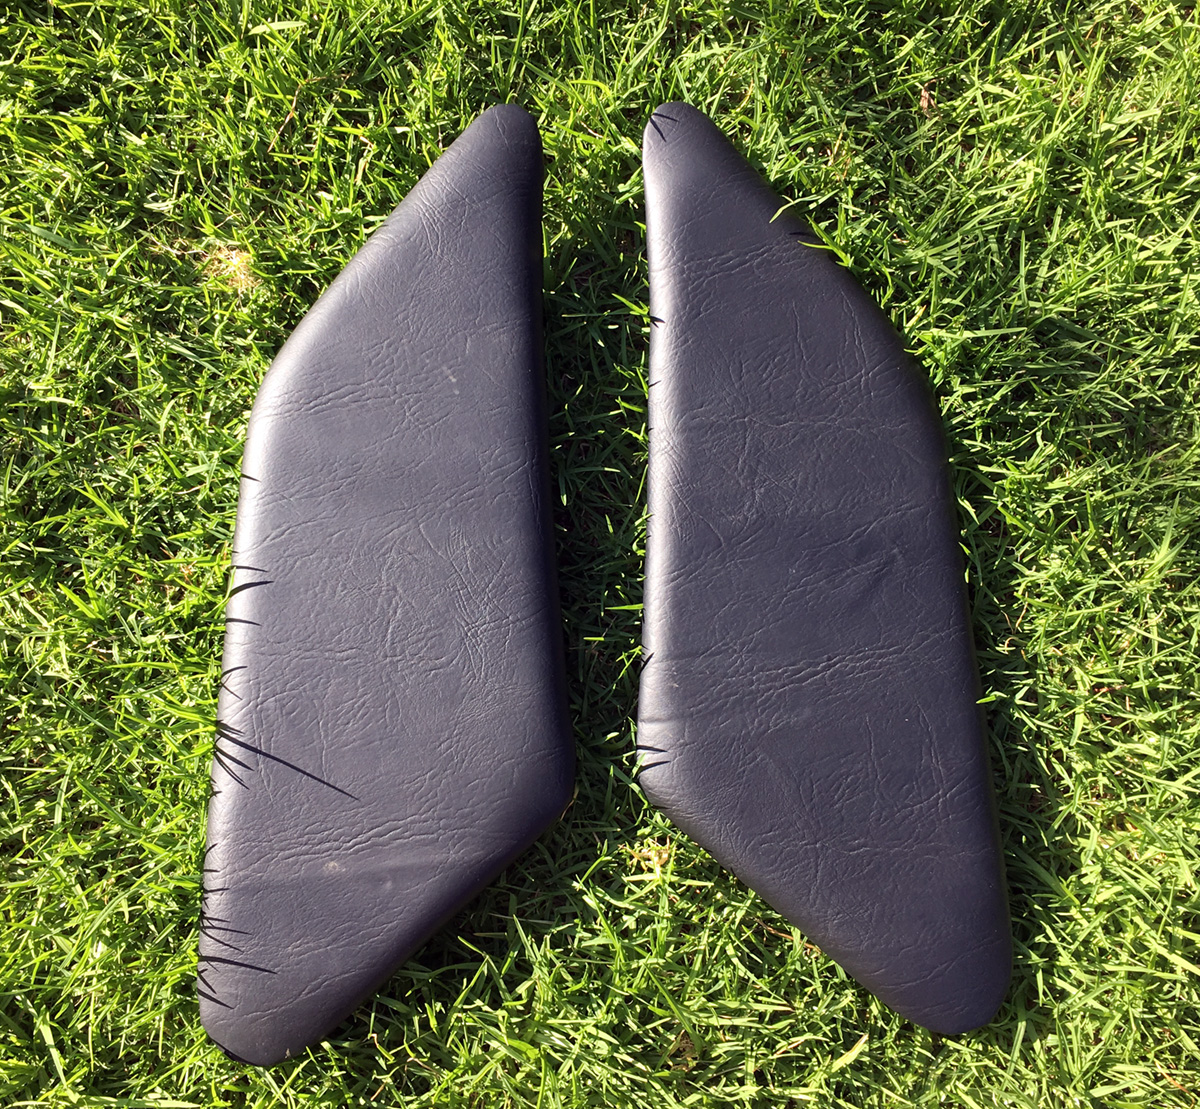
So then I cut some pieces of vinyl.
Image

Image

Then found some foam for backing.
Image

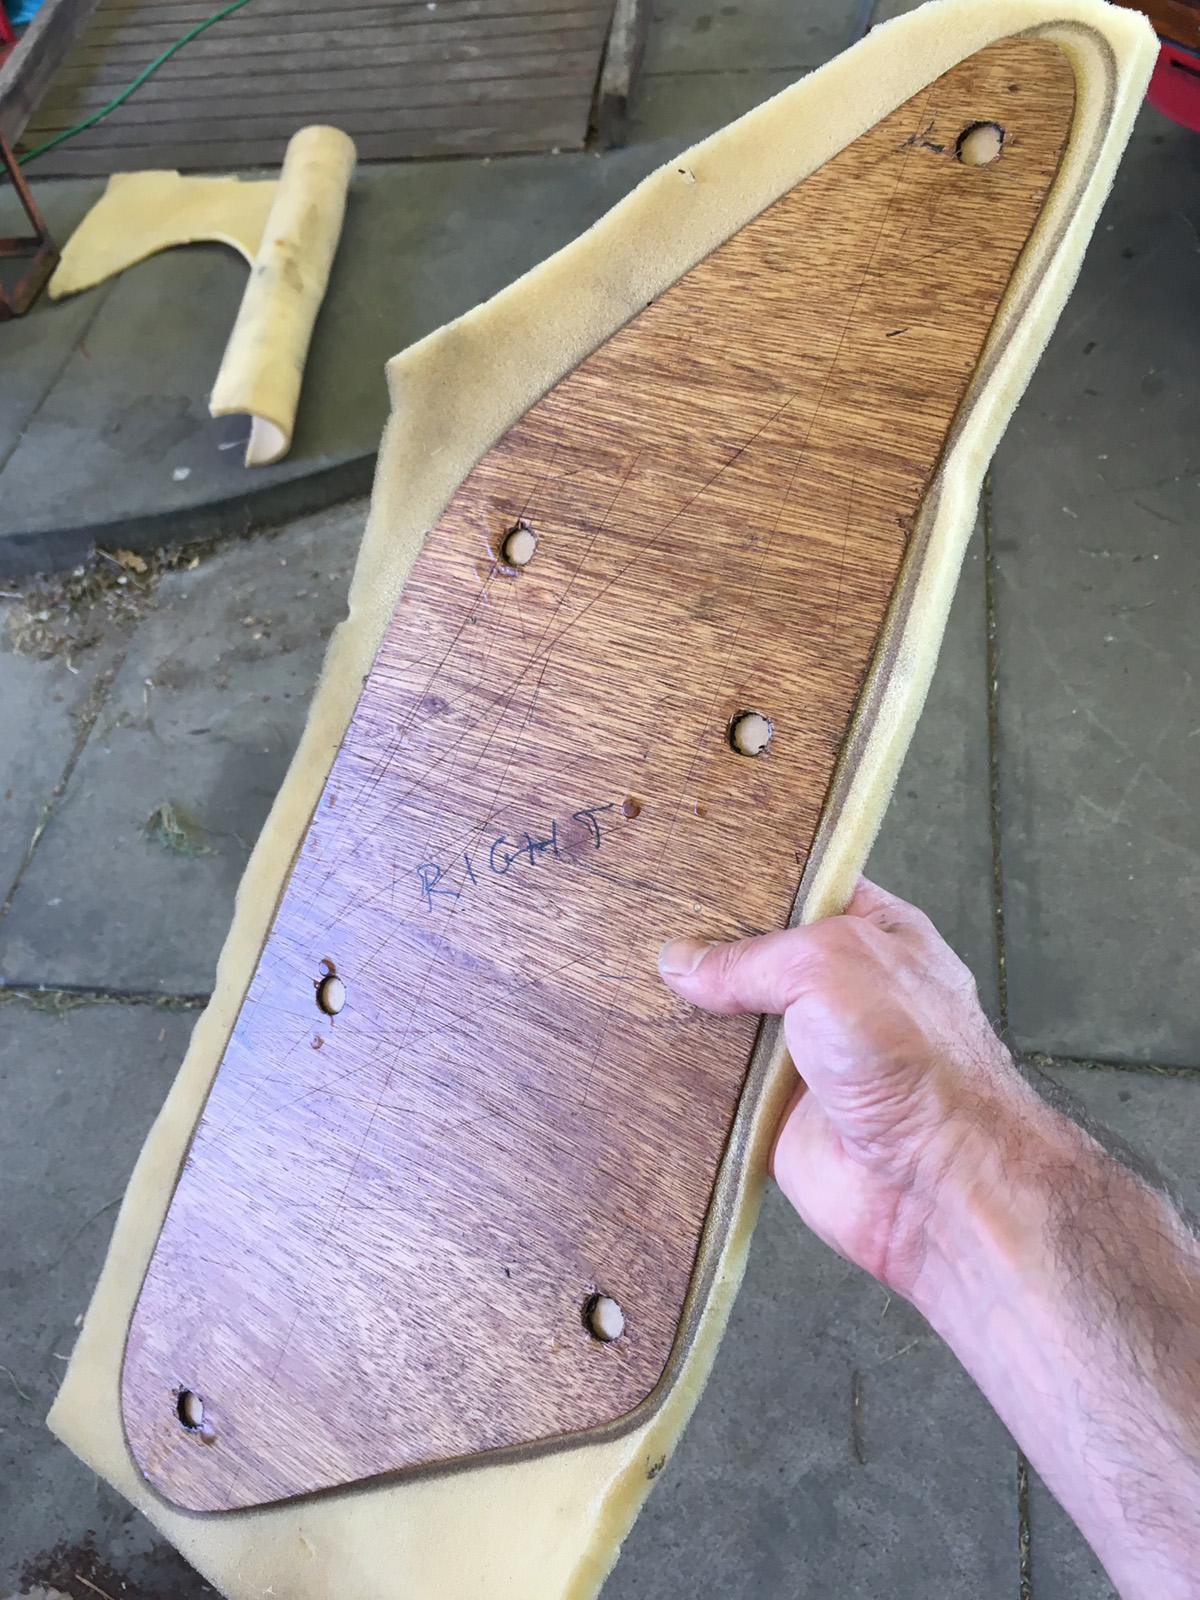
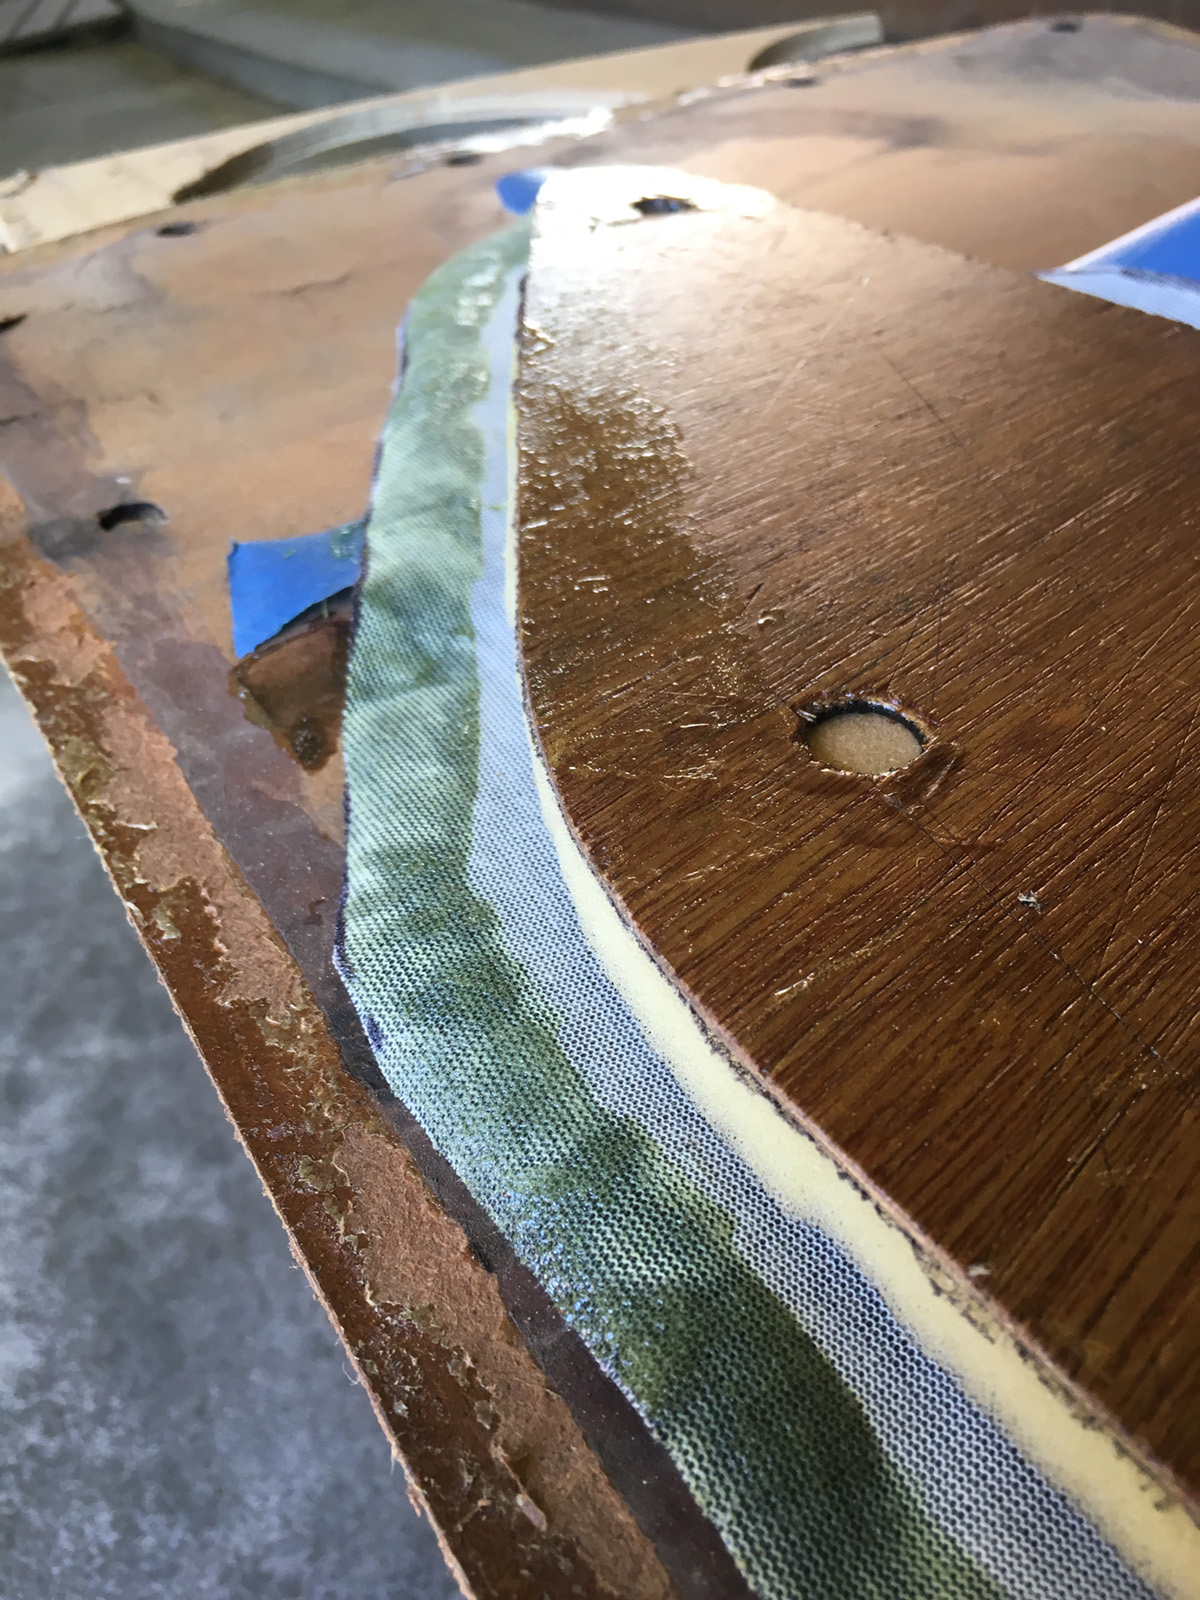
Glued to the boards with spray adhesive and trimmed to the edges.
Image

Leaving an inch or so all the way around.
Image

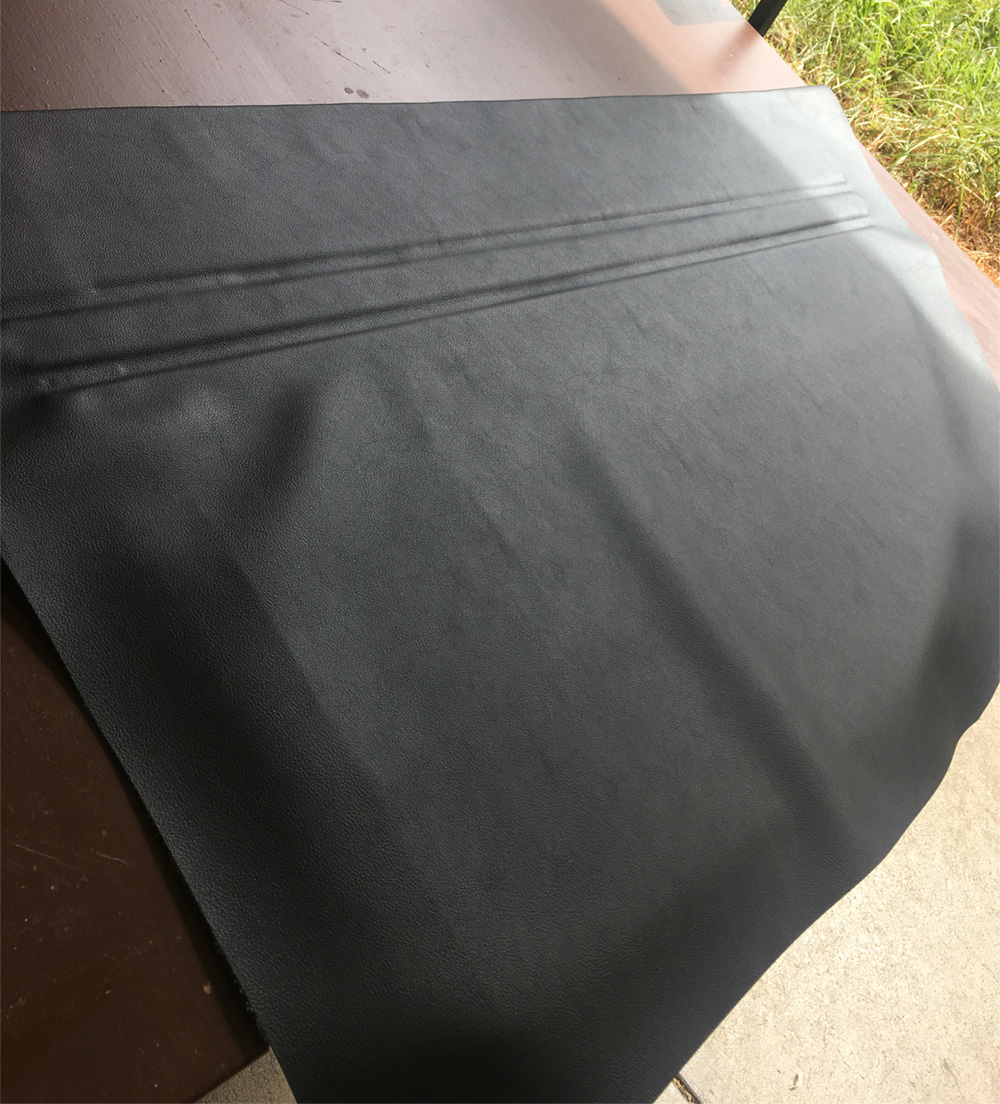
For gluing with some contact adhesive. After finding both the tins in the shed had gone solid, a trip to Bunnings yielded some Sika branded stuff that was quite forgiving to use and actually allowed for a bit of repositioning which was handy.
Image

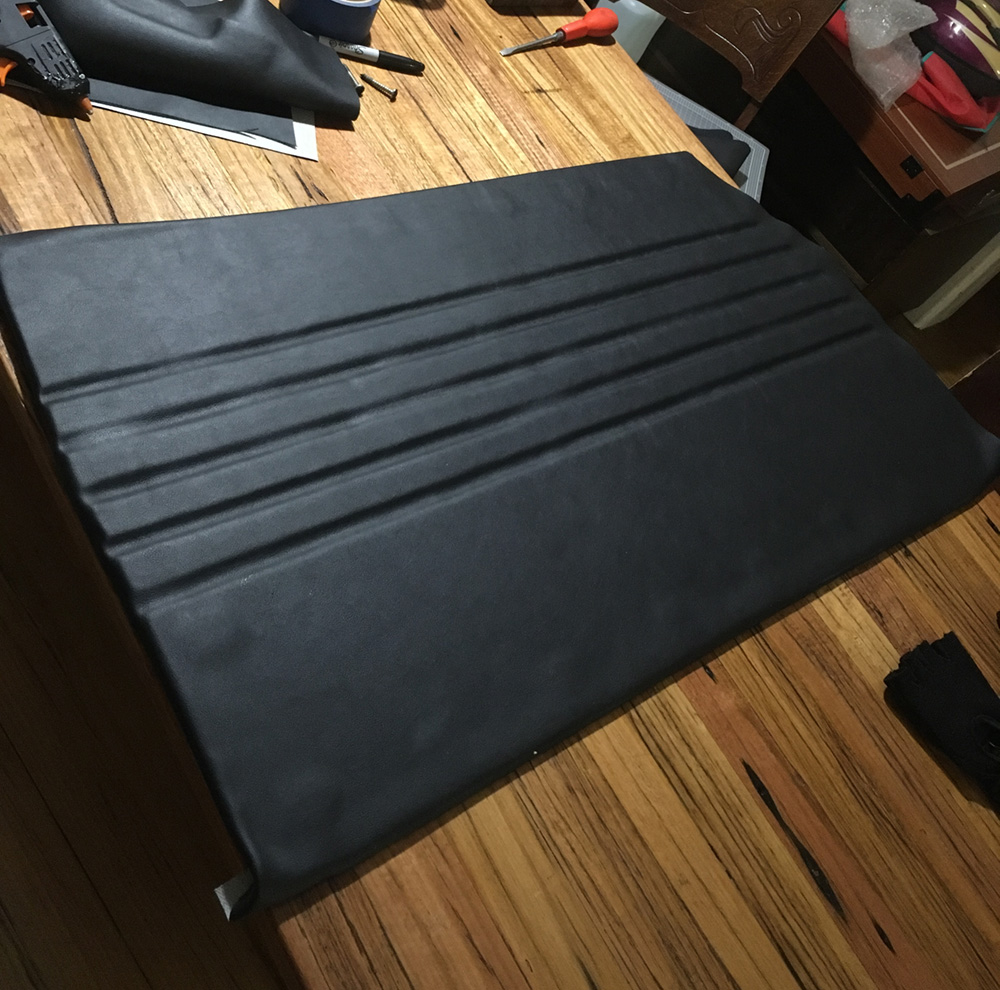
I found it was necessary to look at both sides to try to get the radius of the edge even as too much tension flattened it out and made it look funny.
Image

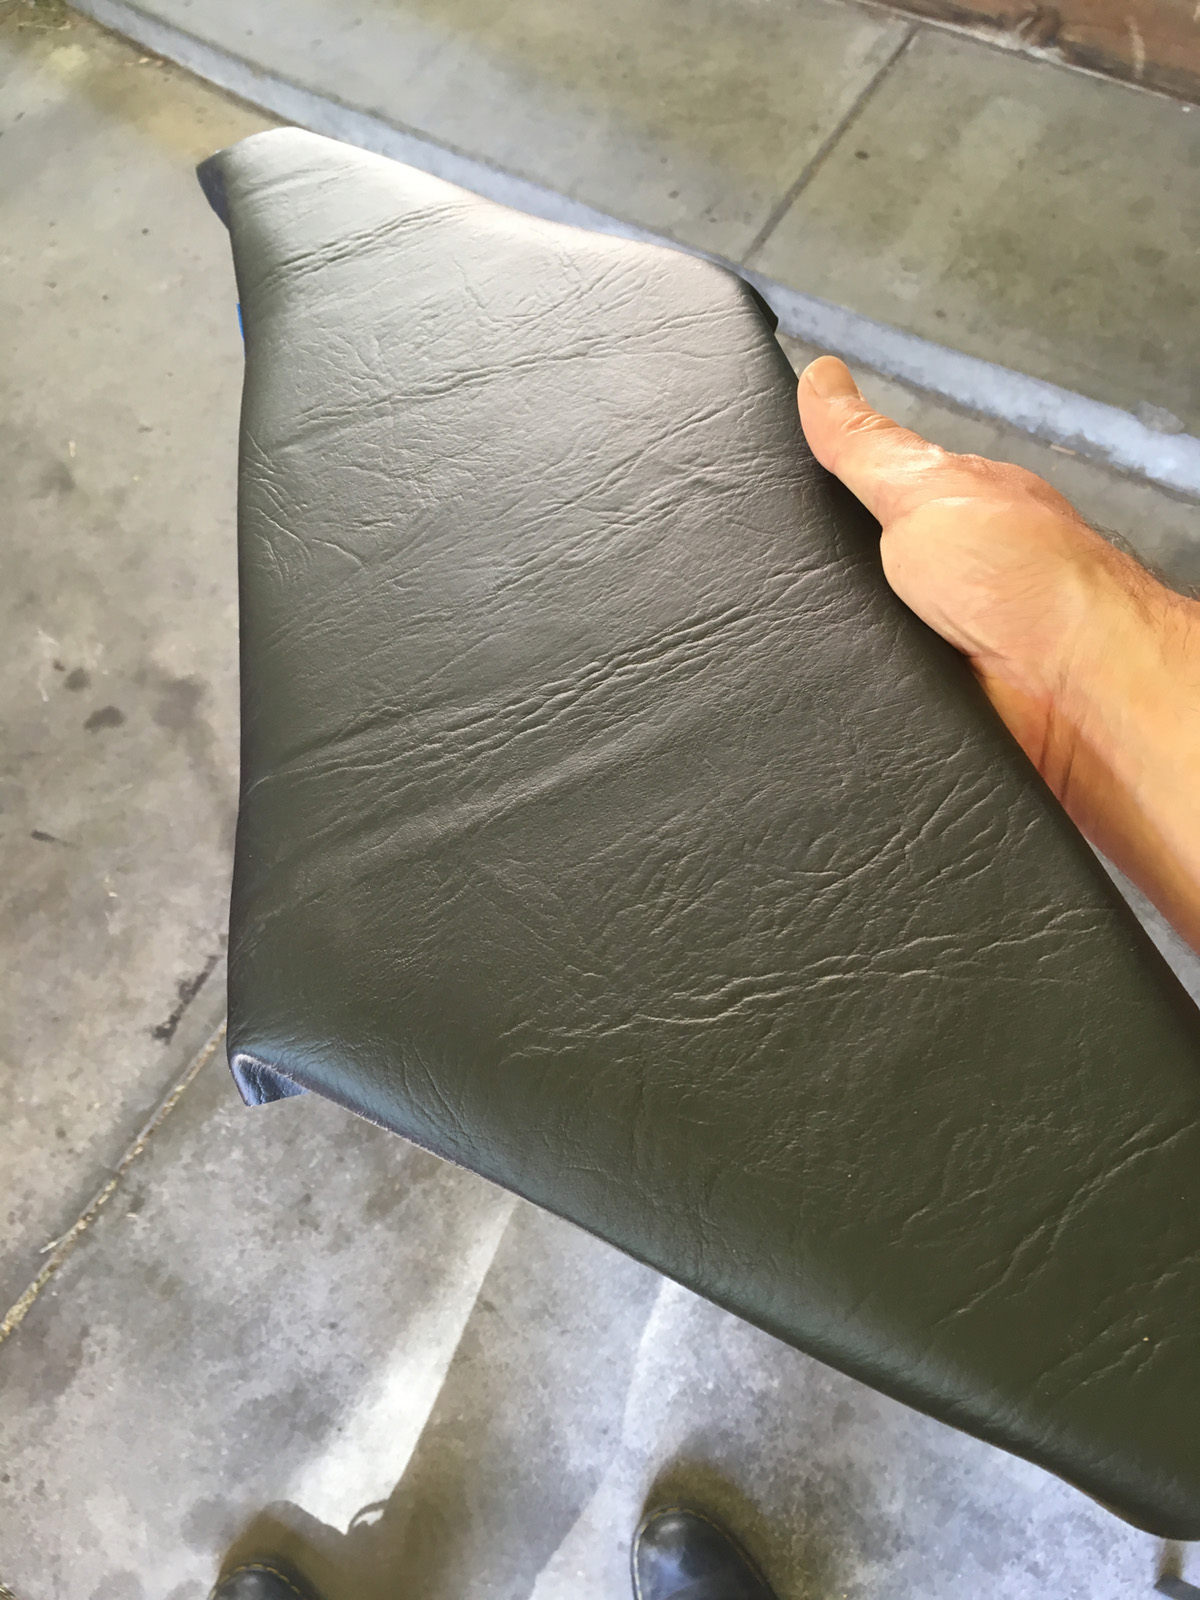
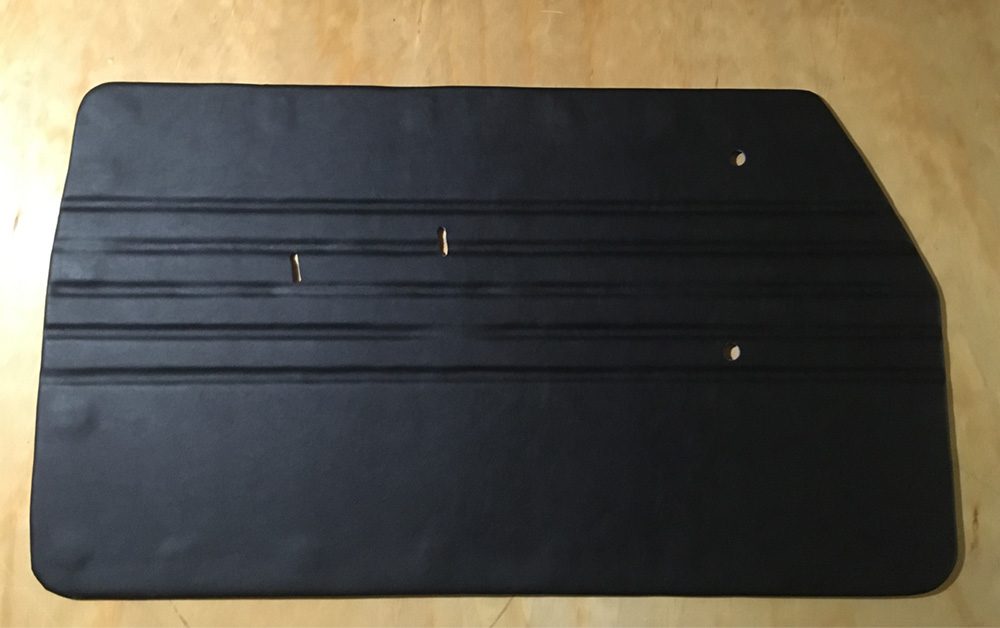
Overall they came out pretty nice for an afternoons work.
Image

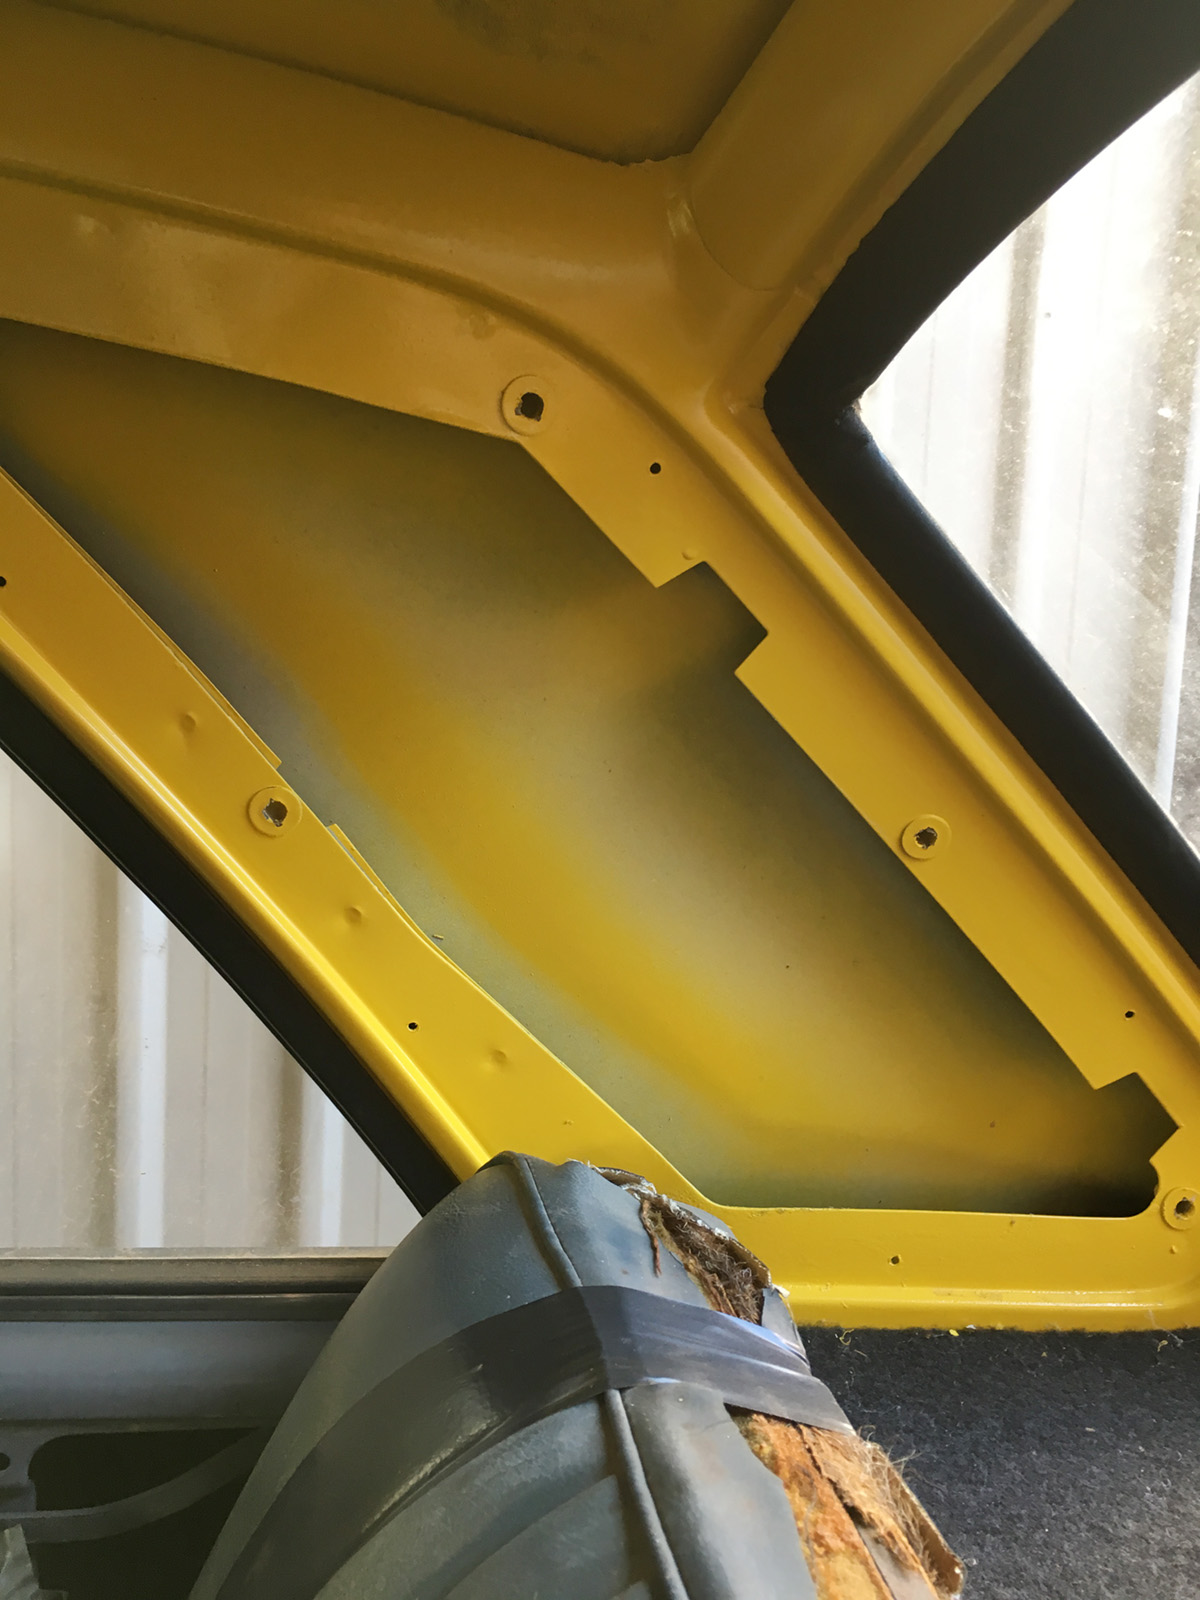
I painted inside the C pillar with some body deadener. Not sure it did much but it all helps I guess.
Image

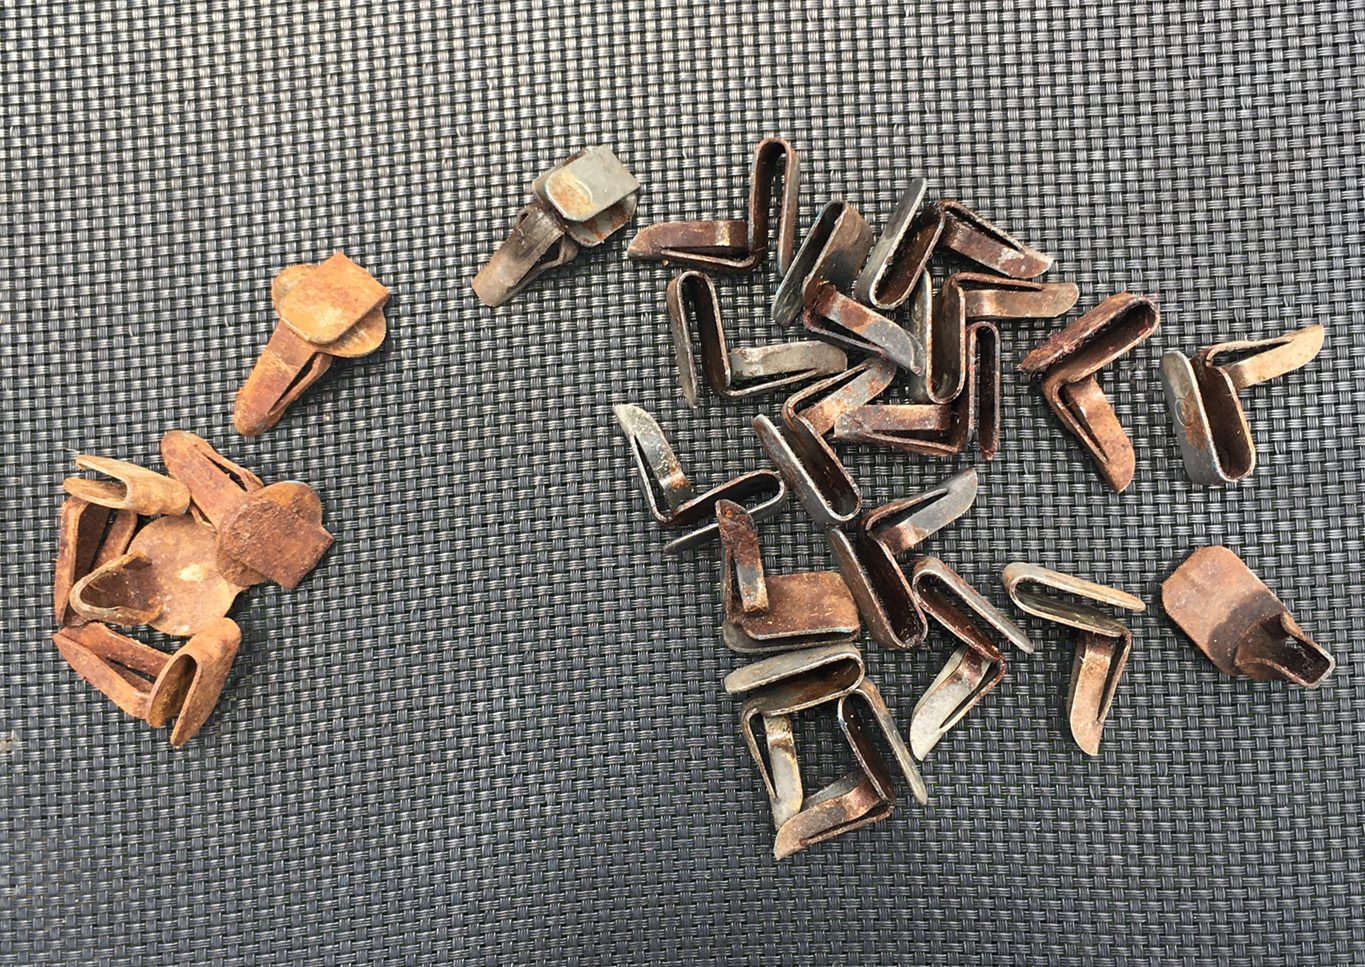
Soaked a bunch of the trim clips overnight in vinegar, it helps a lot.
Image

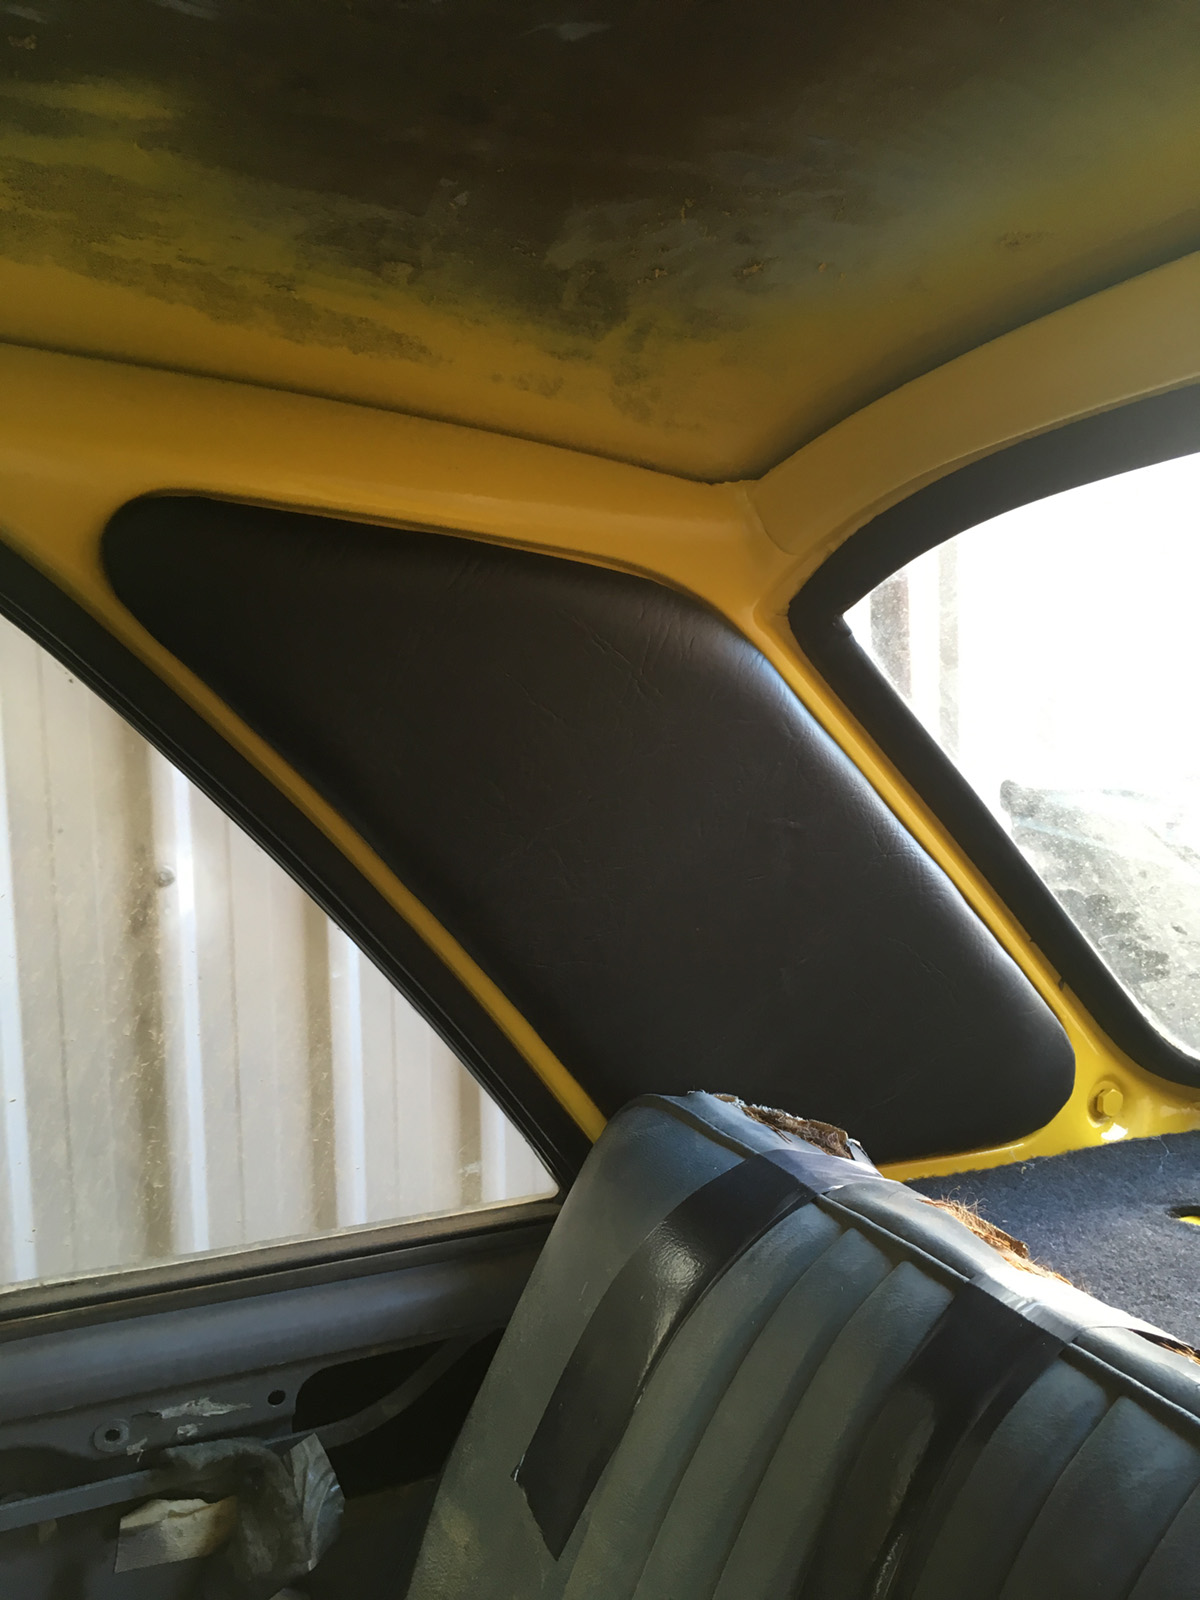
Trial fitted, should do the job nicely.
Image

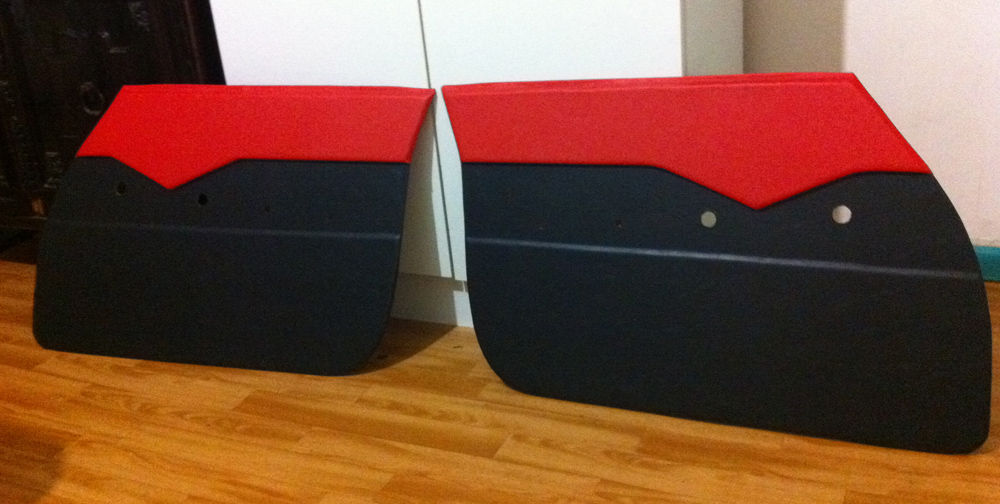
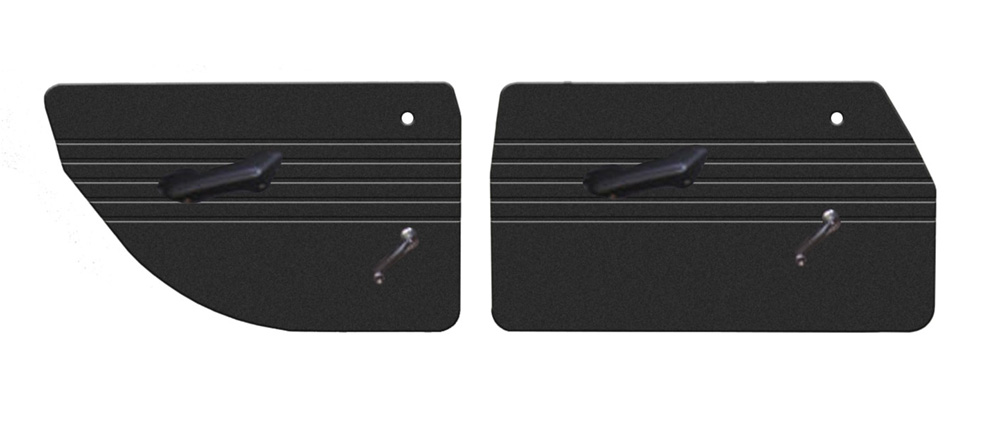
Next up, Door trims. These are the cards, just 3mm MDF with he same varnish to seal them a little. Will be a basic design with straight lines I think, not going to get too fancy.
Imagehttps://counterfeit.net.au/images/


Last edited by madmorrie on Thu May 13, 2021 9:23 pm, edited 1 time in total.

Top
 Profile  
 
PostPosted: Sat Mar 09, 2019 10:16 am 
Offline
848cc
848cc
User avatar

Joined: Sat Dec 31, 2005 12:25 pm
Posts: 262
Location: Wodonga
Keep up the good work, I'm interested to see it come together.

_________________
1963 997 Morris Cooper
1964 Sunbeam Tiger
1969 Austin 1800
1969 Lancia Fulvia Rallye 1,3S


Top
 Profile  
 
PostPosted: Mon Mar 18, 2019 3:31 pm 
Offline
998cc
998cc
User avatar

Joined: Mon Jan 16, 2006 1:15 pm
Posts: 678
Location: Melbourne
So, as seen in the last update, the interior is coming together.

Having made door trims for a Valiant project several years ago I was happy to tackle this again.
Valiant S series door trims made may years ago.
Image


This time I decided to make them a single colour to simplify things a bit, but so they weren’t completely boring, I added some lines to the design. This design is also reminiscent of one of the many variations of this interior produced by the factory somewhere too.
My concept.

Image


So first I stuck some 3mm closed cell foam to my painted MDF boards with spray contact adhesive.
Then to mark out a consistent set of lines on all the door cards I printed out this card and marked out my lines.

Image


Then carefully cut the lines with a scalpel. And peeled off the bits I didn’t need.
Image

Image

Then it was vinyl time, carefully brushing contact adhesive into each recess and pushing the vinyl down into each one. I ended up pressing each depression down with some weights and doing each one by one.
Image


Should have made the jig I was thinking about in the start to press down all the lines together, but they just took longer this way.
Image

They are not quite as slick as I might have hoped, and the tape and car trick shows through this thinner foam too, but I think once in the car they will be fine.
Image


Holes all cut and it looks like a bought one. Should be usefully quite than the originals too thanks to thicker, heavier material.
Image

Just need to grease up all the locks and lubricate the mechanism and they can go on.https://counterfeit.net.au/images/


Last edited by madmorrie on Thu May 13, 2021 9:24 pm, edited 1 time in total.

Top
 Profile  
 
PostPosted: Wed Mar 20, 2019 12:09 pm 
Offline
998cc
998cc
User avatar

Joined: Mon Jan 16, 2006 1:15 pm
Posts: 678
Location: Melbourne
So, apart from the interior what has happened under the bonnet I hear you ask.
Well, yet another victim of me prematurely selling bits I didn’t think I ‘d need later was the intake pipe from filter to turbo. The half cut I bouhttps://counterfeit.net.au/images/ght never had an airbox, and the factory pipe went to the passenger side of the bay which is not a lot of use for me anyway. BMC handily positioned hydrolastic pipes right where an airbox would sit nicely too. In the end I found the smallest pod filter I could and will have to encapsulate it somehow once I have it working and in position.

Here is how the Toyota factory had it all working.
Image


And then the room I have to play with.
Image


My new intake pipe had to come out of the turbo, then do a right angle bend upwards, pick up the blow off valve in it’s factory location, then curve over to the top of the motor towards the drivers side where there was a tiny bit of space for a filter.

First up I welded/machined up this to take the factory blow off valve.
Image


Then it was fitted into the pipe like so.
Image

Image


At the filter end my 2inch pipe needed to be a 3 inch pipe. I found in the useful pile the 3inch droopy tip from my old corolla, which was cut and butchered into a curved cone type scenario.

Image

Image

Image

Which leaves a pipe looking kind like this.

Image


None of these photos show the small bore pipe for the pollution control welded underneath or the bracket that mounts to the rear of the rocker cover to support it, but use your imagination. Painted black it looks a bit like this.

Image

Image


It sounds cool, blow off valve is very apparent, and hopefully I can work out some kind of airbox arrangement to cover it all that will pass engineering. Yet another job for the 3D printer I think…


Last edited by madmorrie on Thu May 13, 2021 9:24 pm, edited 1 time in total.

Top
 Profile  
 
PostPosted: Thu Mar 21, 2019 3:49 pm 
Offline
998cc
998cc
User avatar

Joined: Mon Jan 16, 2006 1:15 pm
Posts: 678
Location: Melbourne
So much has happened in the last year and a bit that I forget what I’ve posted and what I haven’t. Mostly I haven’t, so even though a lot of this is out of order, I’ll chuck it up here anyway in the interests of a complete account.

As much as I love the look of 15 inch Watanabe’s on the Morris, sourcing a small enough tyre to fit was proving difficult. They were going to be trouble on the road as well, likely very tramliney, guard clearance on lock was terrible, and the flares required to cover them were a heap of work. Added to all that, the engineer was not keen on them either. So a decision was made to go back to 14s.

Oh well…
Image
Image


I had a Hyundai Lantra rim which as luck would have it, possessed a similar extreme positive offset to the 1100 wheels.
A trip to Pick-a-part yielded a set of 4 for $20 each.
Image

A quick bath.
Image

And a rough toweling down.
Image

I went all out here and bought proper ‘wheel’ paint.
Image

And the finish came up pretty good actually.
Image

I managed to source some suitably tiny tyres on eBay. Brand new Pirelli’s for $60 each!
Image

All fitted up.
Image


New small wheels versus old large wheels. Hmm, looks a tad odd doesn’t it.
Image

But here is a comparison of the new 14s, versus the original 12s. Much closer to original spec which the engineer will be happy with, plus no need to flare the guards.
Image


And after a suitable lowering, they actually look pretty good.
Image


Last edited by madmorrie on Thu May 13, 2021 9:28 pm, edited 2 times in total.

Top
 Profile  
 
PostPosted: Thu Mar 21, 2019 4:40 pm 
Offline
998cc
998cc
User avatar

Joined: Mon Jan 16, 2006 1:15 pm
Posts: 678
Location: Melbourne
Sorting out the dashboard is a task I have been avoiding because I through it was going to be super painful.

After hacking away at the original to get the gauges to fit I kinda left it there and moved on to other things. It’s sat like this for ages.
Image

I roughed in the shape with a piece of old brake line and welded it in position. After getting happy with how that looked I paneled the sides in with some thin steel.
Image

Image

Image

Image

I am not 100% happy with how this is working, but as I’d always wanted to do a complete custom dash anyway, I’m working on the premise that all of this will be revised in time. However it still needs to look OK as It will not be addressed until the car is painted, which is still some way off. So functionally working and not too disgusting to look at is the goal here.

To that end I wanted to fill this ugly hole, and decided to do it with the 3 switches that run along the base of the long gone starlet dash.
Image

3D printing to the rescue again.
Image

After a layer of ‘structural bog’ the whole thing is starting to come together.

Image

Image

Image

Stay tuned for the next layer of ‘sculptural bog’ and some wrinkle paint.


Last edited by madmorrie on Thu May 13, 2021 9:28 pm, edited 2 times in total.

Top
 Profile  
 
PostPosted: Thu Mar 21, 2019 5:01 pm 
Offline
1360cc
1360cc
User avatar

Joined: Sun Apr 11, 2004 11:32 am
Posts: 12390
Location: Sthrn HiLoLands, NSW, Australia
madmorrie wrote:
Hello Ausmini. Happy 2019 :)

Image


Hmmmmm...by my reading, you will be poorer after completing this restoration :D

https://www.yourchineseastrology.com/pa ... eading.htm

_________________
"Show me the Mini!"


Top
 Profile  
 
Display posts from previous:  Sort by  
Post new topic Reply to topic  [ 346 posts ]  Go to page Previous  1 ... 19, 20, 21, 22, 23, 24  Next

All times are UTC + 10 hours


Who is online

Users browsing this forum: No registered users and 2 guests


You cannot post new topics in this forum
You cannot reply to topics in this forum
You cannot edit your posts in this forum
You cannot delete your posts in this forum
You cannot post attachments in this forum

Jump to:  

© 2016 Ausmini. All garage work involves equal measures of enthusiasm, ingenuity and a fair degree of irresponsibility.