ausmini
https://www.ausmini.com/forums/

How To - Fix a mechanical guage
https://www.ausmini.com/forums/viewtopic.php?f=2&t=47220
Page 1 of 1

Author:  1018cc [ Sun Nov 02, 2008 8:55 pm ]
Post subject:  How To - Fix a mechanical guage

This is how to fix your mechanical (capillary) gauge if the needle doesn't move anymore.

I was lucky because my gauge was still very new and it was easy for Dave's (sitnlo62) trained eye to spot the leak. There was a dodgy looking solder from the factory on the bulb end of the gauge. Dave re soldered it and it has been working fine since.

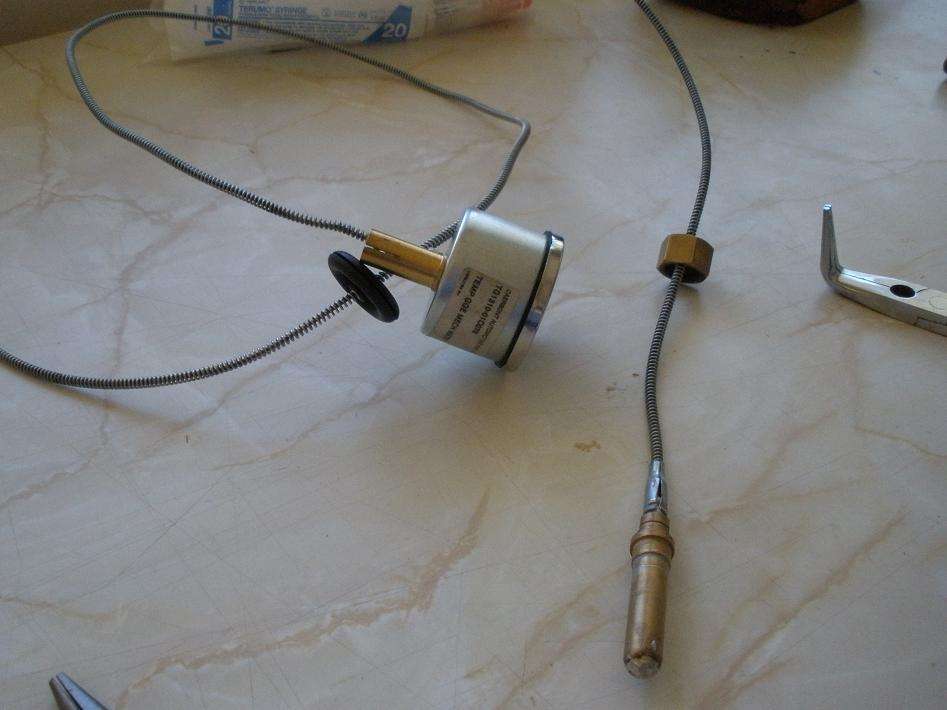
This is what you start with - a gauge that constantly reads 30°C (minimum).
Image

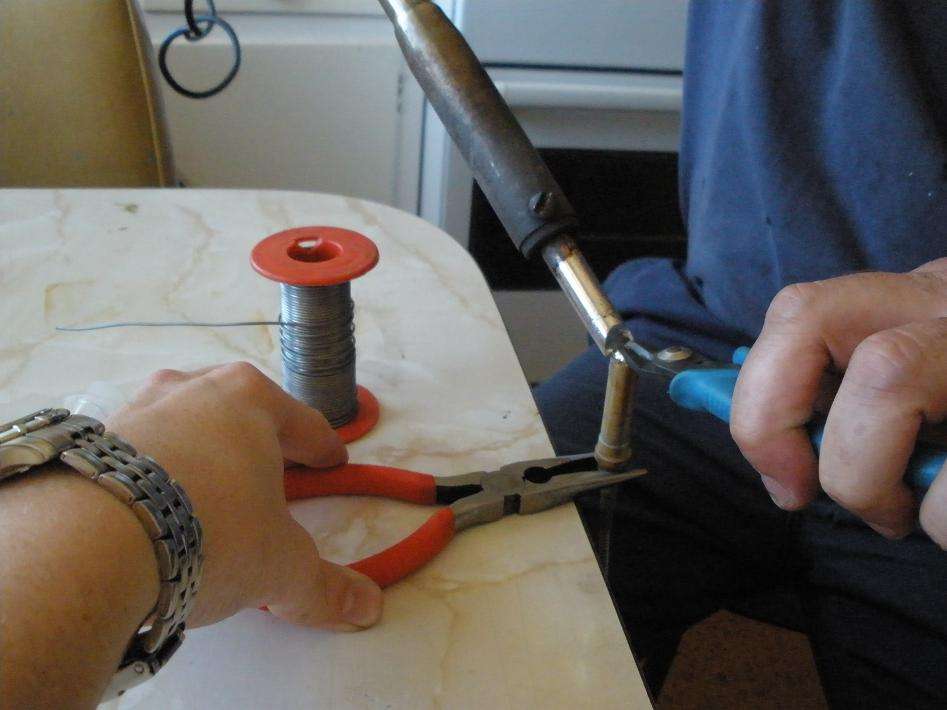
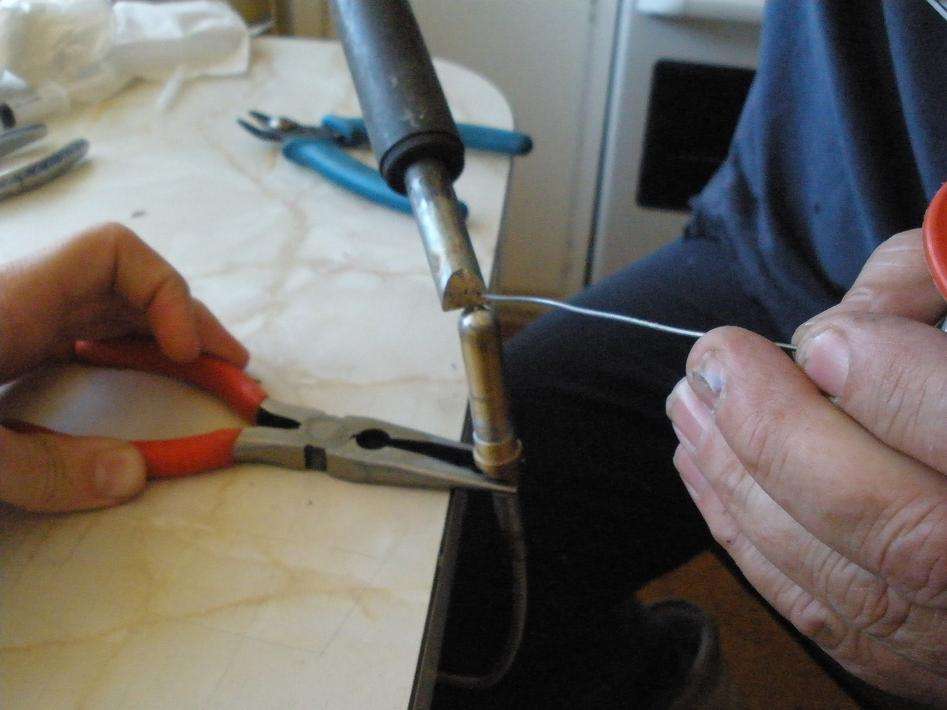
Unsolder the end, the solder is covering a little pin that is inserted into the end of the bulb. Please note, use the lowest wattage soldering iron you can! You do not want to heat the bulb too much.
Image

Image

Image

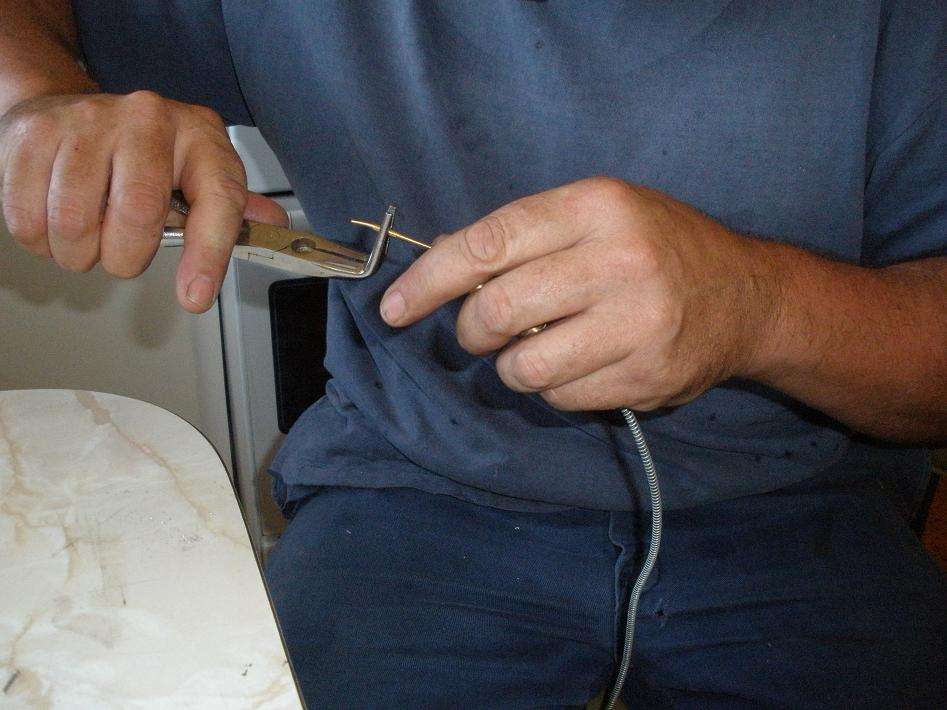
This is it with the pin out. You might have to get some small strong pliers onto the pin as the fit is very tight. If your gauge still has pressure in it be VERY careful. When you apply heat to the bulb it heats the ether creating pressure, this causes the pin to shoot out of the bulb if you do not have a good grip on it. Also be careful of your eyes, ether sprays EVERYWHERE when you pull the pin out.
Image

This is the size of the pin in relation to the adapter that goes in the head. Be careful, the original one that was in my gauge got damaged getting it out so Dave machined up a new pin out of brass to replace it - be aware just in case.
Image

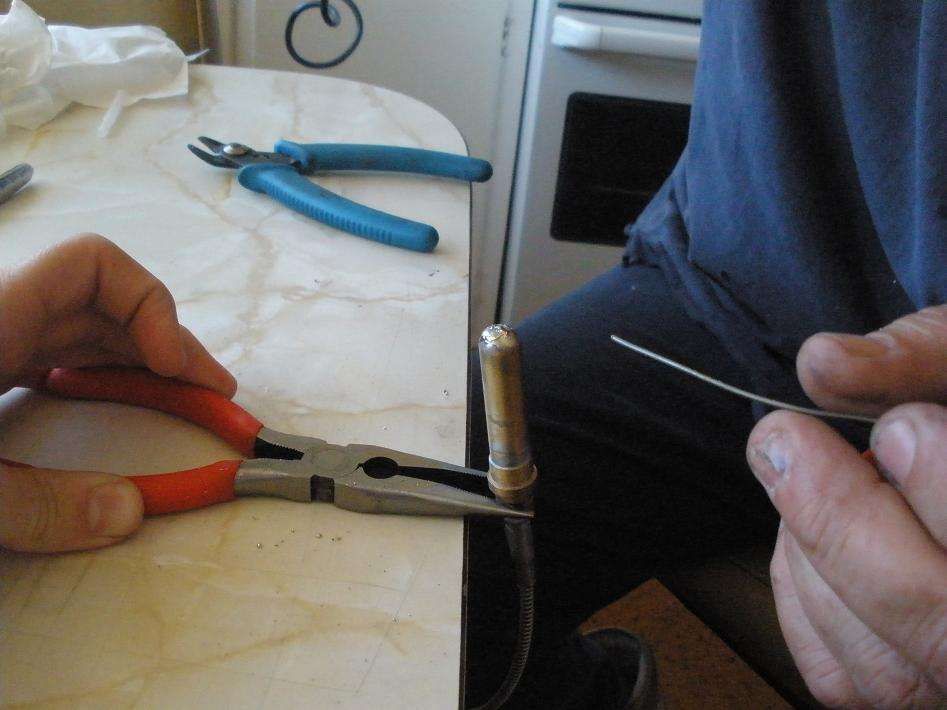
Clean up the end of the bulb (get rid of all the solder)
Image

Image

Image

Looking all clean now.
Image

Image

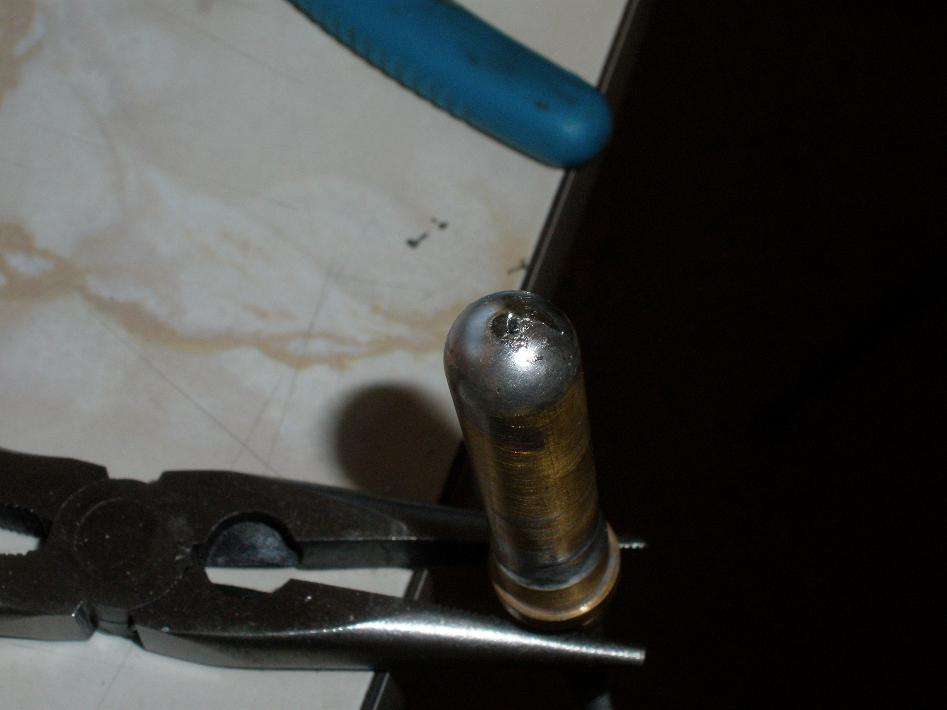
Clean out the hole, make sure there is no solder in it that will impart putting the pin back in. Dave used a scalpel and a bit of small, tapered brass that I assume was left over from when he machined a new pin.
Image

Image

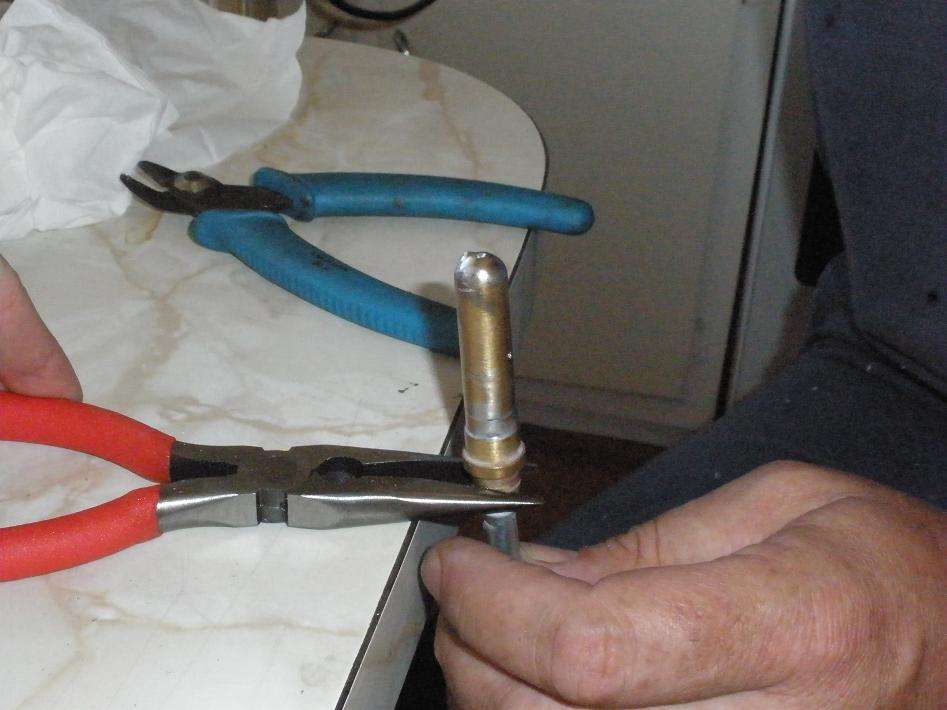
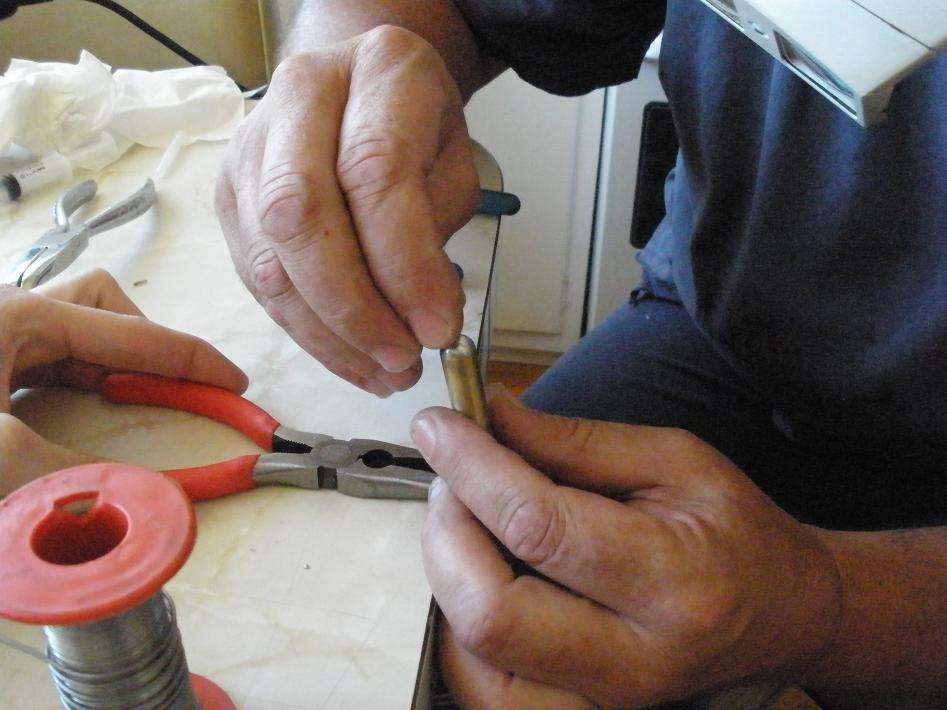
This is the pin sticking out the top of the bulb, it still needs to be hit in. Dave is checking that there is no damage on the pin before we fill it.
Image

Image

Yummy, ether 8) Make sure that you shake the capillary tube as you fill it to make sure the ether gets all the way along the tube.
Image

Image

Image

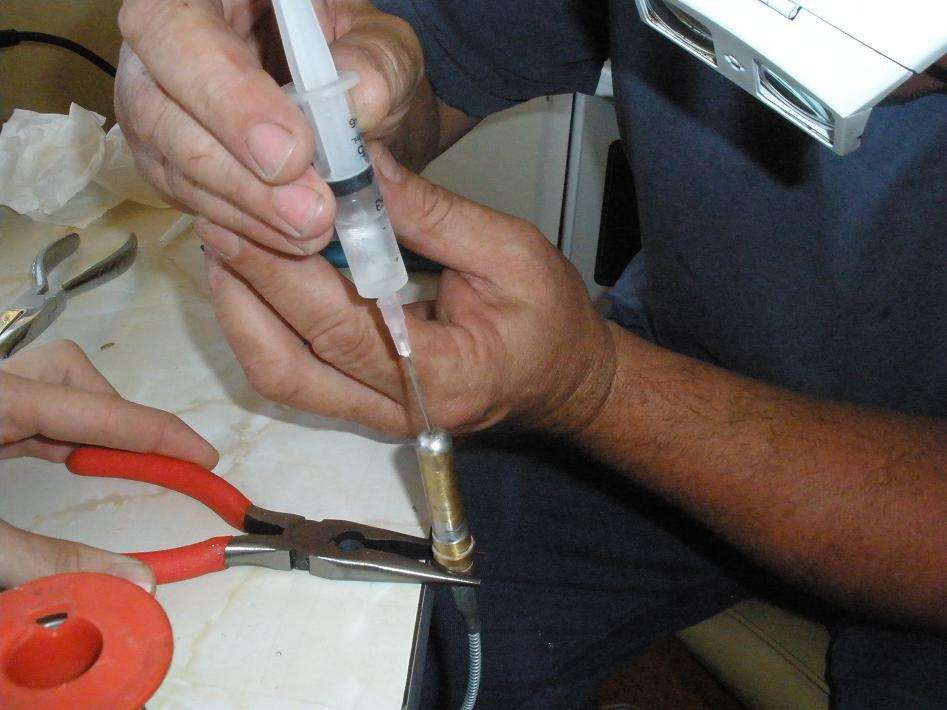
Fill the bulb right to the top (as full as it goes).
Image

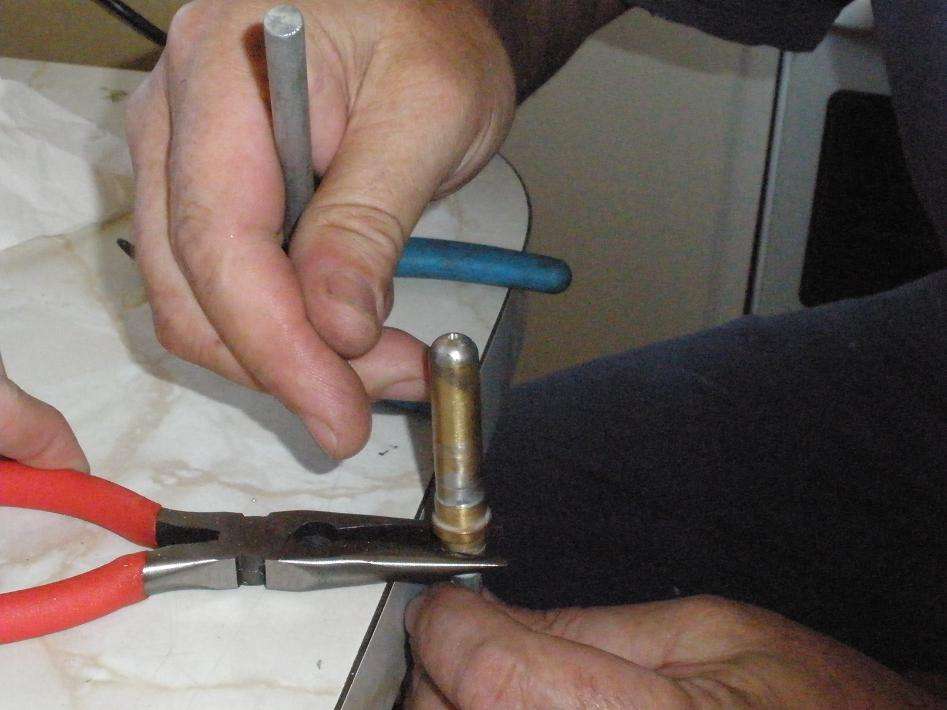
Put the pin back in as quick as you can.
Image

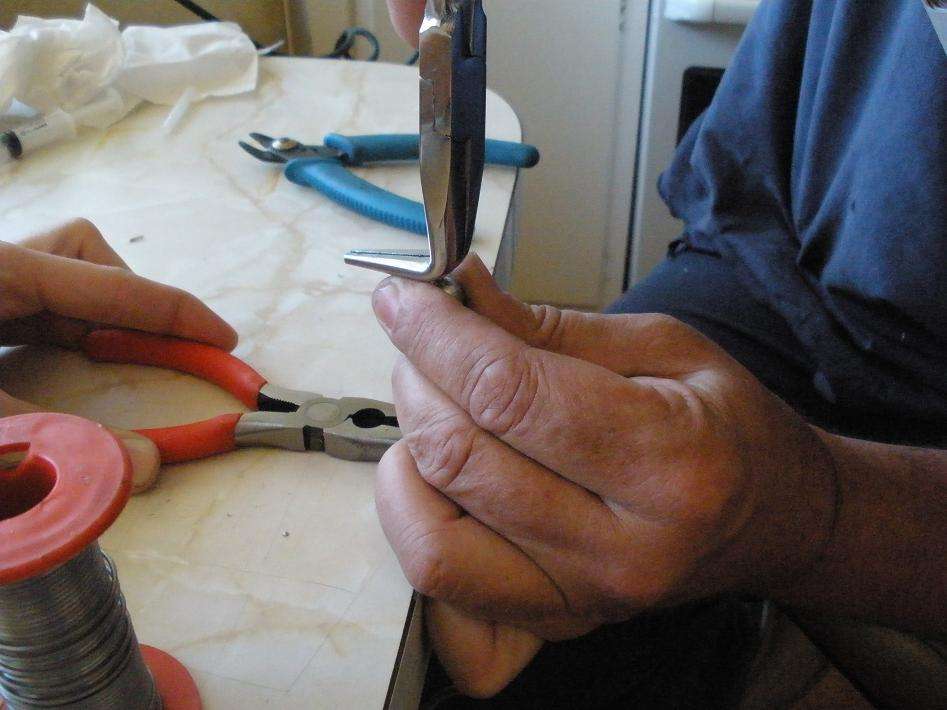
Hit the pin back in STRAIGHT to avoid damaging the pin. Do not hit the pin all the way in. You want to leave enough sticking out that you can get it out again if need be!
Image

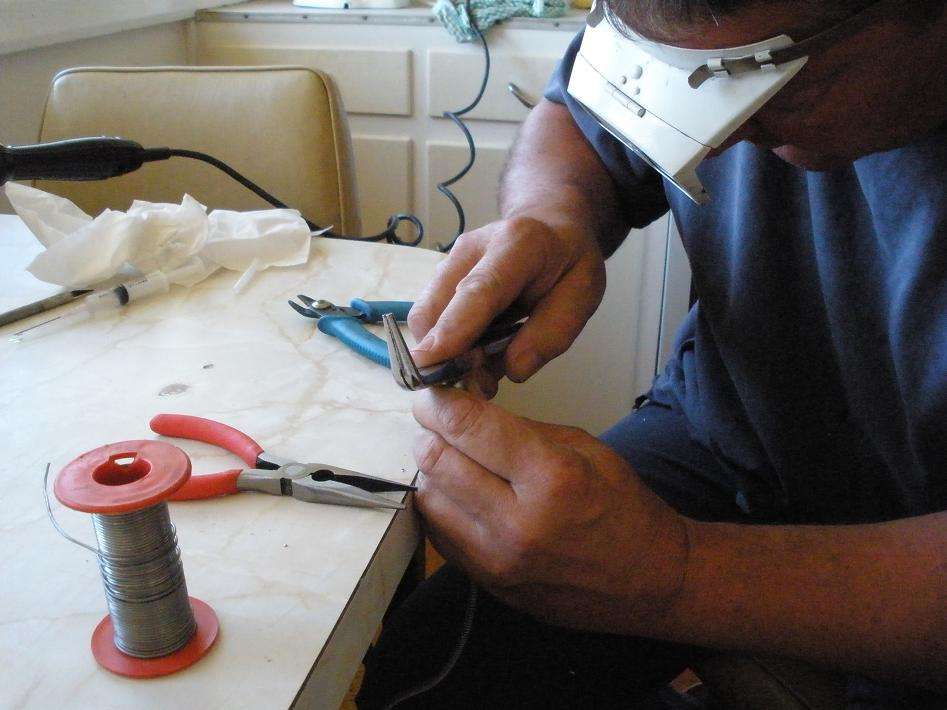
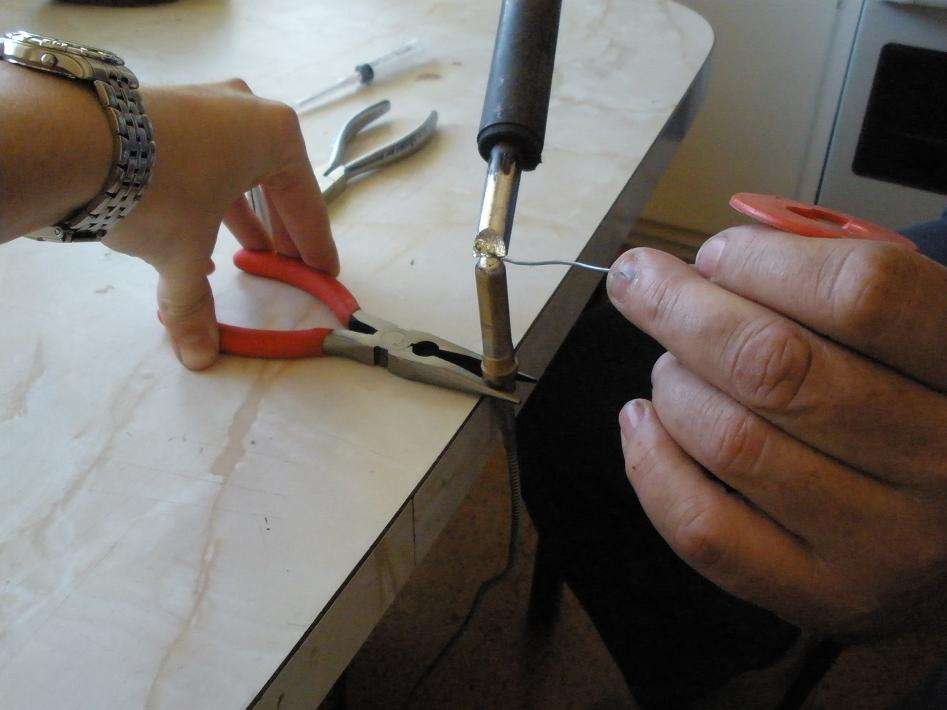
Act quick with the solder, seal it off. The ether was escaping a little as we were doing this.
Image

Soldered up
Image

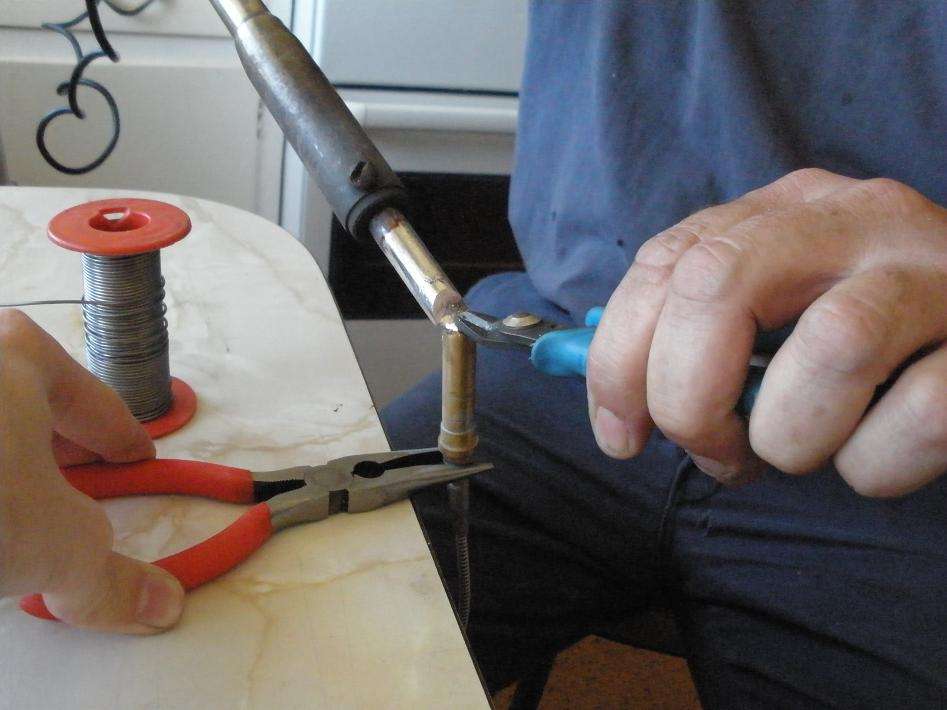
Bit more to be sure and just to get a nice flow happening with the solder so we didn't end up with many jagged edges.
Image

And hopefully you should end up with this result:
Image

102°C in boiling water. I also check it's accuracy against a thermometer I have here and it read within 2°C of actual. I was happy with that, it's accurate enough that you can tell if your engine is cooking.....

If it isn't spot on, take note of the error and install it. Otherwise, pull it apart and have another go :wink: As I said, this is accurate enough for me and is a good indication if my engine is cooking itself.

Thanks to Dave (sitnlo62) for this How To and the use of his kitchen.

Author:  ronhic [ Sun Nov 02, 2008 9:07 pm ]
Post subject: 

Great how to...

...but someone is going to be in big trouble for cutting on the laminex without a board....

Author:  kiwiinwgtn [ Sun Nov 02, 2008 9:08 pm ]
Post subject: 

just for curosity sake whats in the syringe ..

Author:  sitnlo62 [ Sun Nov 02, 2008 9:13 pm ]
Post subject: 

kiwiinwgtn wrote:
just for curosity sake whats in the syringe ..

ETHER

Author:  1018cc [ Sun Nov 02, 2008 9:17 pm ]
Post subject: 

ether is in the syringe (I did make a mention of it in the post :wink: ). It smells like hospitals and is hard to get your hands on, evapourates like nothing else too, even from air tight containers.

Author:  Panthersteve [ Sun Nov 02, 2008 9:32 pm ]
Post subject: 

Nice work Nick, holding those pliers as well as you did must have been difficult :D :wink:

Cheers
Steve

Author:  sitnlo62 [ Sun Nov 02, 2008 9:45 pm ]
Post subject: 

Steve,
At least he wasn't at Squash! :lol: :lol: :lol: :lol:
Dave

Author:  Mick [ Sun Nov 02, 2008 9:58 pm ]
Post subject: 

Awesome stuff Nick.

Just a point for those contemplating the fix and wish to get their hands on some Ether.

It is used in diesel RC aircraft motors (not so often seen these days) so will be available from specialist RC aircraft hobby shops over the counter. You will probably find however that the smallest bottle available will be 750ml or a litre.

Author:  jess [ Sun Nov 02, 2008 10:07 pm ]
Post subject: 

Panthersteve wrote:
Nice work Nick, holding those pliers as well as you did must have been difficult :D :wink:

Cheers
Steve


that's what i said!

Author:  clubmn [ Mon Nov 03, 2008 9:26 am ]
Post subject:  J

I have 2 gauges that i need to repair, I phoned a few gauge joint which told me they were un repairable. So where do you actually get the liquid from

Author:  Mick [ Mon Nov 03, 2008 12:47 pm ]
Post subject: 

Mick wrote:
Awesome stuff Nick.

Just a point for those contemplating the fix and wish to get their hands on some Ether.

It is used in diesel RC aircraft motors (not so often seen these days) so will be available from specialist RC aircraft hobby shops over the counter. You will probably find however that the smallest bottle available will be 750ml or a litre.

Page 1 of 1 All times are UTC + 10 hours
Powered by phpBB® Forum Software © phpBB Group
http://www.phpbb.com/