I am an amatuer but took the advice of many ausminiers (thanks to all of them) and had a go which I guess is what this miniing thing is all about. I am very happy with the result and saved over $400- on having it professionally done.
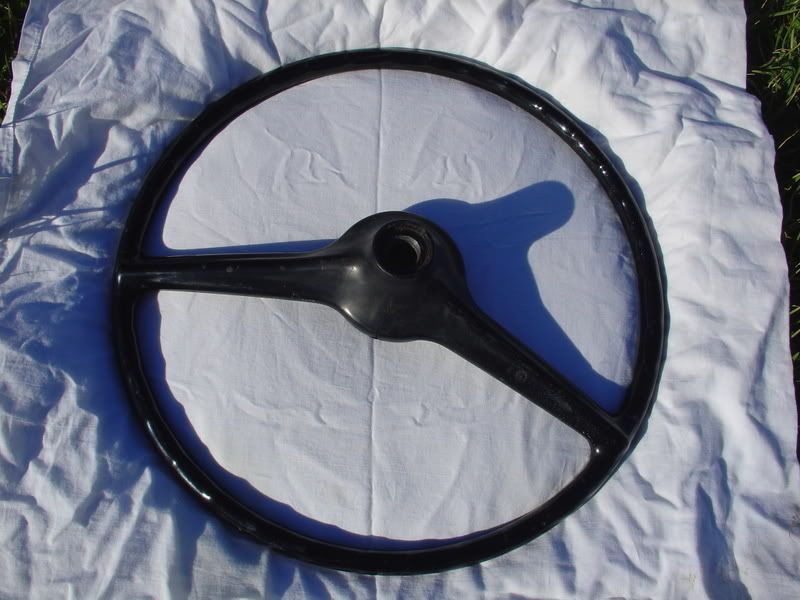
I bought a 'restored' steering wheel from overseas. When it arrived I discovered the horn earth plate where the screw goes in had been removed. This meant re wiring the horn. Within a few months of putting the horn on all the paint started to fall off. I wasn't happy and stuck the old sports wheel back on until I could source a replacement original. Toby Tyler from Mini Spares and Repairs in Seaford gave me this old one pictured below and here is what I did.
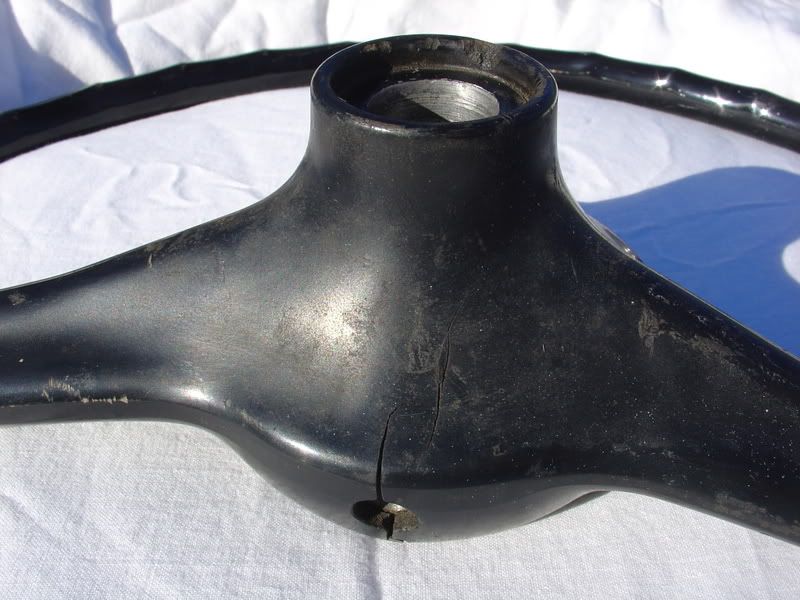
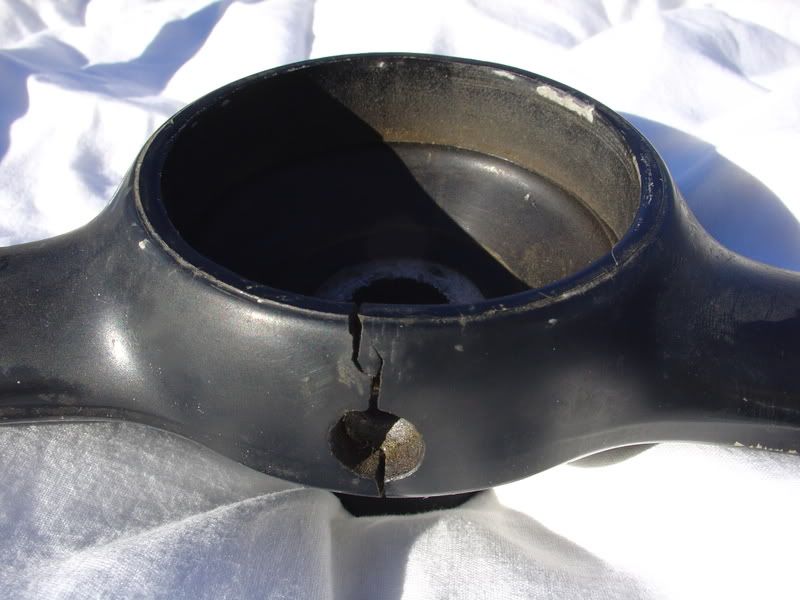
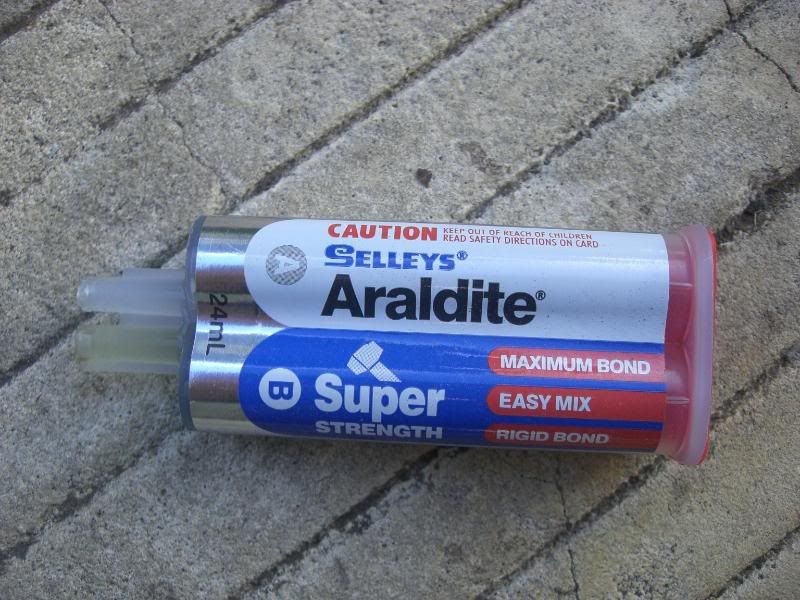
I got a small grinding disc like on a dremel but an air powered one I have and ground out all the cracks, fairly deep to where I couldn't see anymore cracking. At the screw hole area this meant grinding it back all the way through. There were cracks on the both sides where the forks meet the wheel and also where the horn screw goes in. I then sanded the wheel back as best I could using 120 grit and then 320 grit paper. I was careful not to sand the hand grip ridges back so most of the black paint came off but not all of it. I then used araldite to fill the cracks. This took a few goes because the glue tended to run a bit, I probably could have let it set more each time before applying. This would make the sanding back quicker too due to less run off on parts that don't need filling.
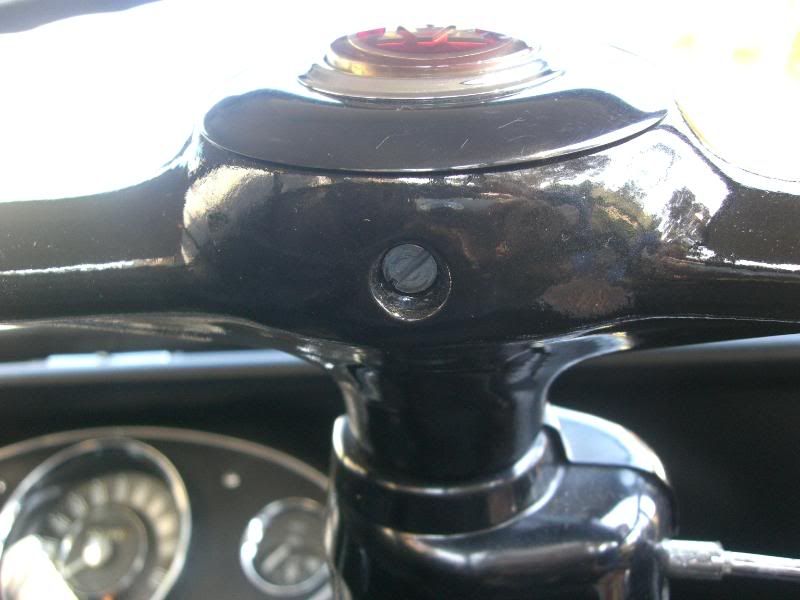
I allowed the glue to set higher than the wheel. Once the glue dried I sanded it back flush with the steering wheel using the 120 and 320 grit paper again just on the glue and made sure it was properly shaped. The curves where the forks meet the wheel took the most time. I then sanded with 400, 800 and then 1200 grit paper to get it all extra smooth. This didn't take too long. Again I was careful all the time not to keep sanding too much off the hand grip ridges on the back. I stuck some masking tape over the horn earth plate where the screw hole is on the inside only so the hole itself on the outside gets painted. I used a rounded dremel wheel to re drill the screw hole (the glue filled it in a bit) and cheked that the screw cleared it well so as not to re crack the wheel when the screw goes back in at the end.
I then bought 4 cans of K&H spray from Repco. I asked around at several auto paint suppliers and was told this would be the best as they couldn't guarantee that any products would actually stick properly to the steering wheel without knowing its exact composition. I rang K&H technical advice too and was told it would be a gamble but one I was willing to take.

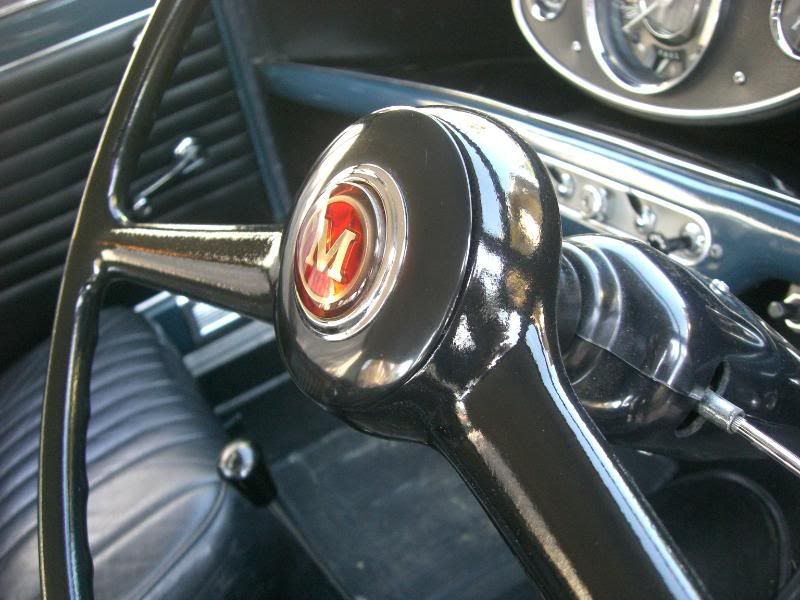
The first can was wax and grease remover. The second, plastic and rubber primer, the third gloss black and the fourth clear top coat. You just squirt on the wax and grease remover and wipe it off leaving the wheel clean. I wore some disposable rubber gloves so as not to put more grease back on from my bare hands. I stuck a bolt with a couple of large washers through the middle and attached some wire so I could hang the wheel up whilst sparaying it. This allowed me to hang the wheel horizontally and also stopped the spray from getting on the inner teeth. I just hung a rope up, hooked the wire over to hold the wheel up and then used the wire to pull the wheel up to spray underneath. The wire went all the way through so it made it a bit easier to lift the wheel without touching it. It was awkward but not too bad. I then gave a couple of coats of the primer. I decided to work from the centre out because with rubber gloves on I could hold the outer edge to make it easier to do the middle. The primer went on really well and I sprayed a fair bit on the get an even surface. I was careful not to get any runs but if you did you could just sand it off. The coats dry in 5 minutes and you can go again. I left it for a day after the primer was finished because I had other things to do and it may not be a bad idea to let each type of coating cure properly for a day or so anyway. I re used the wax and grease remover and then gave about 4 or 5 coats of the gloss black. For a smoother finish you could use the 1200 grit between every second or so coat, I just did it after the second coat and at the end and it came up well. If you sand between coats you need to let it sit for a day so that when you touch it, it is fully cured and doesn't leave finger prints in the surface. I used the wax and grease remover after each sanding to ensure the surface was clean again. I used up the whole can of black. Then I did the top coat clear gloss. Again about 4 or 5 coats about 5 or 10 minutes apart. Again, I used nearly all the can. You don't sand it at the end. Just leave it cure for a day or two. I then polished the wheel with normal car polish to finish it off. I now have the wheel back on the car as pictured. Time will tell if the products have worked well. This has come up really well and so far seems to be great. I only put it on last Thursday. (March 09) It cost me about $70 all up to do the resto which is better than the $500- I was quoted by a steering wheel restoration company. Sorry I didn't take pics in the middle of the project but it is fairly simple as described above. It has made me confident to use a spray can to do other small resto projects. I have been asked how this small project went so I hope this helps others that want to try. It may not be concourse quality, some say low sheen, others gloss, I drive this car every day so I wasn't too fussed but I like the result. Cheers.
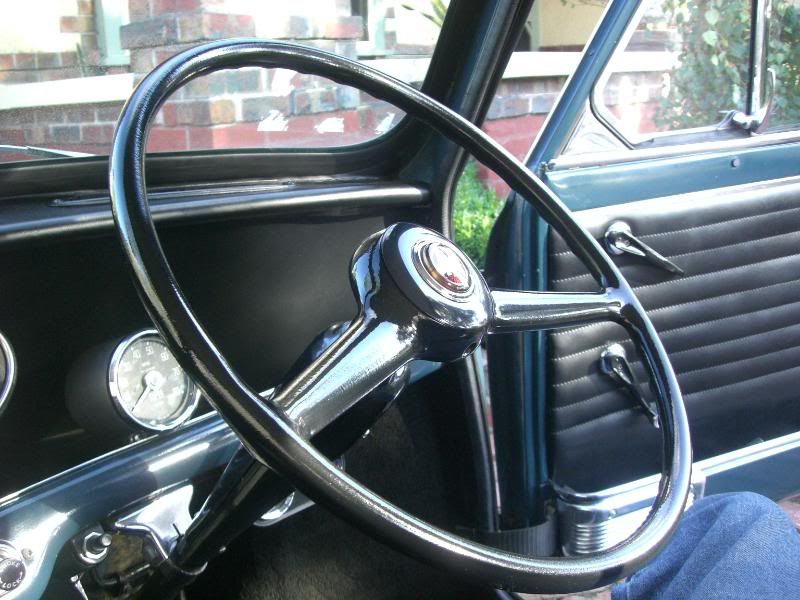
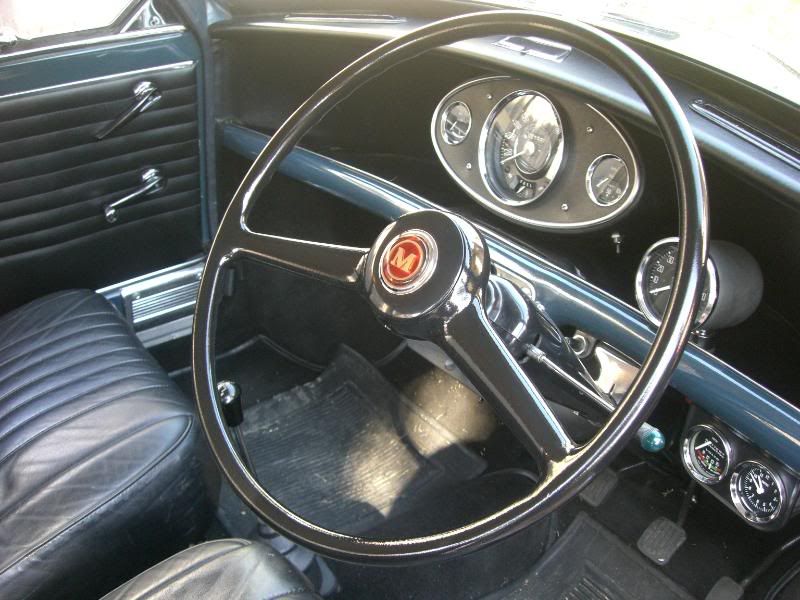
Don't throw those old steering wheels out, they can be fixed!