ausmini https://www.ausmini.com/forums/ |
|
How I restored my heater (MK1 S metal type) https://www.ausmini.com/forums/viewtopic.php?f=2&t=54635 |
Page 1 of 2 |
Author: | Flute [ Fri Jun 26, 2009 4:59 pm ] |
Post subject: | How I restored my heater (MK1 S metal type) |
I am an amatuer so this is just how I did it and I am not saying it is the way you should do it but thought the photos may assist someone else. 
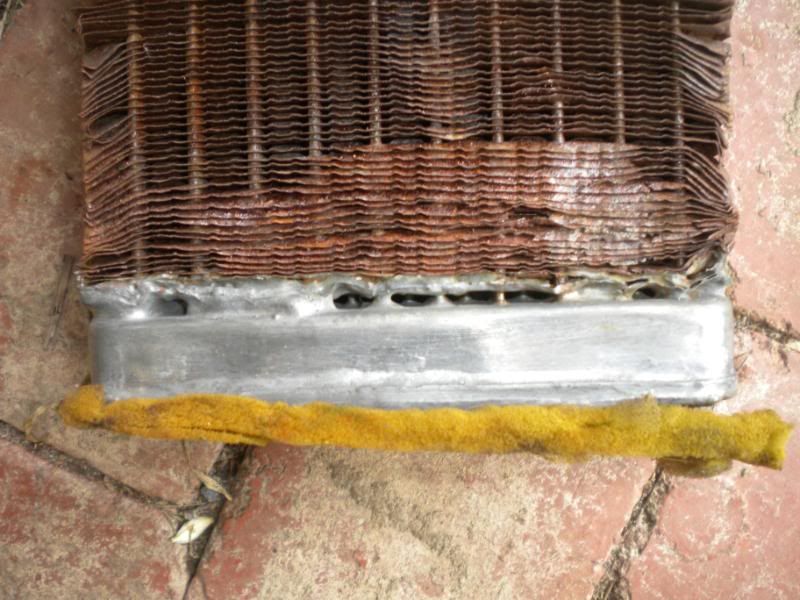
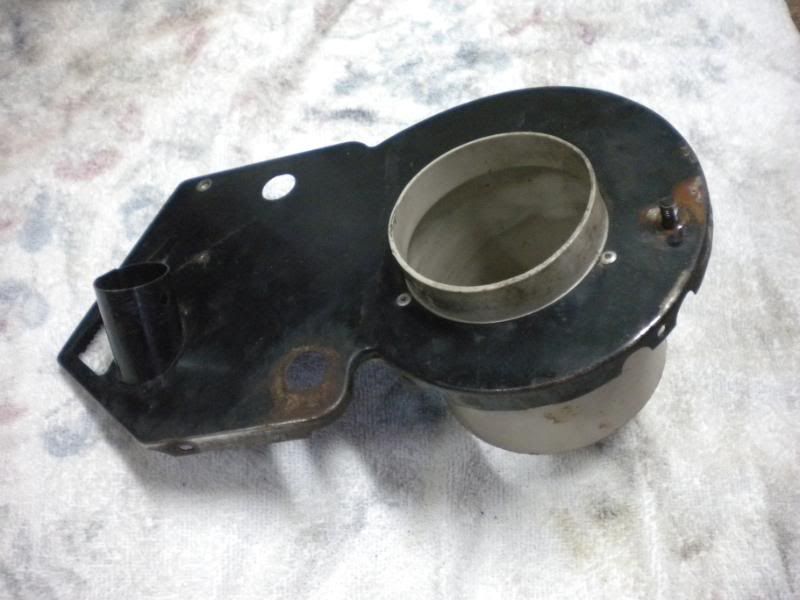
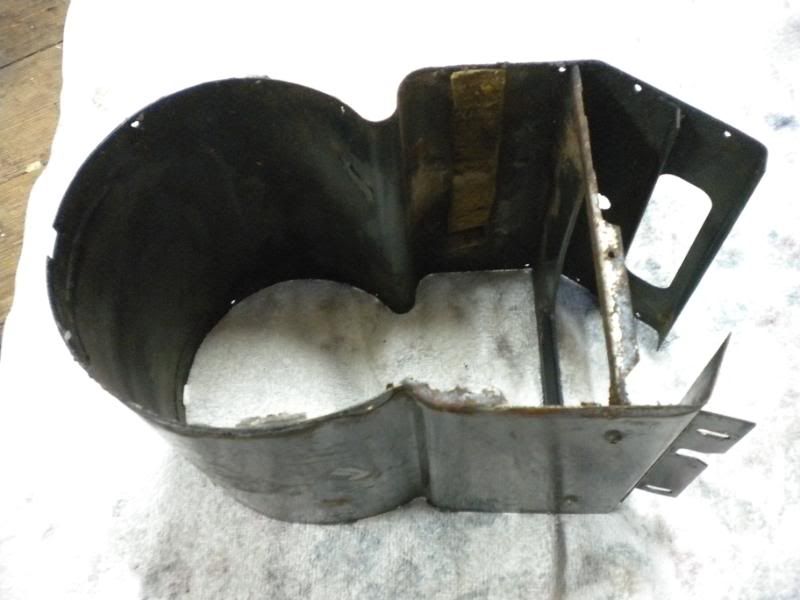
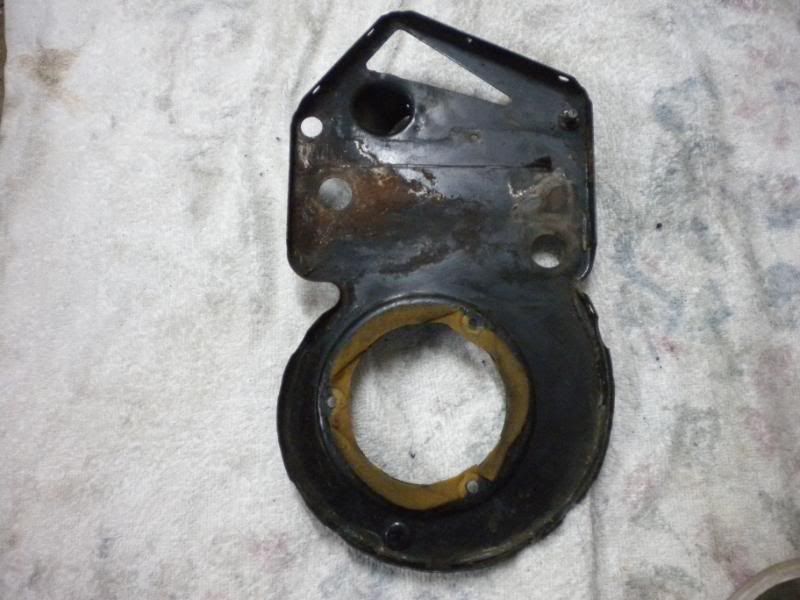
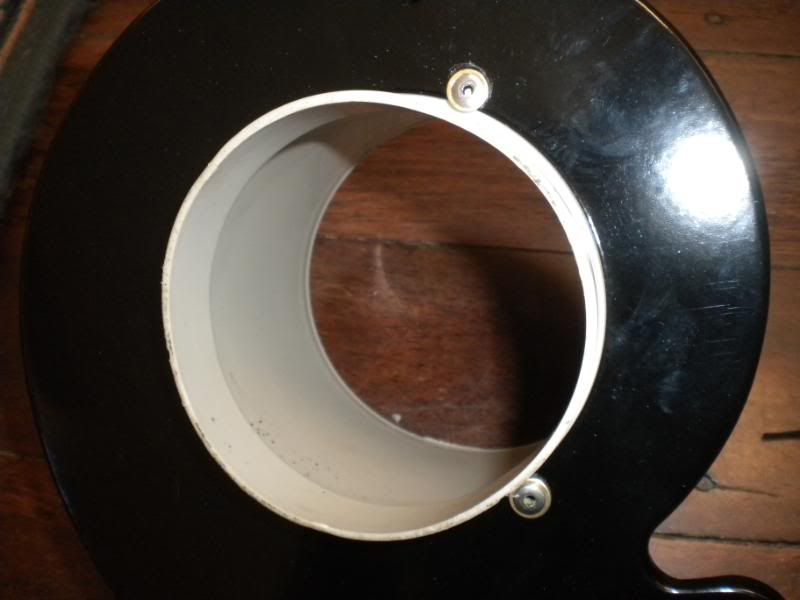
I had a leak from the heater matrix / core (call it what you will) so decided to investigate. ![]() 
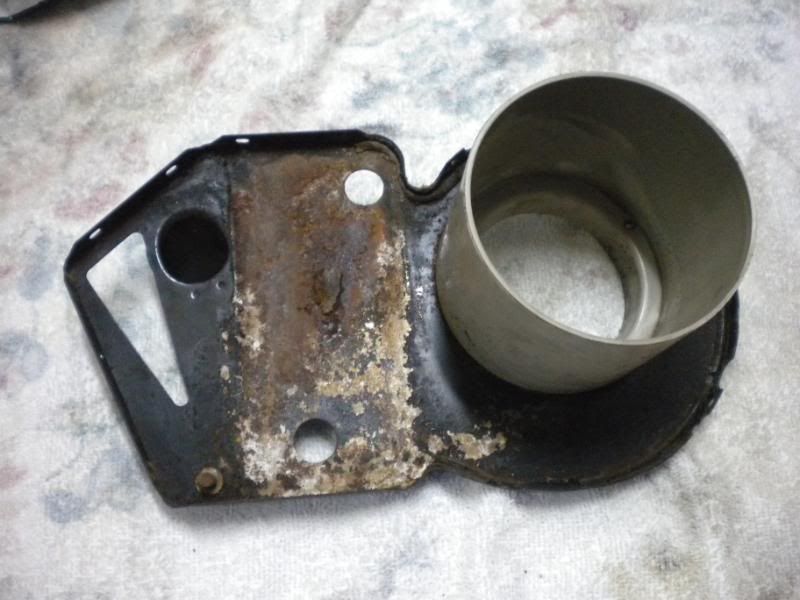
Looks like it had been repaired a few times already. ![]() 
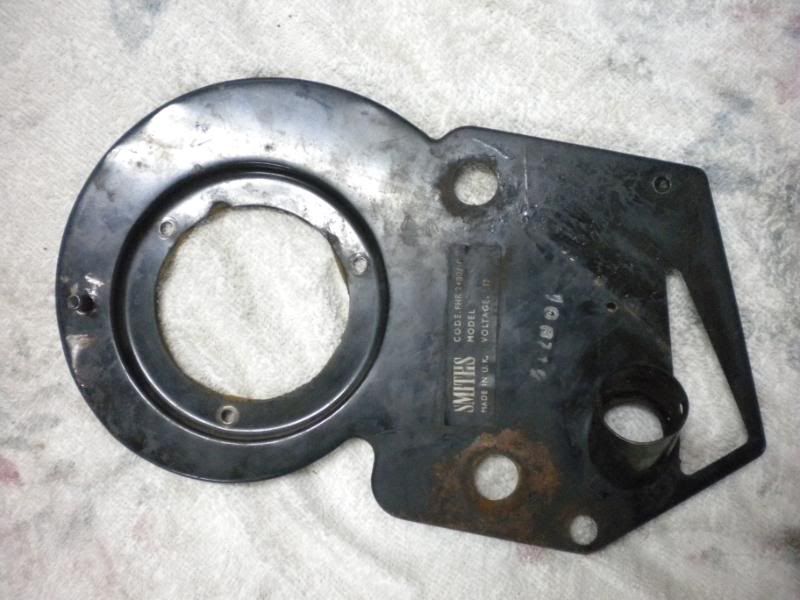
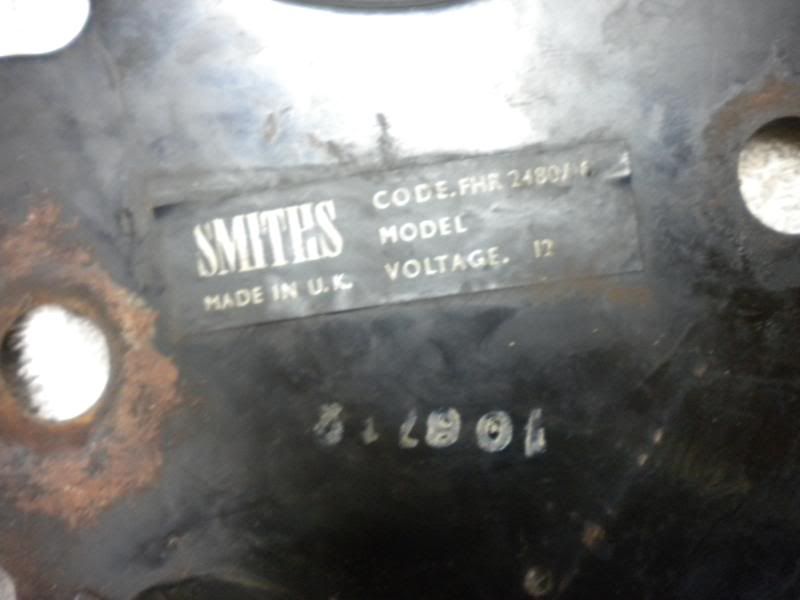
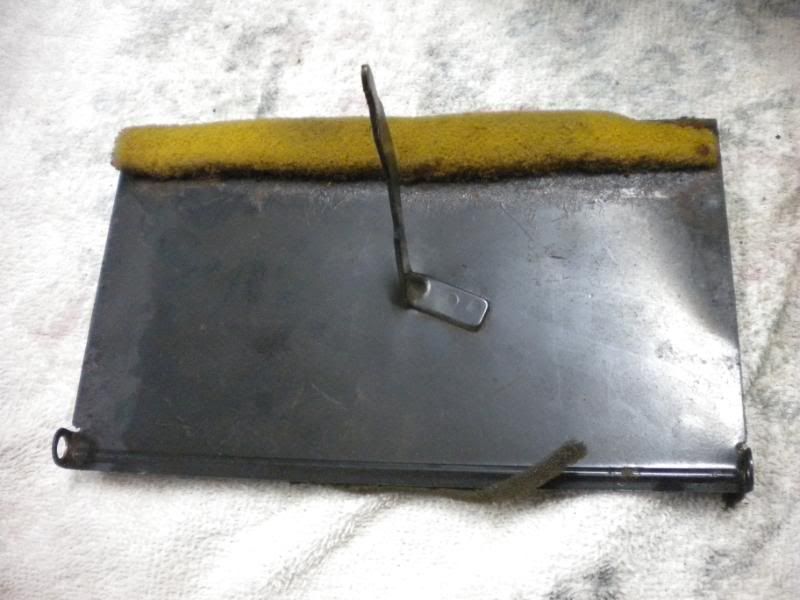
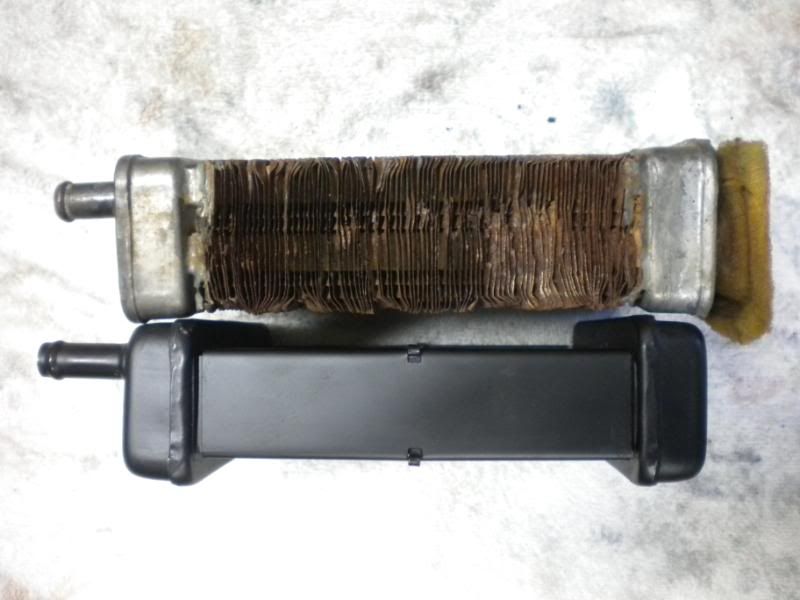
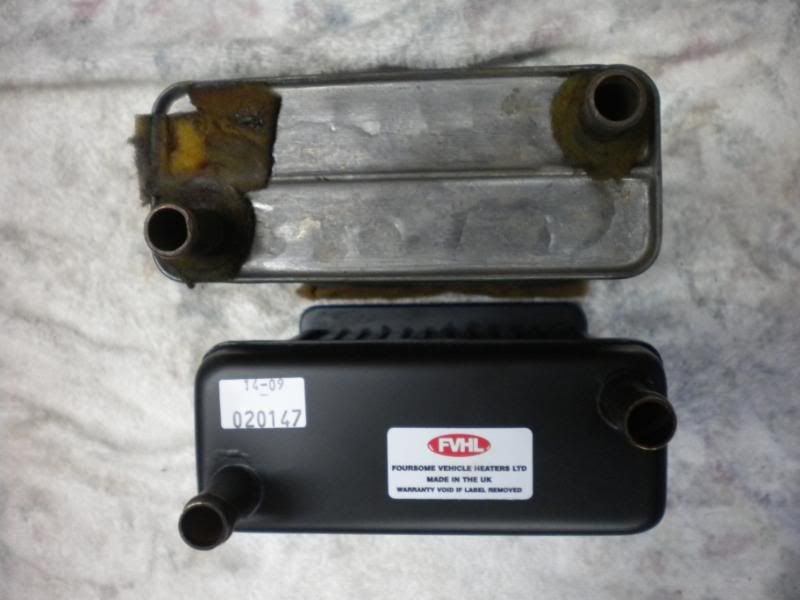
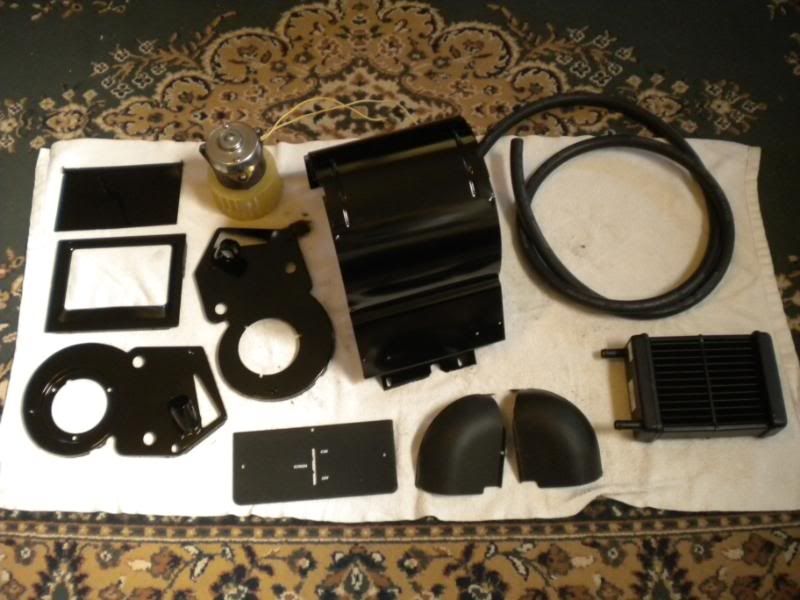
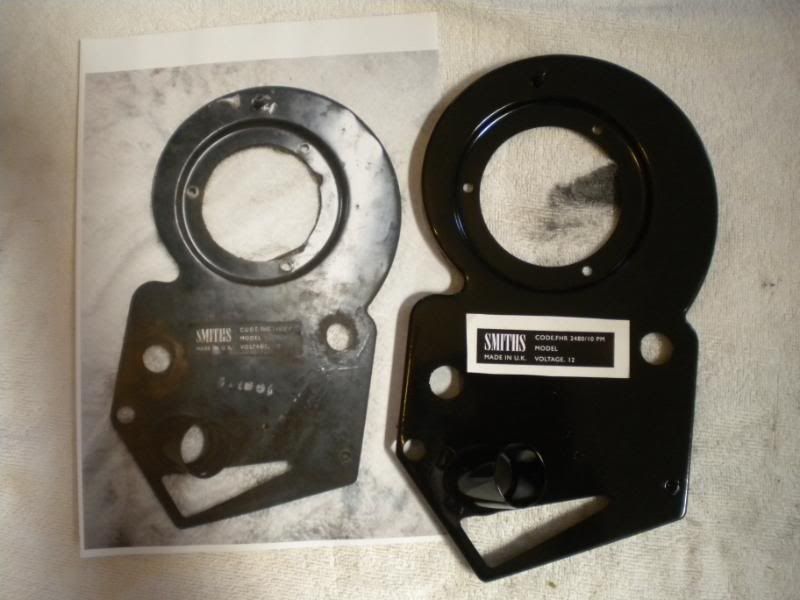
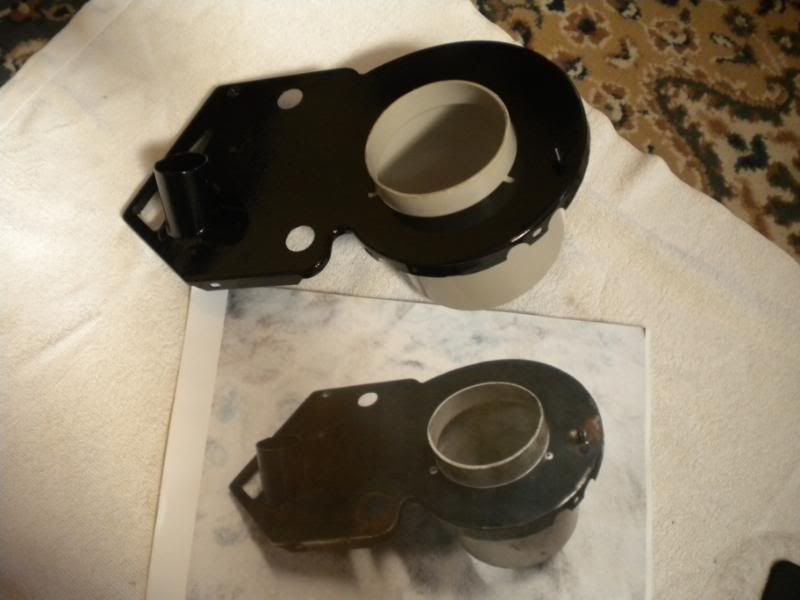
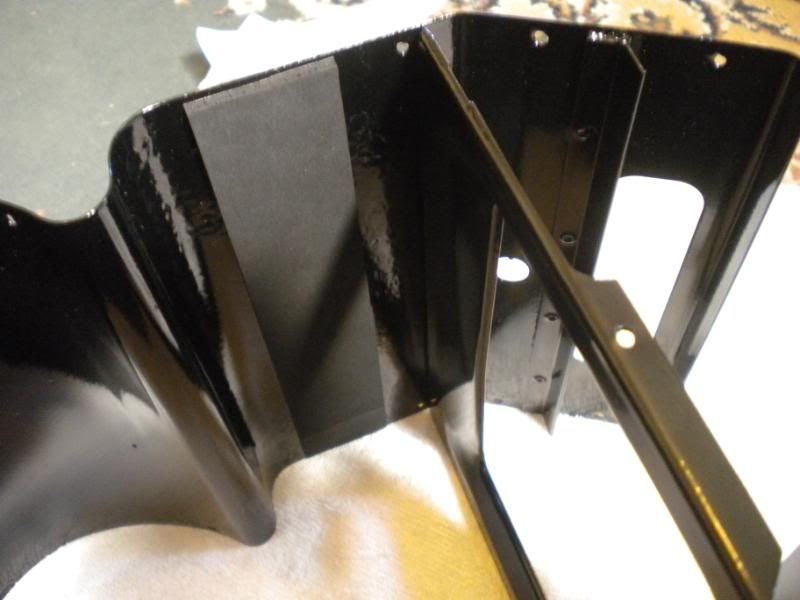
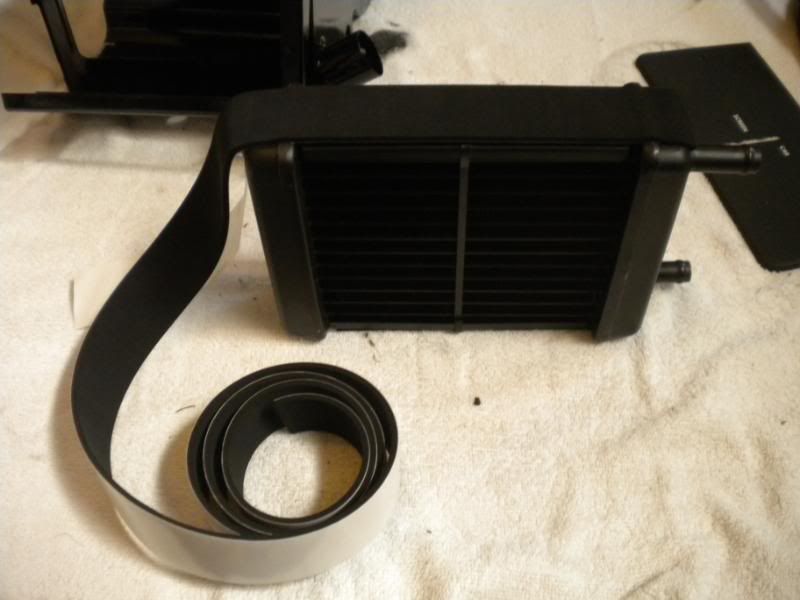
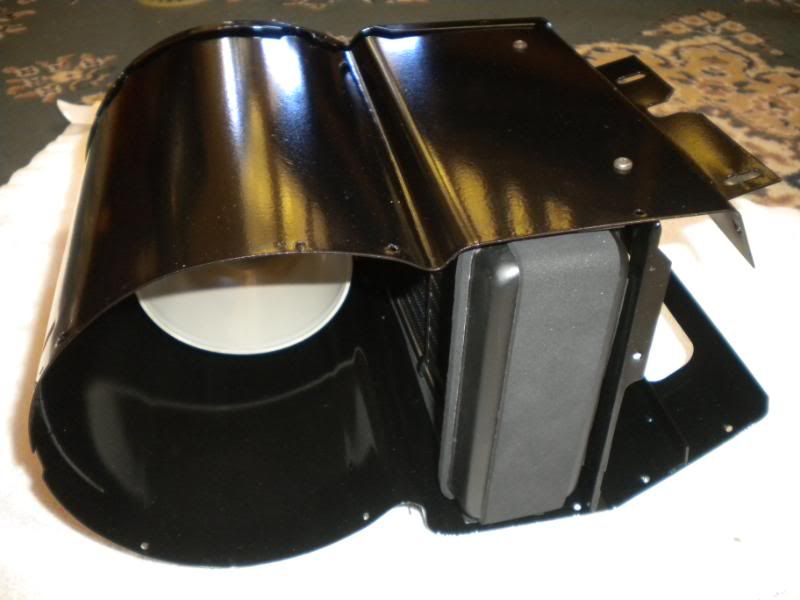
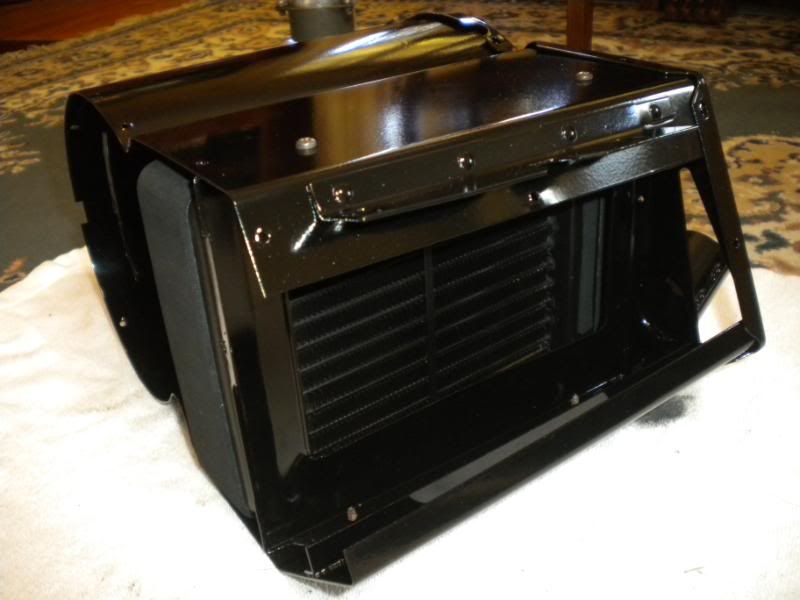
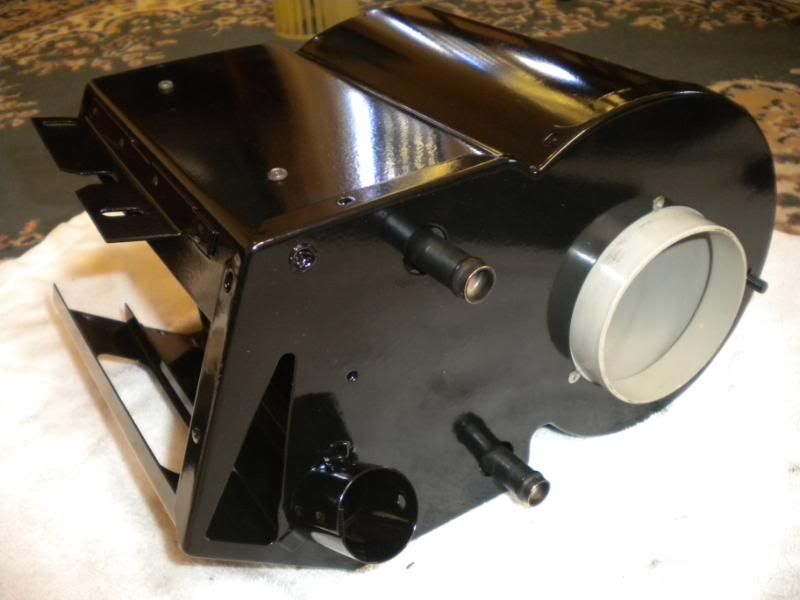
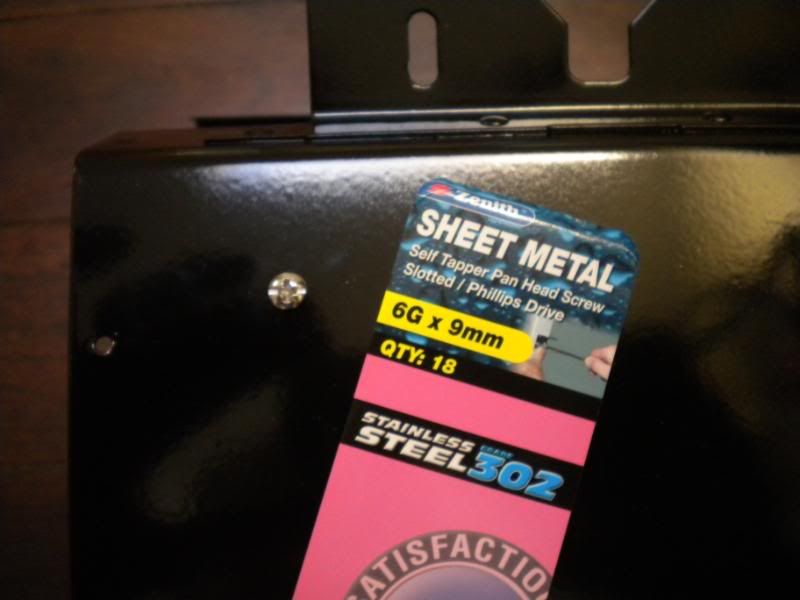
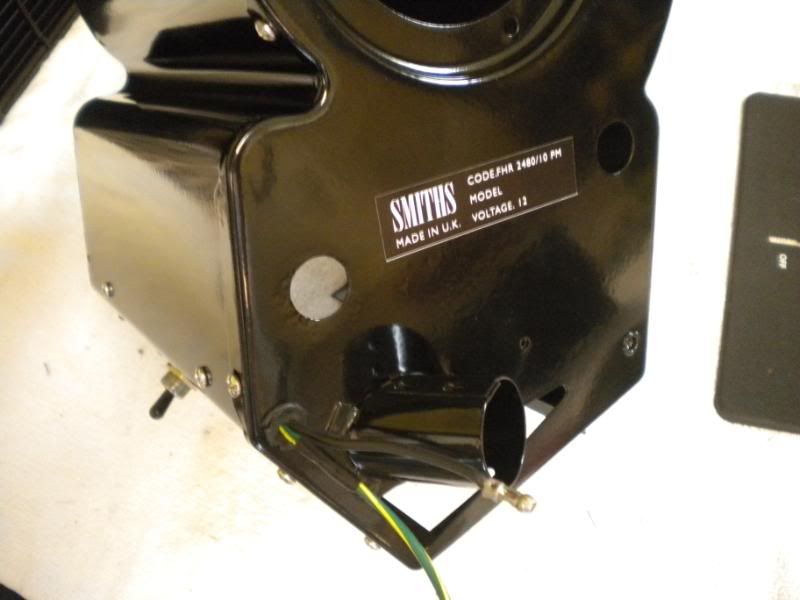
It is easy to take the heater out. Disconnect the hoses (caution if water is still hot), unplug the two wires, loosen the two nuts at the back and undo the screws at the front top. Once open I found the matrix was had it so I bought a new one and decided to fix up the rest. The replacement heater core was a perfect fit and didn't require any changes. It was from a mini shop. I already had the front panel and wings re painted and sign writing done by minisport. The heater casing is easy to open by removing all the screws. I then took the 5 panels and had them sand blasted, primed and powdercoated for $100-. Some may say it is better to use 2K but I dont have a spray gun and I am happy with the result. The pics are in sequence. A fellow ausminier supplied me with a replacement sticker (thanks). I cleaned the motor and fan while it was out. I replaced the foam after the powdercoating with 3mm neopreyne (I think that is how it is spelt) from Clarke Rubber. It is self adhesive and comes in a roll of varying widths. I used stainless steel screws to re assemble and was going to paint them black as I thought that is how they should be but have received advice that they weren't black so for now I will leave them as they are. ![]() ![]() ![]() ![]() ![]() ![]() ![]() ![]() ![]() ![]() ![]() ![]() ![]() ![]() ![]() ![]() ![]() 
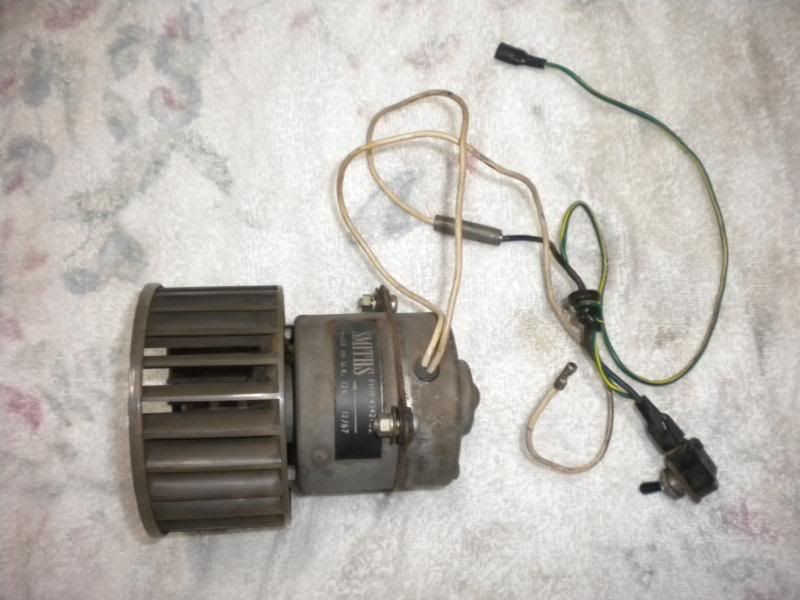
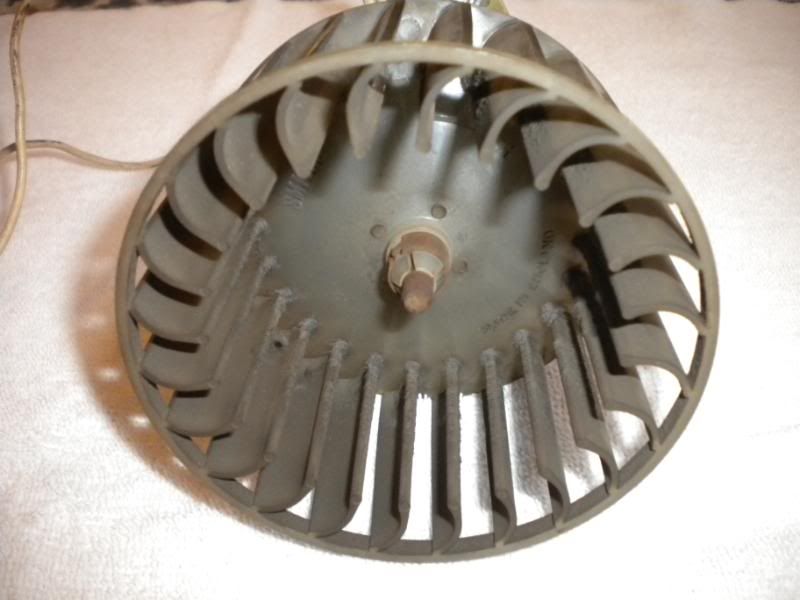
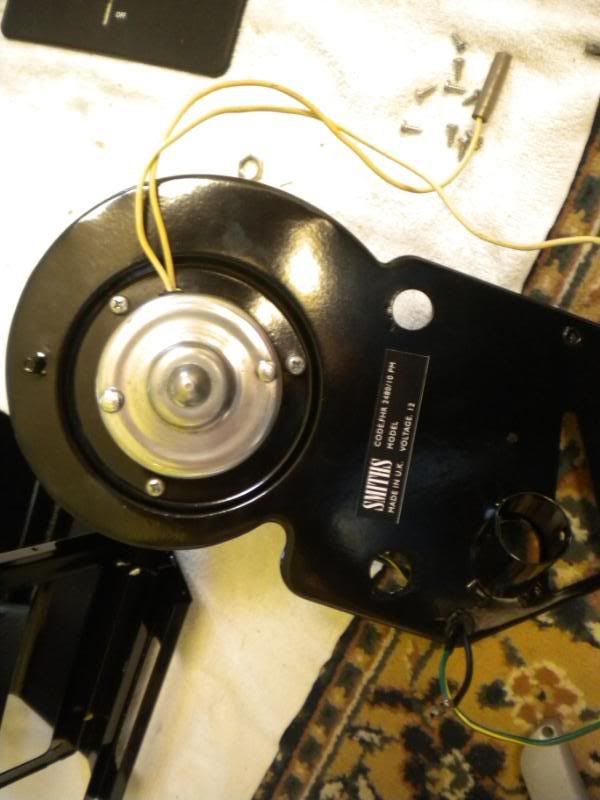
I cleaned the fan with degreaser and a brush. ![]() ![]() ![]() 
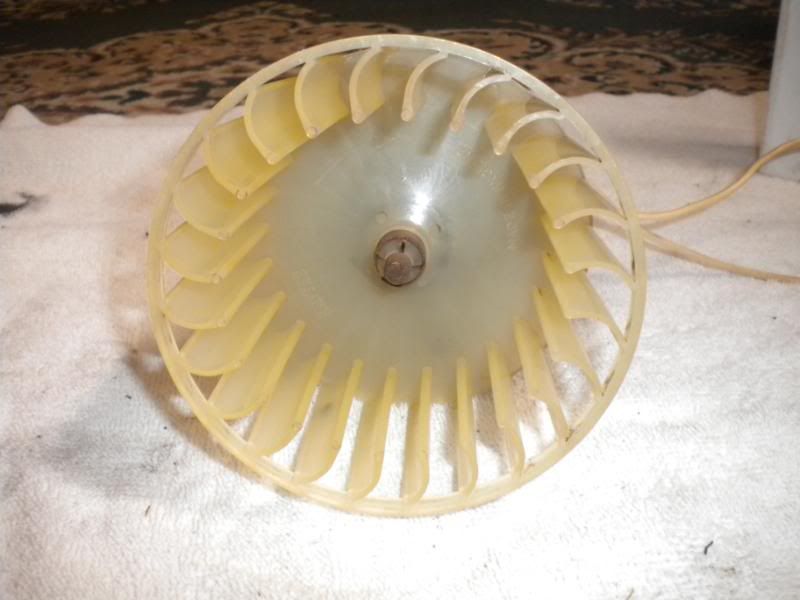
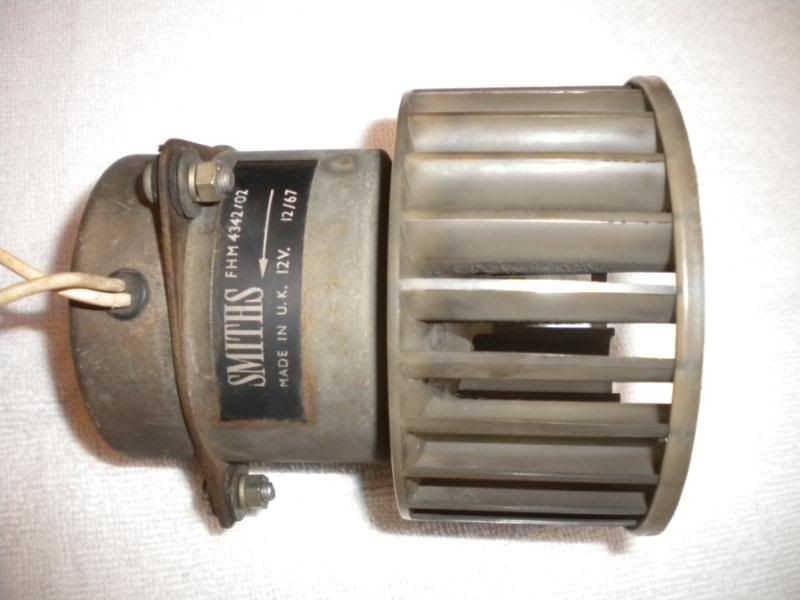
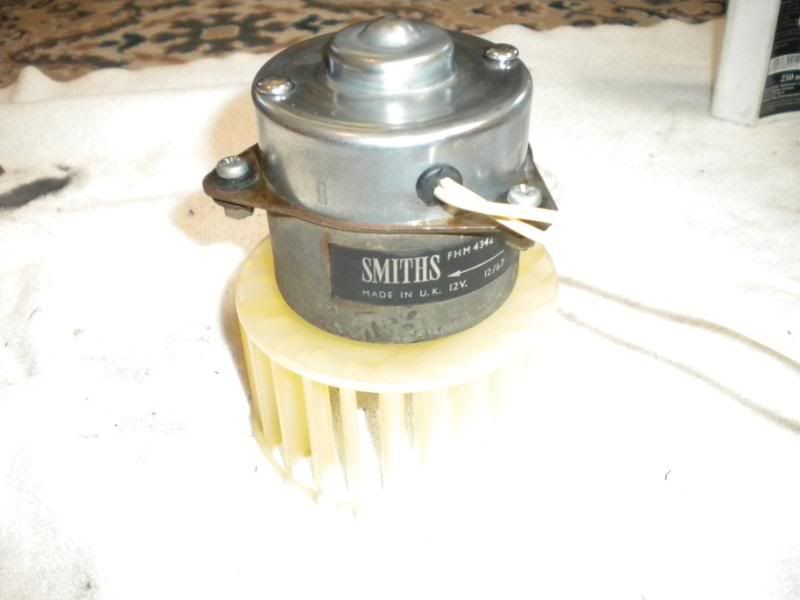
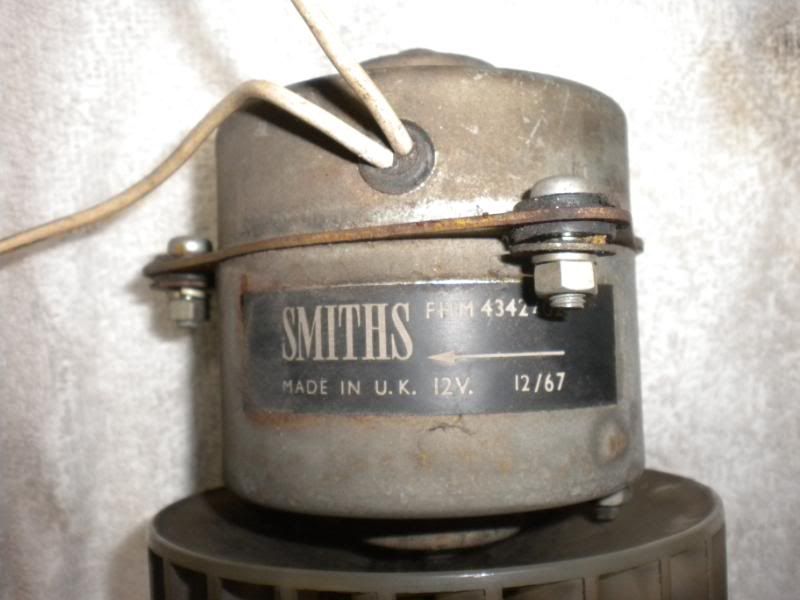
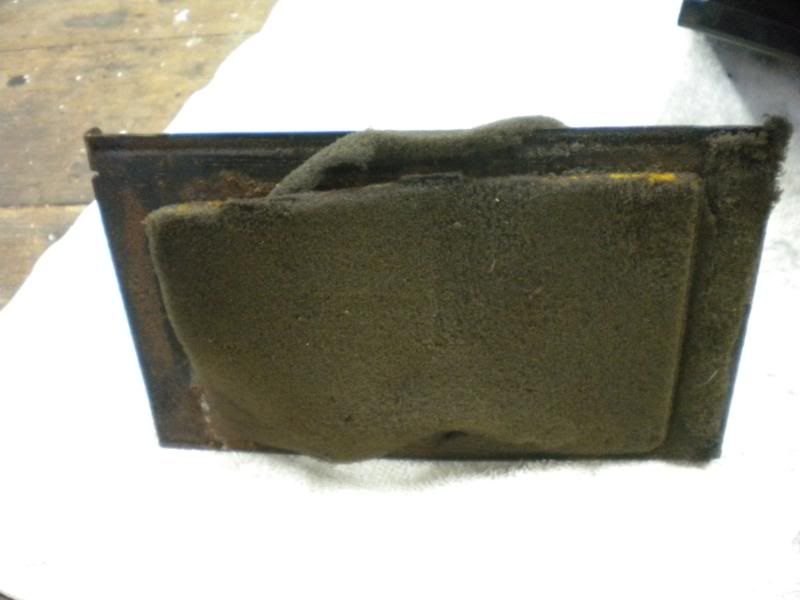
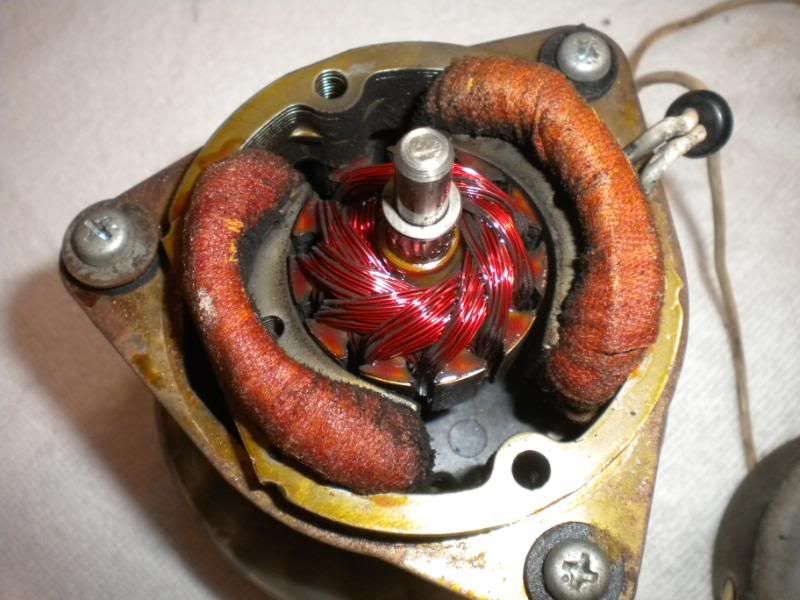
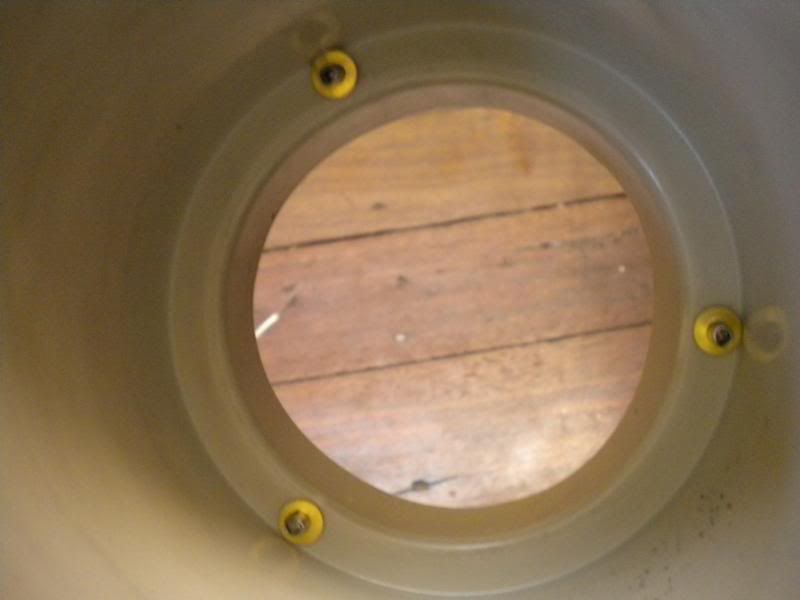
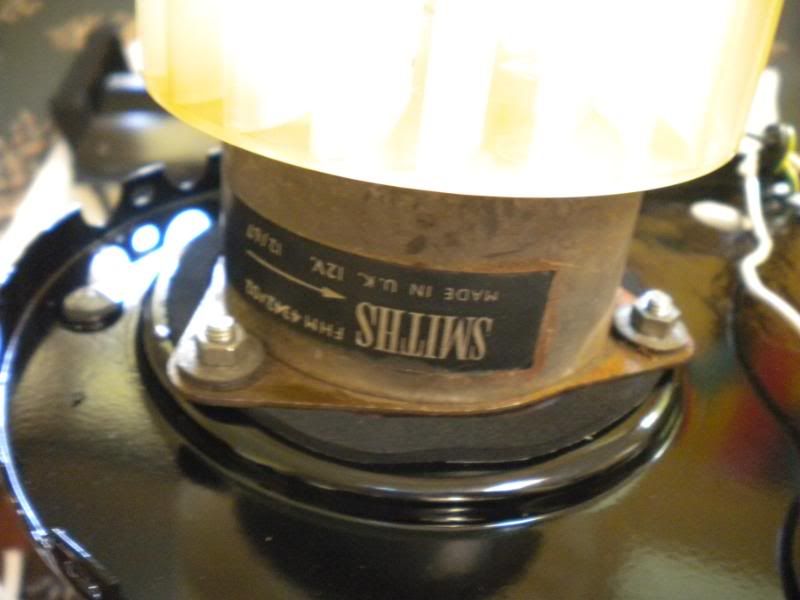
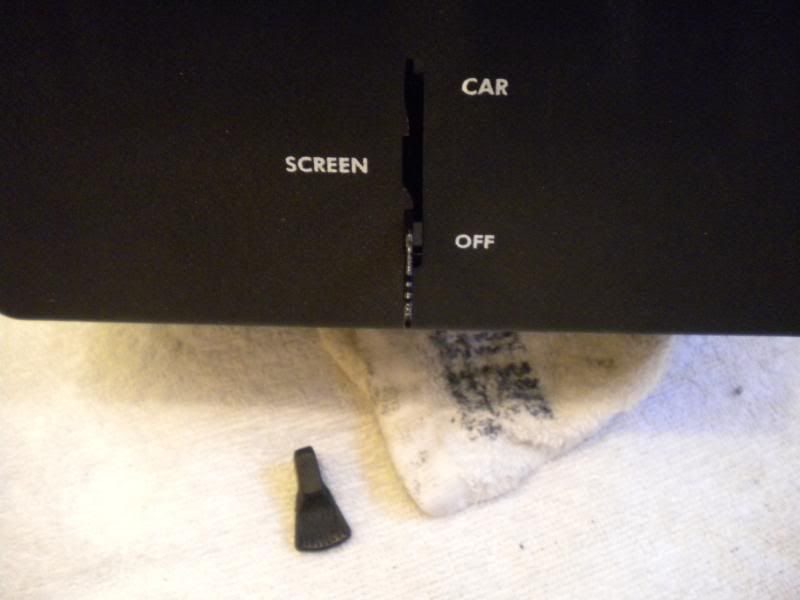
There was no need to open this, it works well but I had to have a look. Fortunately it still works well! ![]() 
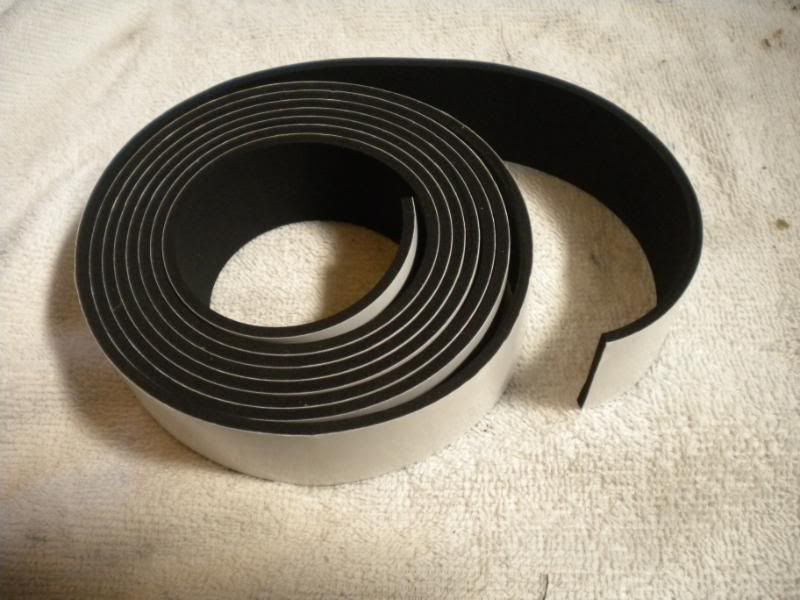
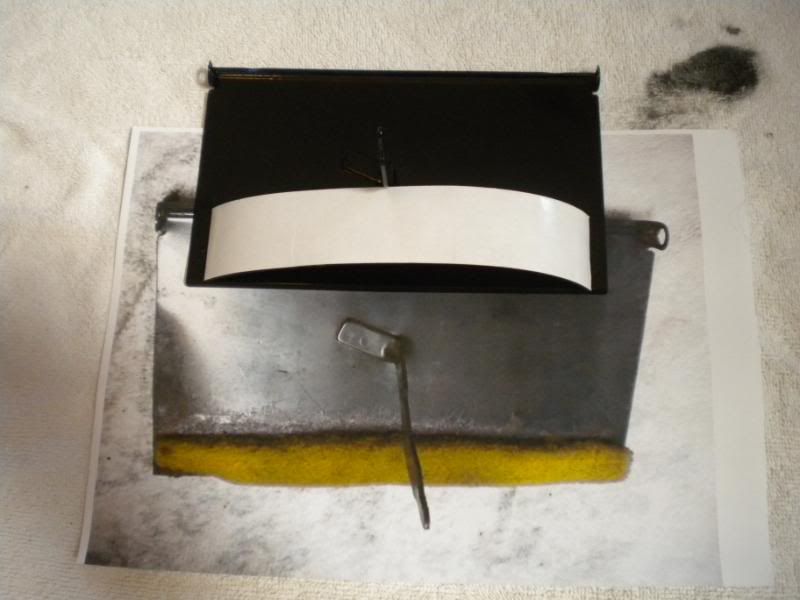
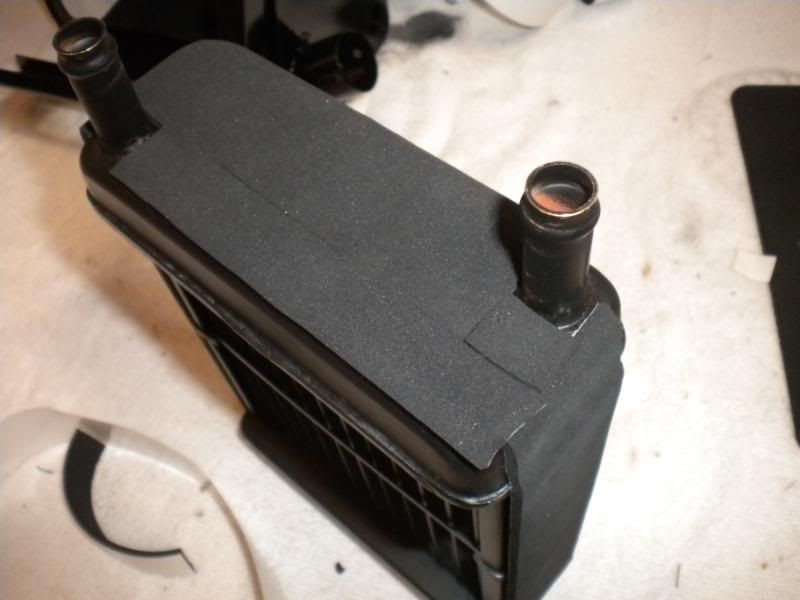
The replacement foam
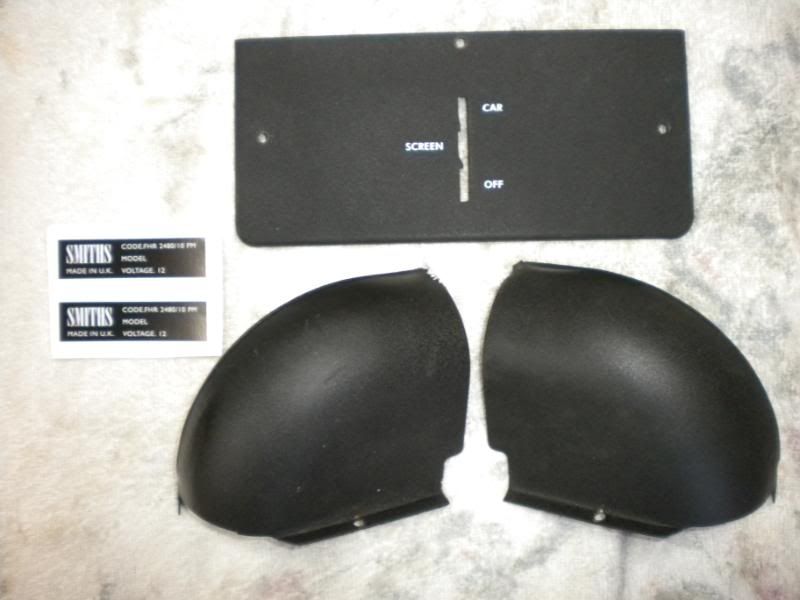
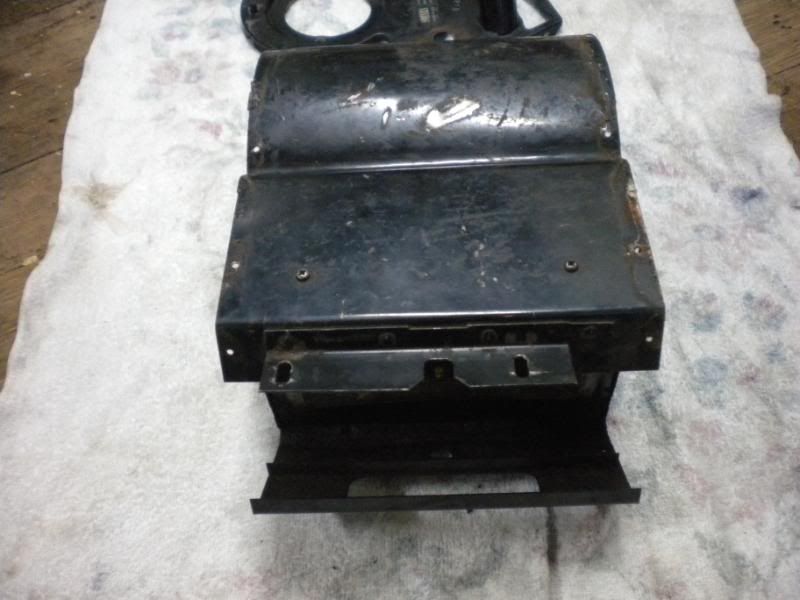
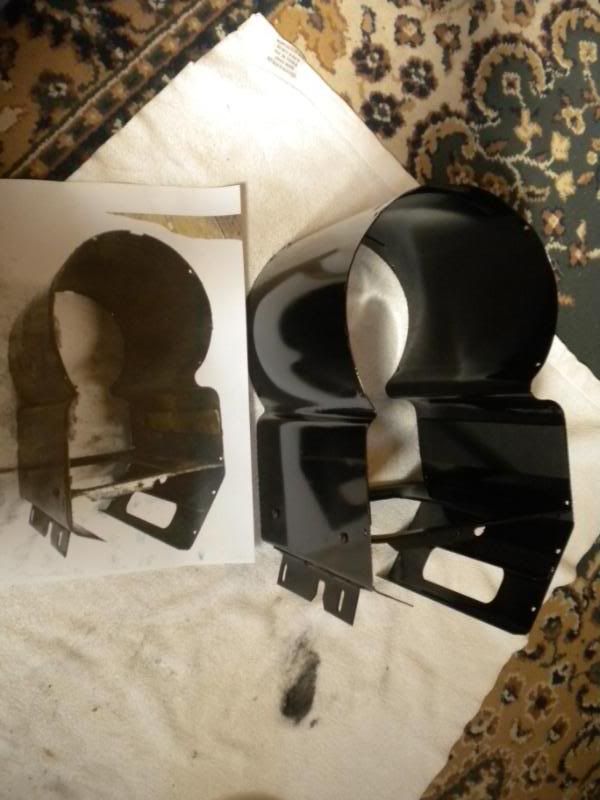
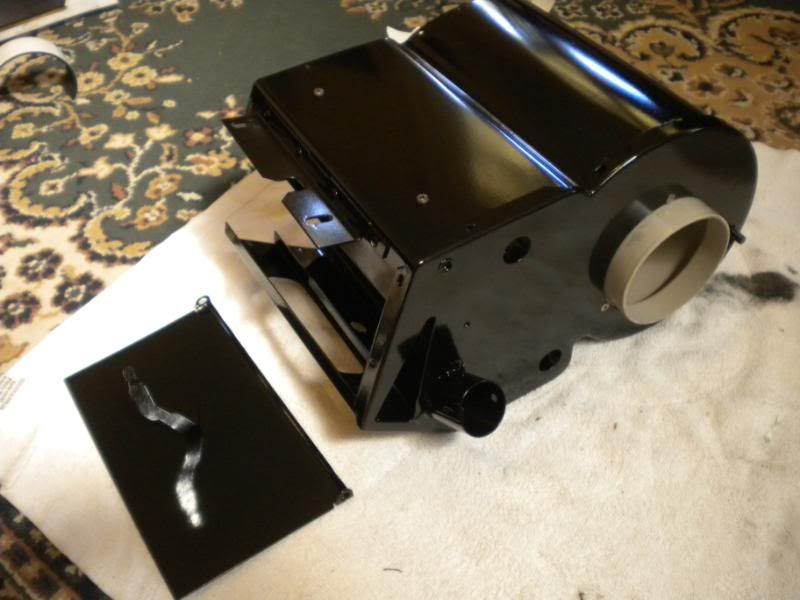
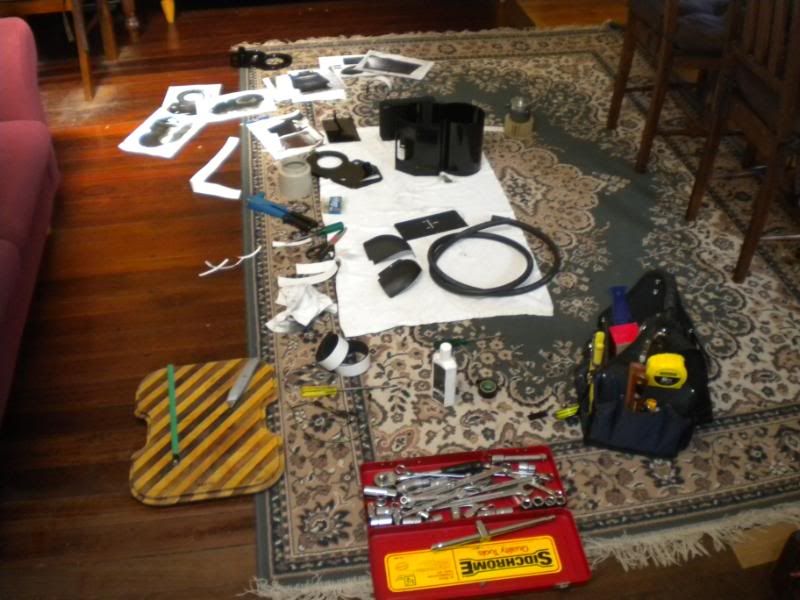
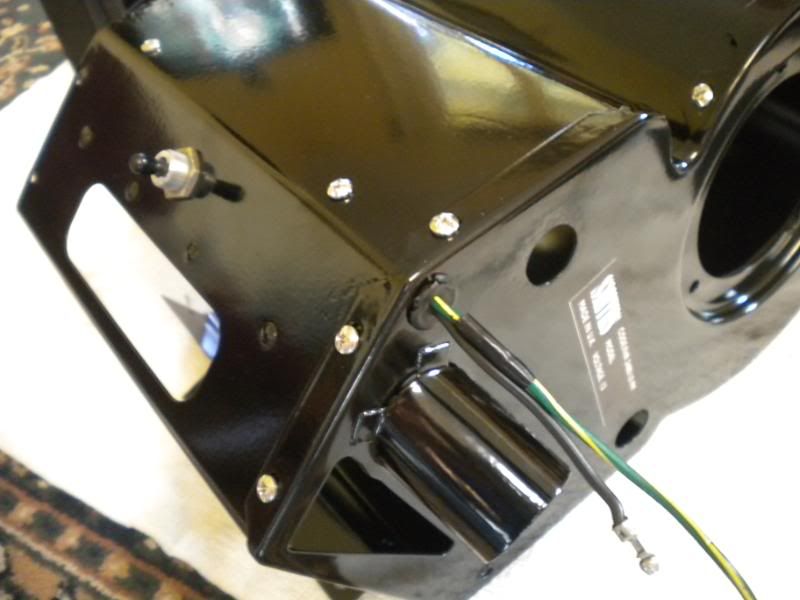
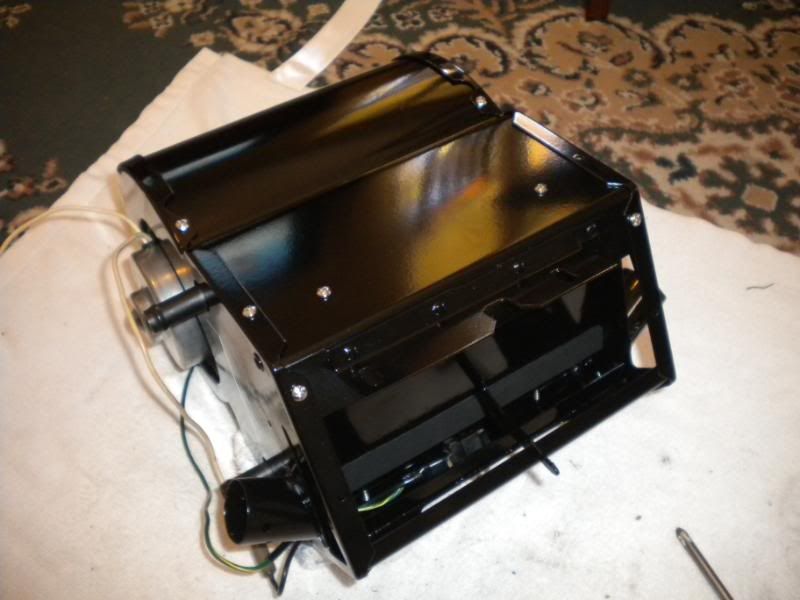
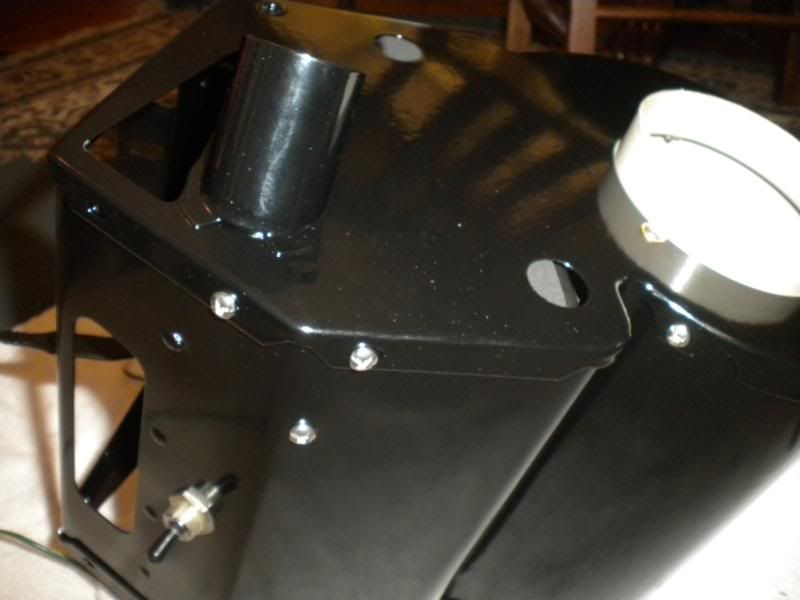
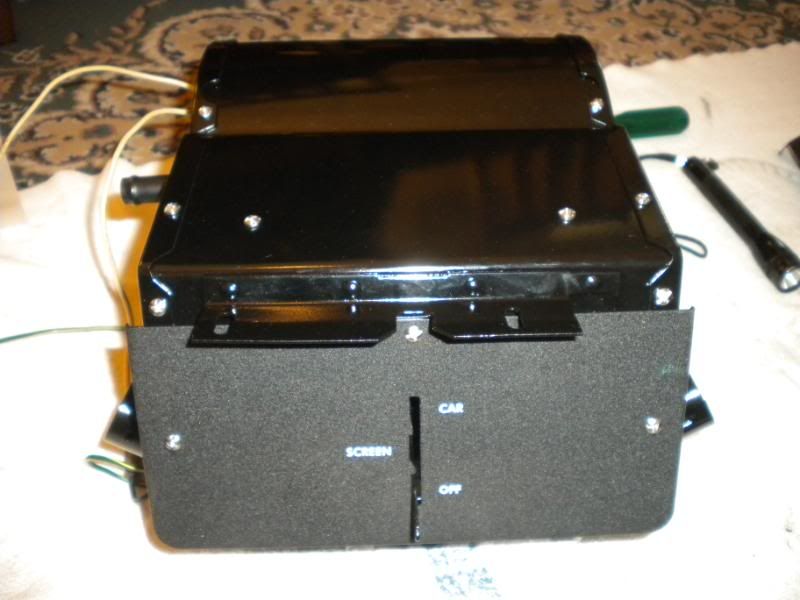
 ![]() Parts back ![]() I photographed everything and then printed them out so i could copy for the re assembly. ![]() ![]() New foam and rivets ![]() ![]() ![]() Cutting foam to length ![]() ![]() ![]() ![]() The matrix has foam attached which holds it in fairly tightly and I guess this helps stop rattles. Not too hard to slide in and out though. ![]() ![]() ![]() ![]() ![]() Lucky the missus was at work! ![]() ![]() ![]() ![]() ![]() ![]() ![]() ![]() ![]() ![]() ![]() ![]() ![]() Back in car. Looks a bit slanted in this pic, must have been the angle I took it from. Firewall carpet to back in too. ![]() Thats the heater and steering wheel done. Just need to do the rest of the car! Oh, and yes, there should be black vinyl on my dash above the heater too! Thats another day. Cheers. |
Author: | DTrain [ Fri Jun 26, 2009 5:06 pm ] |
Post subject: | |
well done that looks real nice! |
Author: | Tombo [ Fri Jun 26, 2009 5:14 pm ] |
Post subject: | |
Very nice effort, you have to be proud of that. |
Author: | Mick [ Fri Jun 26, 2009 5:16 pm ] |
Post subject: | |
It looks really good, may I ask how you refinished the front plate? It looks really well done! |
Author: | Flute [ Fri Jun 26, 2009 5:32 pm ] |
Post subject: | |
I had the front and wings done entirely by minisport. It is pretty close to original I think with the crackle finish and the words were painted on how they used to be by the guy at minisports wife. Cant remember if it was Tony's wife or Andrews. I can't remember how much it cost, I had that done over a year ago, but worth it for a good job I thought. I still need the rest of my car to start resembling yours Mick. Maybe one day! |
Author: | AEG163job [ Fri Jun 26, 2009 5:32 pm ] |
Post subject: | |
Absolute work of art & your approach looks very professional! ![]() |
Author: | Mick [ Fri Jun 26, 2009 5:35 pm ] |
Post subject: | |
A bright spot in the car makes the whole lot look great...especially an immaculate heater as they are so obvious in a mini. Well done. |
Author: | Flute [ Fri Jun 26, 2009 5:40 pm ] |
Post subject: | |
Mick you may know, did the original heater hoses come shaped or just off the roll? The ones I replaced seemed to be shaped but that may be just from the hot water over time. The pic shows I havent put all the carpet back yet either. |
Author: | Mick [ Fri Jun 26, 2009 5:44 pm ] |
Post subject: | |
I might be wrong, but the hose seemed to be off the roll. Some go crazy looking for the original stuff, I have a portion of it and it has a series of lines that are molded in that run down the length of the hose. Another type of hose I have seen has a yellow line going down the side as well....but it is all simply off the roll as far as I know. |
Author: | Flute [ Fri Jun 26, 2009 5:47 pm ] |
Post subject: | |
Thanks, just thought the hoses may be sticking out too far from heater but it should be right then. Cheers. |
Author: | Mick [ Fri Jun 26, 2009 5:51 pm ] |
Post subject: | |
Flute wrote: Thanks, just thought the hoses may be sticking out too far from heater but it should be right then. Cheers.
I connected the top hose to the heater, and then connected the bottom after allowing it to approach the heater over the top of the top hose. It keeps the bottom hose close to the heater side and stops the passenger from getting burnt ankles on the hose..you could even use cable ties (lightly) binding the bottom hose to the top if it helps. |
Author: | sgc [ Fri Jun 26, 2009 8:38 pm ] |
Post subject: | |
Jim, that looks sensational, you've done a brilliant job. Much better than I did with my fresh air heater ![]() |
Author: | Timbo [ Fri Jun 26, 2009 9:46 pm ] |
Post subject: | |
I used that same self adhesive neoprene foam when I rebuilt the heater in my Moke, which is almost identical. Bad move, when it heats up it gives off horrible rubbery fumes. I wish I'd just used normal old foam like Smiths did back in the day. Tim |
Author: | sgc [ Fri Jun 26, 2009 9:53 pm ] |
Post subject: | |
Timbo wrote: I used that same self adhesive neoprene foam ... when it heats up it gives off horrible rubbery fumes
I used the same stuff and didn't have that problem... |
Author: | chopchop [ Fri Jun 26, 2009 10:14 pm ] |
Post subject: | |
top work Jim, bloody looks unreal mate |
Page 1 of 2 | All times are UTC + 10 hours |
Powered by phpBB® Forum Software © phpBB Group http://www.phpbb.com/ |