simon k wrote:
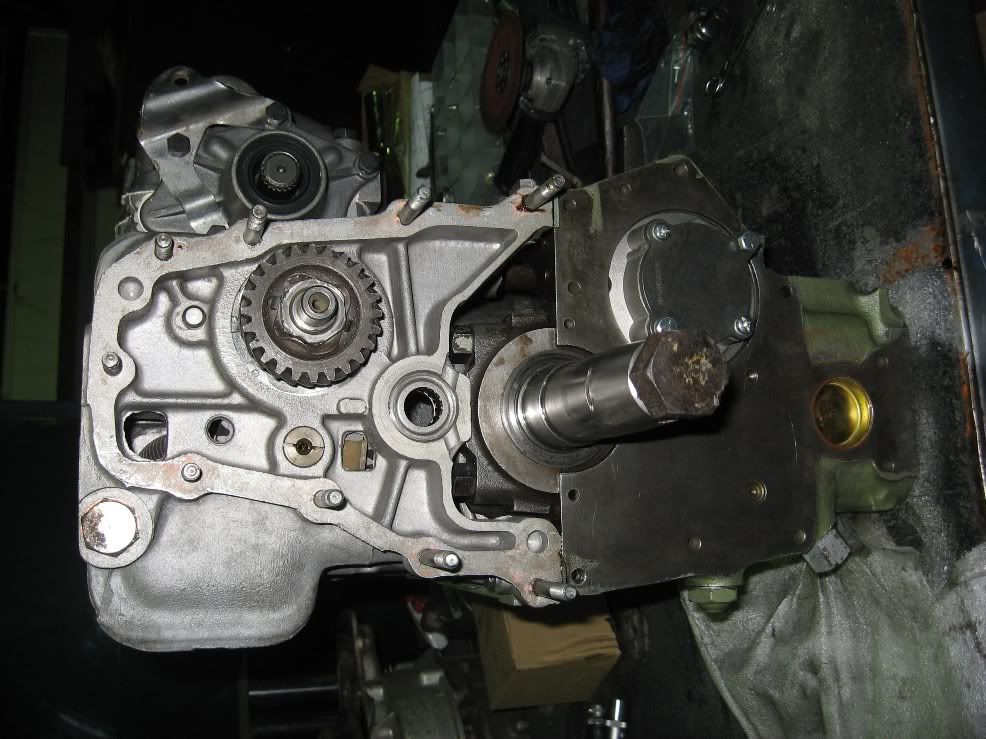
fit the half moon seal to the engine, the timing plate holds it in place between the plate and the front main bearing cap
I hang the block from my engine crane so that it's sitting nice and level, then I crack the hydraulic valve and let it slowly slowly come down, guiding it into place nice and easy
Some (including Dr Mini) like to tip the engine upside down and place the gearbox on top of it.
but make sure you've done your idler gear clearances before you put them together, too late afterwards
I fit the box to the engine, upside down on the engine stand for a few reasons:
1. It is all up at working height so you can see what you are doing.
2. The gearbox is lighter to lift than a block is. Even easier with 2 blokes holding the box.
3. You can see the 2 dowel pins in the block whilst lowering the box on vertically.
4. It is much quicker to tighten all the bolts from above.
Due to this better control there is way less chance of the 1/2 moon seal moving during the operation. I have not had one leak since doing it this way.
Simon, it is possible to check and rectify idler gear clearance with the box already on the motor- I have made a DrMini tool to do this.
2 of these tools exist- mine, and one I sent to Portugal.

note- the bent bit of wire pushes/pulls the idler gear in and out.


_________________
DrMini- 1970 wasaMatic 1360, Mk1S crank, 86.6HP (ATW) =~125 @ crank, 45 Dellorto (38 chokes), RE282 sprint cam, 1.5 rockers, 11.0:1 C/R.