ausmini
https://www.ausmini.com/forums/

TurboOrangie's Brudda - VTEC "TravelleR" - 'Zorst
https://www.ausmini.com/forums/viewtopic.php?f=23&t=43656
Page 5 of 15

Author:  badassmini [ Wed Jul 22, 2009 8:48 am ]
Post subject: 

yes very very nice nigel.

Author:  TurboOrangie [ Wed Jul 22, 2009 8:53 am ]
Post subject: 

Thanks guys. I am pretty excited about the project right now, more than usual. Now I'm actually doing the part I wanted to do on this project. I just needed a solid car to mount the horsepower in. I picked up another 6 metres of tubing on my lunch break and I'll be working on the subframe again tonight when I leave my office.

Author:  TurboOrangie [ Sat Jul 25, 2009 10:48 am ]
Post subject: 

Progress on the subby has been slow the last couple days. Spending a lot of time looking and thinking of the best way to do things. Decided that it would be a good time to sort the radiator so I don't have to change the subframe for it to fit later. Not much room for a radiator, I could fit the Honda radiator from the donor car in sideways in the available space. However, it had to go in sideways and the inlet, outlet, filler and drain were all in poor places and the plastic construction of the tanks of the Honda radiator do not lend themselves to easy modification. I read somewhere that a Mini radiator had been used to cool a swapped engine. So I figured I would see if I could get one to fit. I went to my pile of Mini radiators and pulled a couple out and tried to fit them in the car. One of them was a little bigger than the others and it seamed to fit just right. Not sure why it's bigger, maybe it's not even a Mini radiator. I just got it with my pile of Minis and Mini parts I bought a few months ago. This questionable radiator fits in facing forward and rotated on its side. I took it to a radiator specialist (he build my custom rad for my Suzuki Mini) and we figured out just what to do. He will re-core the old radiator with a performance 3 core, use the old tanks and then relocate the fillers and cap to where I specify. From his calculations this radiator will have twice the cooling capacity of the Honda radiator that was in the donor car. So if everything goes as well as planned I will be very happy!

Author:  TurboOrangie [ Sun Aug 09, 2009 3:58 am ]
Post subject: 

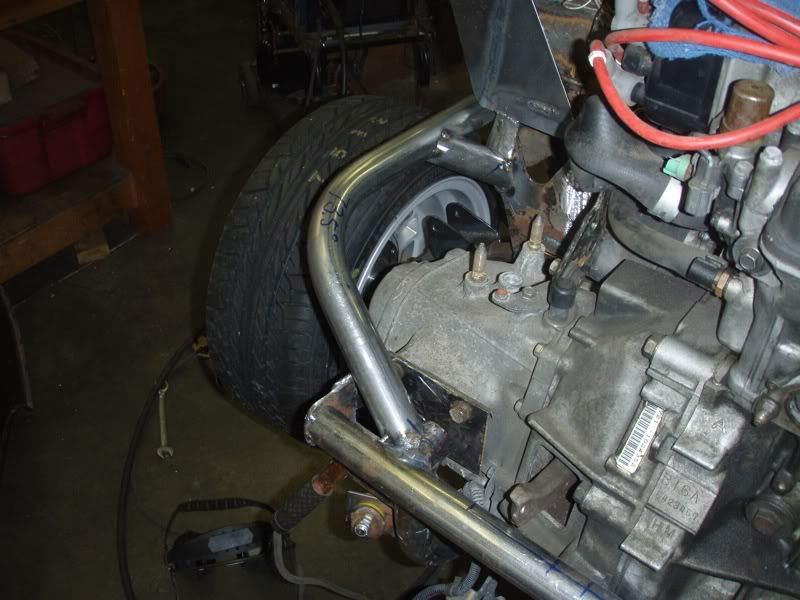
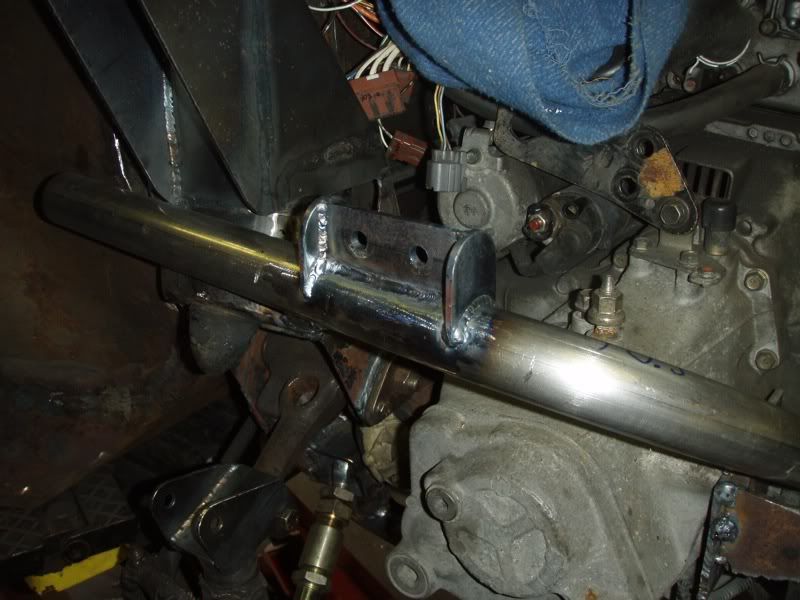
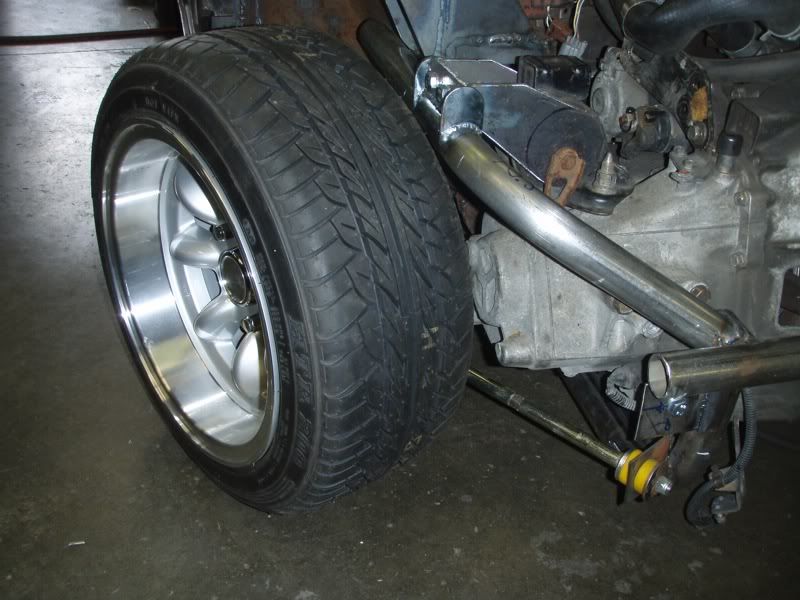
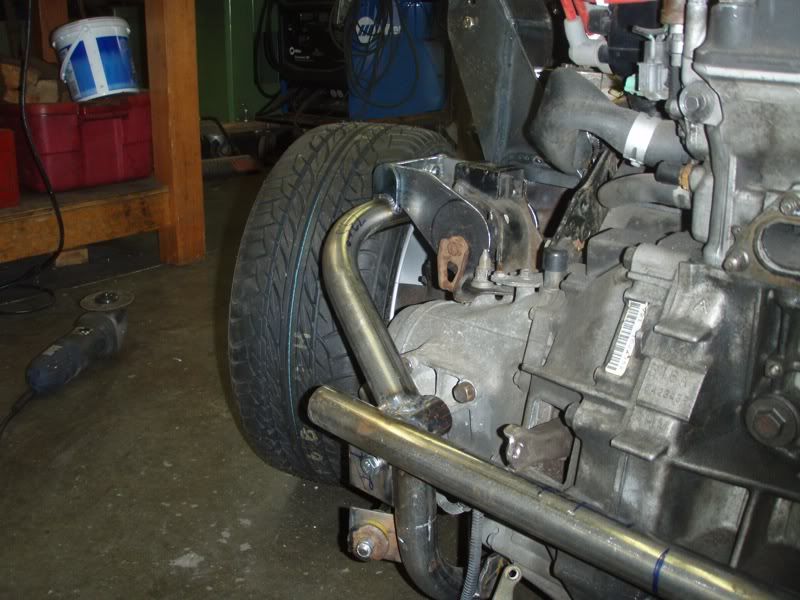
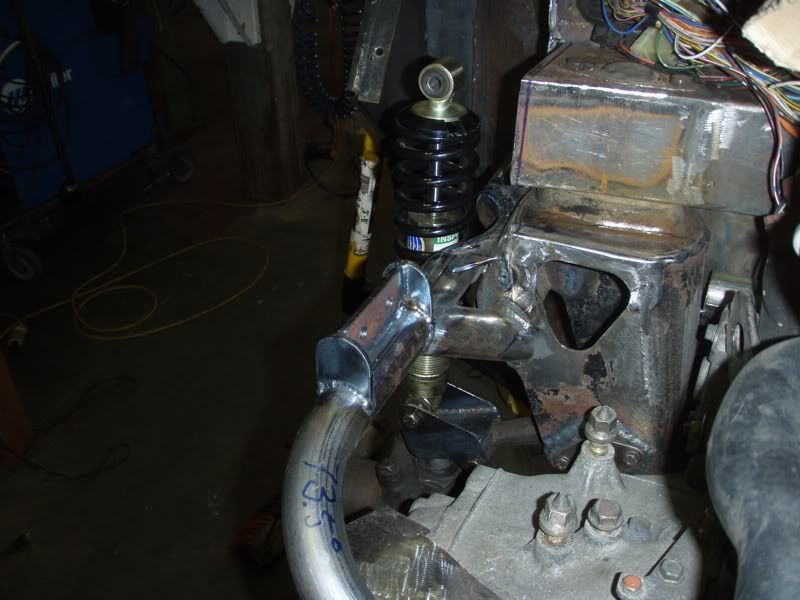
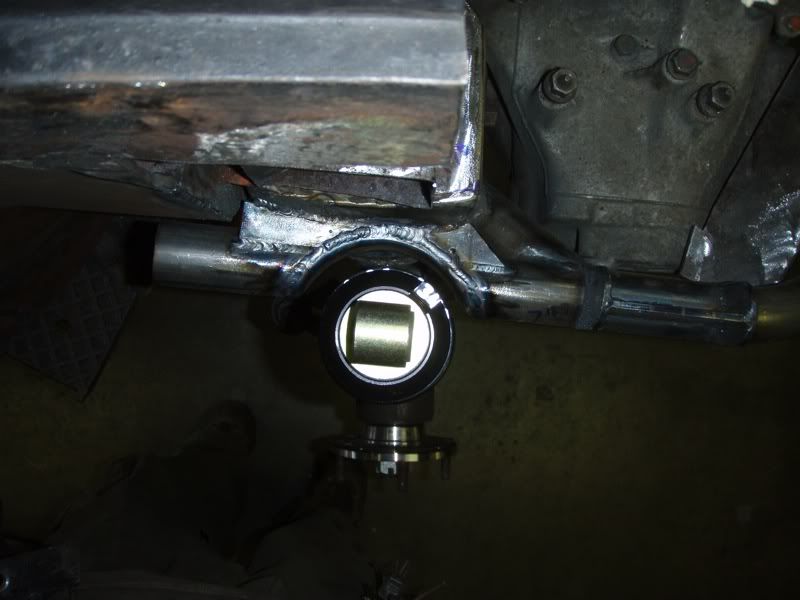
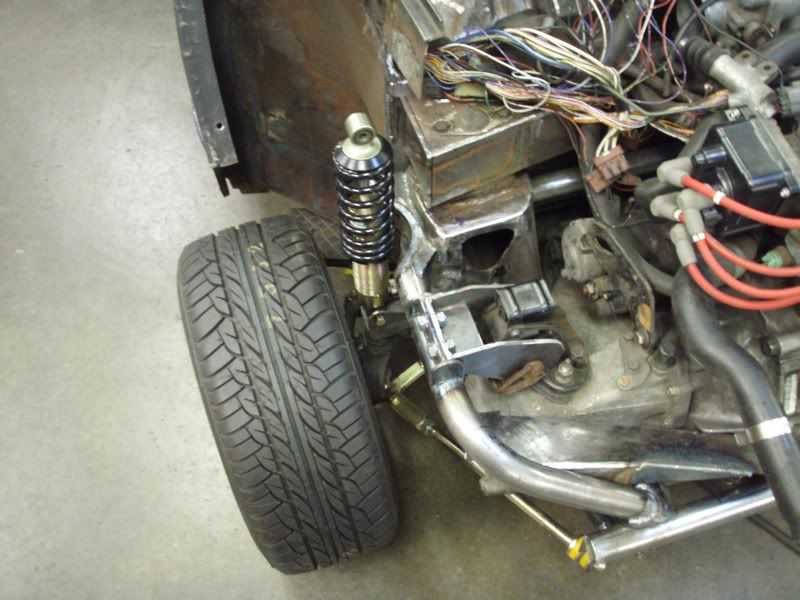
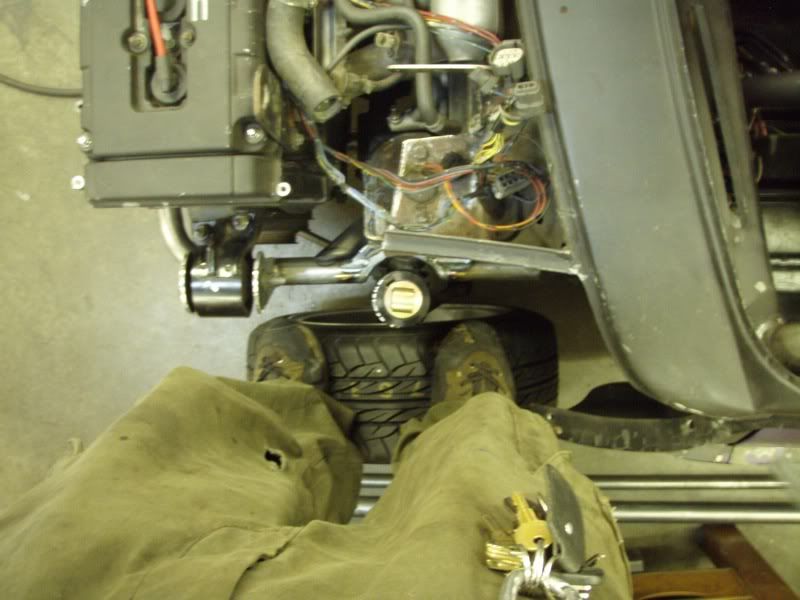
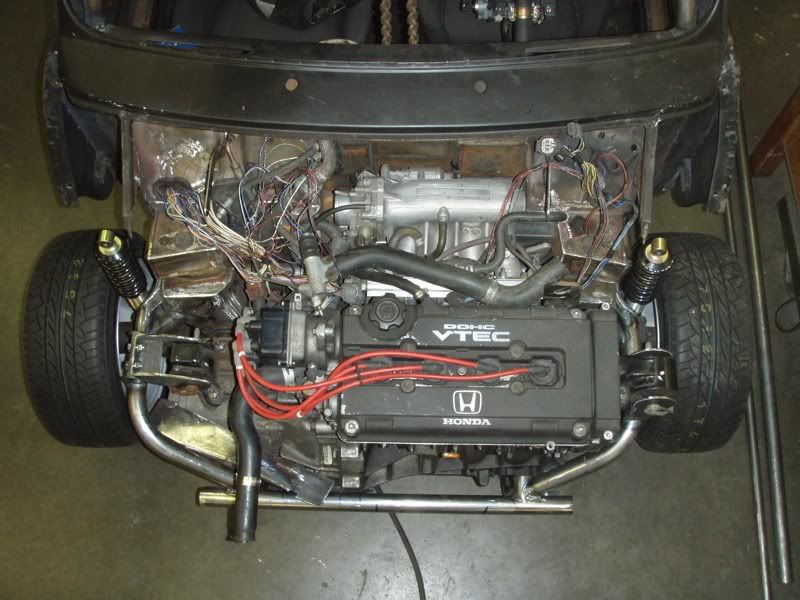
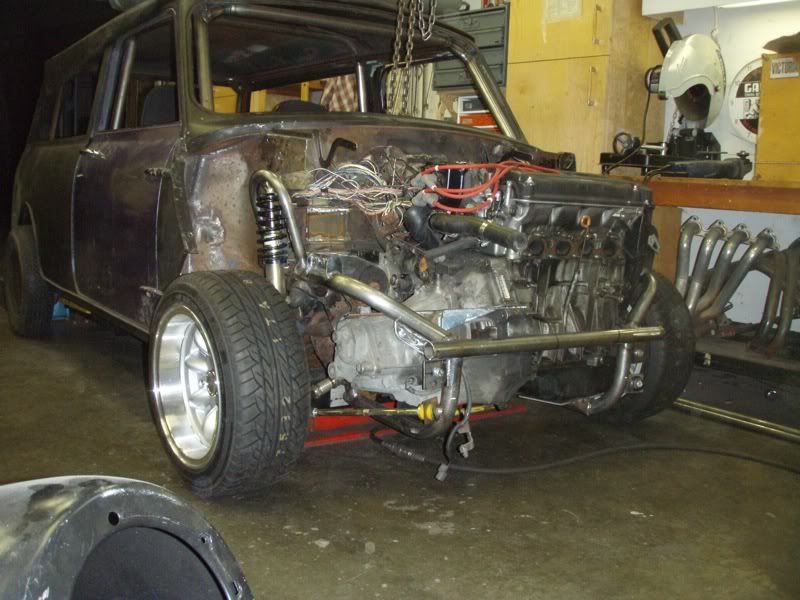
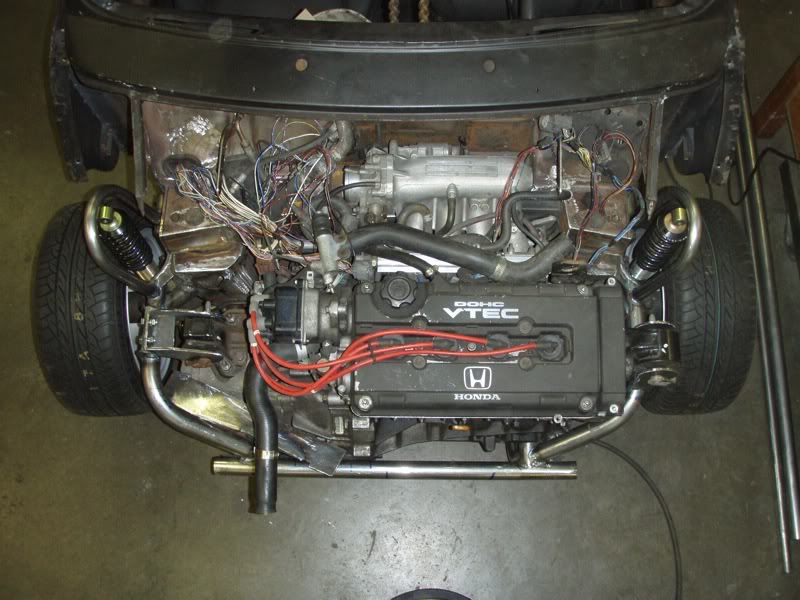
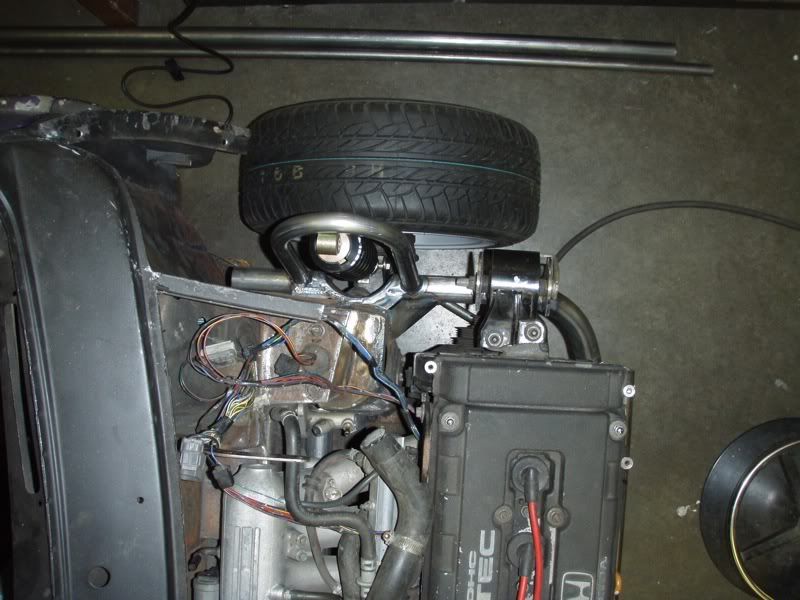
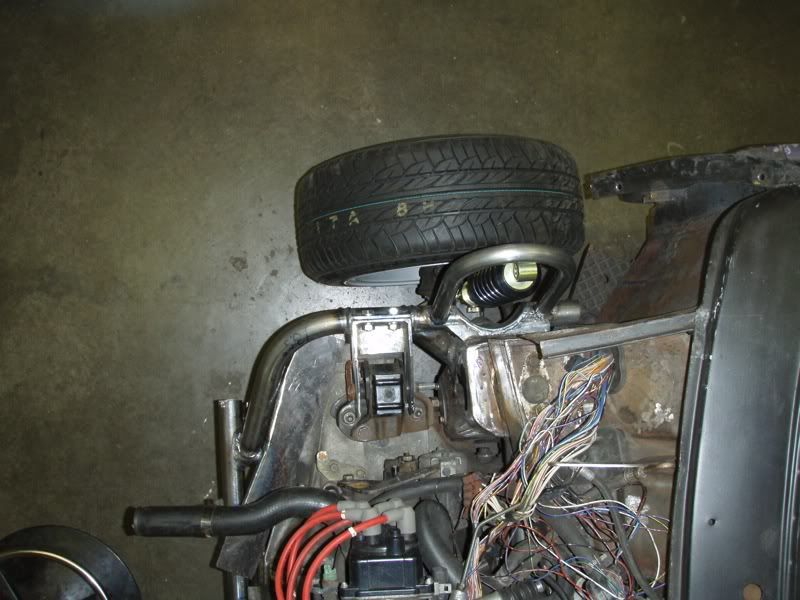
Here are a couple pics of some progress on the subframe. They are not quite up to date, will be doing some more work this weekend and should have some more pics soon.

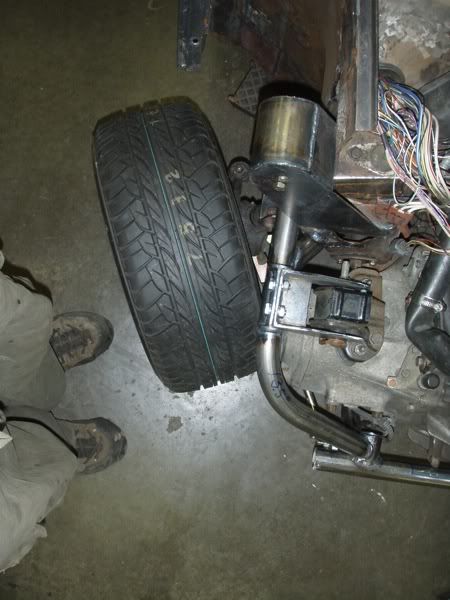
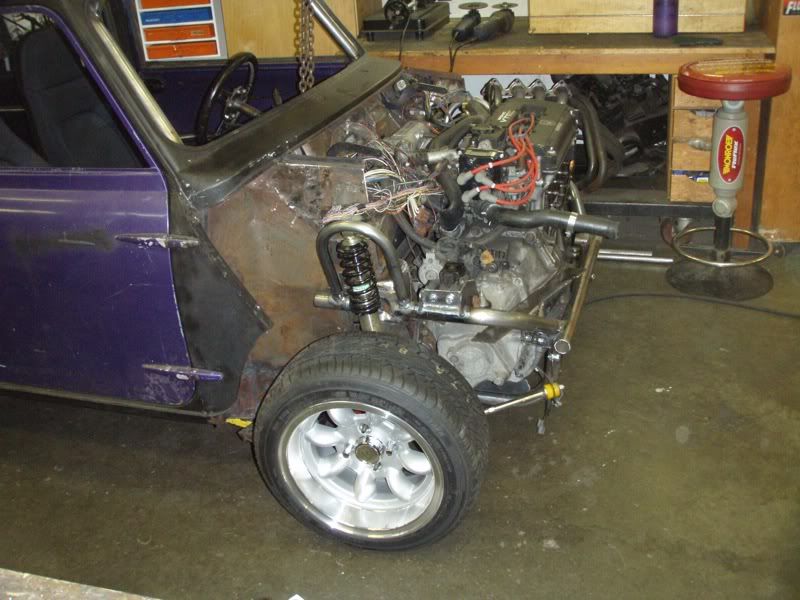
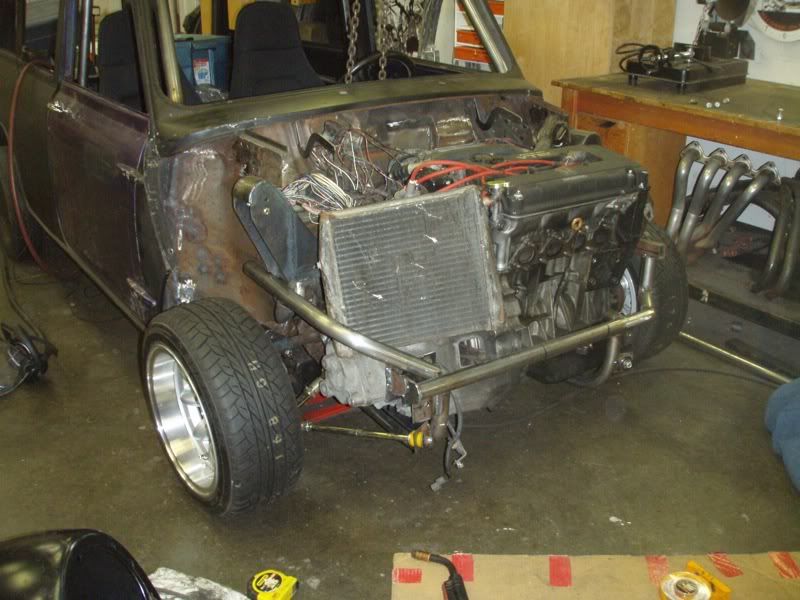
A bit of an idea of how the radiator will sit. The radiator still needs to finish being modified/rebuilt, but it's at a point I will start building the mounts and make sure it's going to fit before I have the radiator finished.
Image
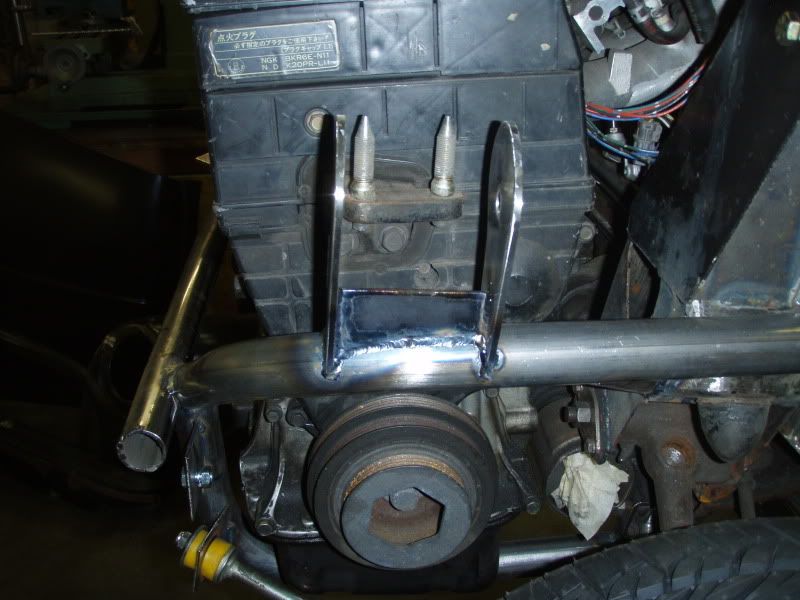
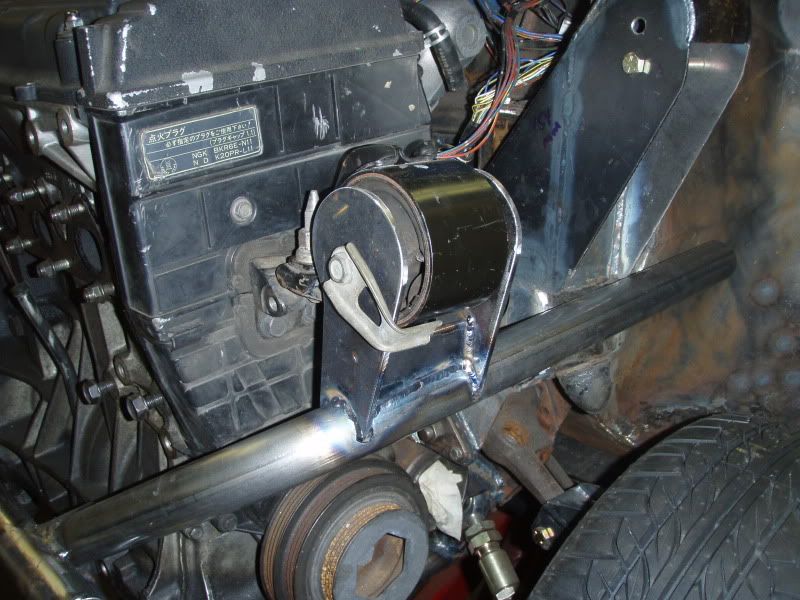
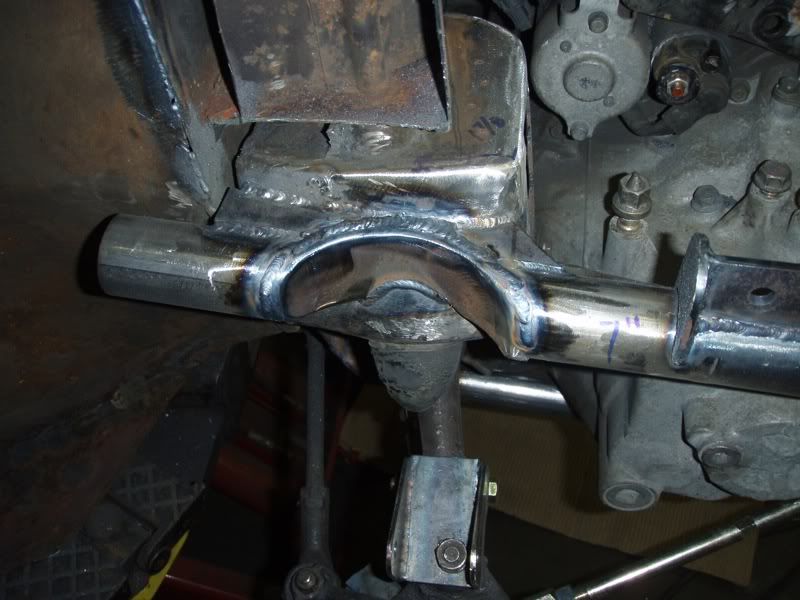
Just another shot of some of my work with the tubing. Part of what you see is just temporarily holding things in place and will be cut out later.
Image

Author:  Archangel007 [ Sun Aug 09, 2009 7:20 pm ]
Post subject: 

I like your work Nigel.....

Arent those JD2 benders just the best thing?

Cheers,
Tricky

Author:  TurboOrangie [ Mon Aug 10, 2009 4:33 am ]
Post subject: 

I do love the JD2 bender, but the plasma, MIG and TIG machines are also quite brilliant.

I made the engine mount unbolt from the subframe so I have more clearance pulling the engine out through the top. I'm trying to avoid having sections of the subframe that unbolt, but I still might have to to fit the header, but I am also thinking about modifying that as well. Here are some pics of what I did over the last couple evenings. I'm currently working on mounting the radiator. I've got it all sorted in my head, it's just a matter of building the pieces and testing it out.

Image
Image
Image
Image

Author:  TurboOrangie [ Sat Aug 15, 2009 4:55 am ]
Post subject: 

Left side engine mount.

Image
Image

Author:  Archangel007 [ Sun Aug 16, 2009 6:56 pm ]
Post subject: 

Looking good Nige!

Author:  '77 clubby van [ Sun Aug 16, 2009 11:33 pm ]
Post subject: 

I can't wait to see this thing finished! Everything is done so well! Pure metal working porn! :D

Author:  TurboOrangie [ Tue Aug 18, 2009 4:56 pm ]
Post subject: 

Today I cut out the towers I built for the coil overs, I decided some round tubing would look better. So I had to notch a couple of the tubes I had in already, but I knew I was going to have to. I've bent up the 1" x 0.120" tubing that I am going to make the hoops out of but I don't think they make an appearance in any of the photos I'm presenting today. But next time I work on the car I will be installing them. I just have to figure out at what height to mount them. My old towers had the car sitting lower than I needed it so I have some reference, but I will be able to adjust it with the coil overs anyway to fine tune the ride height.

Today I also made a few trips back and forth between my friend's shop and the radiator shop to do some test fitting of the custom radiator between changes. We got it all sorted and he should have the rad done by the end of the week.

Image
Image
Image
Image
Image
Image

Author:  swiftden [ Tue Aug 18, 2009 6:32 pm ]
Post subject: 

Gday mate,
this project is looking great . I can't wait to see it finished. keep up the good work. PS plenty of pictures are required :twisted:

Author:  madmorrie [ Tue Aug 18, 2009 7:28 pm ]
Post subject: 

OK,
Now you're just showing off. :lol:
That is looking REALLY good, do you want to fly out to weld mine for me?

Madmorrie

Author:  blue_deluxe [ Tue Aug 18, 2009 9:53 pm ]
Post subject: 

Top Build. congratulations.
And yes it is pure metal working porn.

Author:  TurboOrangie [ Wed Aug 19, 2009 7:10 pm ]
Post subject: 

madmorrie - Not sure I can make it over to weld your car up for you, it's not the first time I've been asked to come over and do some welding. Maybe a few of you ausmini'ers should pay to fly me over, feed me and show me around your beautiful country, I will do some welding in return. Maybe I should move there. There seams to be some great projects in Australia, however, it does sound like there are a lot of rules there. I hear there aren't many Chiropractors there either, maybe it would be a good place to start a practice.

Here is some more porn for everyone to enjoy. The hoops got welded in tonight, next I have to weld in some tabs for the coil overs to actually bolt to.

Image
Image
Image
Image
Image

Author:  Angusdog [ Wed Aug 19, 2009 8:20 pm ]
Post subject: 

As usual, superb inspiration for everyone.

A couple of questions:

Is it all MIG welded?

And are you thinking of having a removeable strut brace? I've always thought of them as a bit of ricer bling, rather than a structural requirement, but those hoops look like it might need something which I'm sure you've already thought of.

Also, how have you bent the tubing?

Thanks for doing this - it's nice to see someone really push the boundaries of what's considered possible.

Page 5 of 15 All times are UTC + 10 hours
Powered by phpBB® Forum Software © phpBB Group
http://www.phpbb.com/