There have been quite a few people posting questions about cone compressors, and whether or not cones can be installed with or without one etc.
After a bit of research, I did it myself, and I decided to document it here for the noobies (including me).
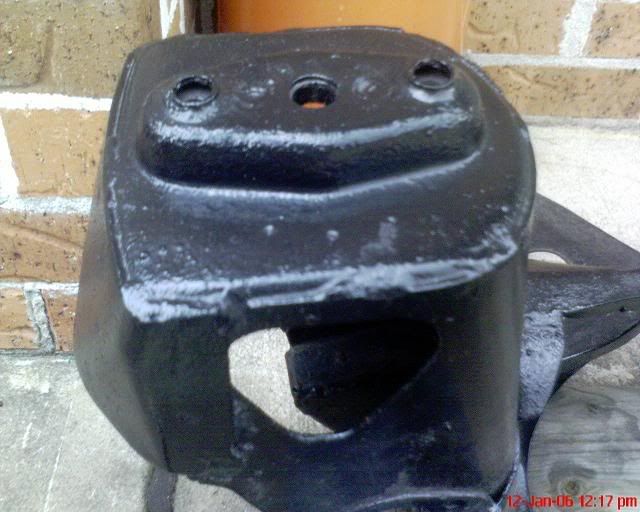
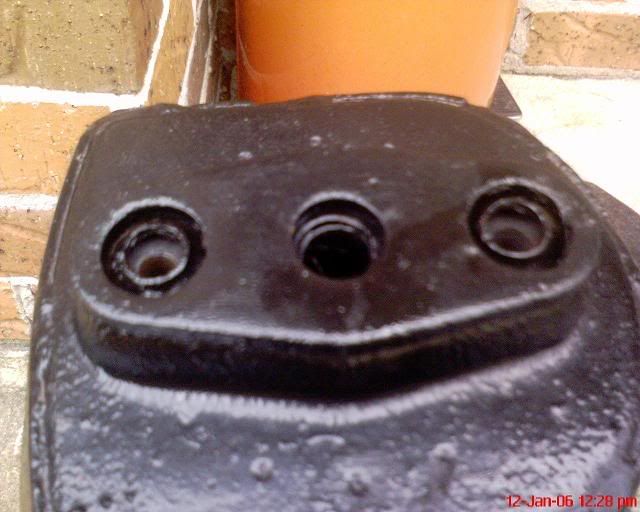
One empty suspension tower
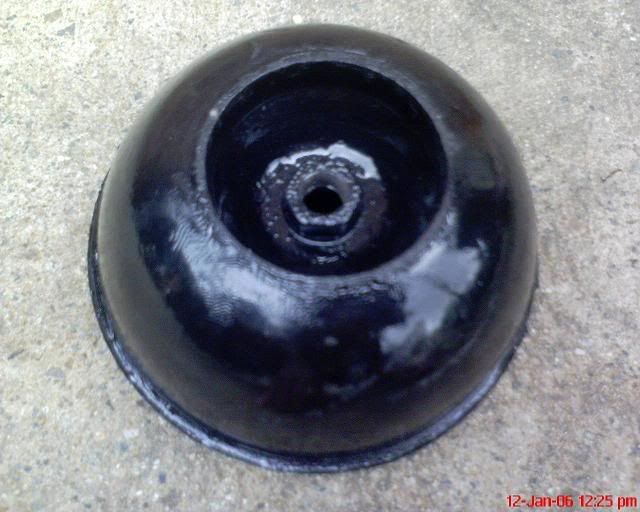
One rubber cone
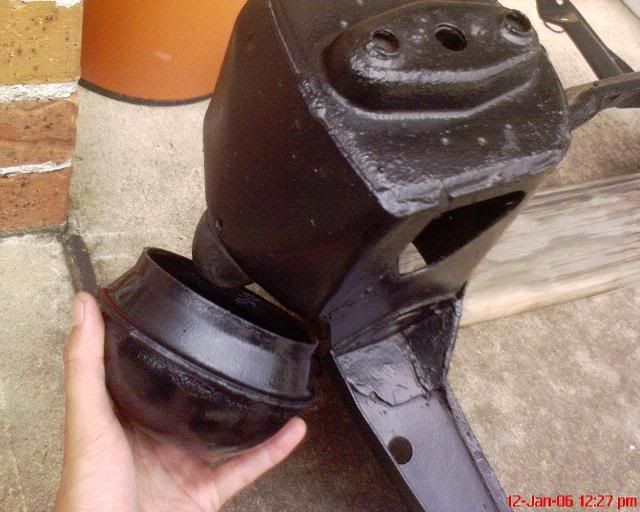
Lubricate the thread in the cone - just as drmini always says

Put the cone into position
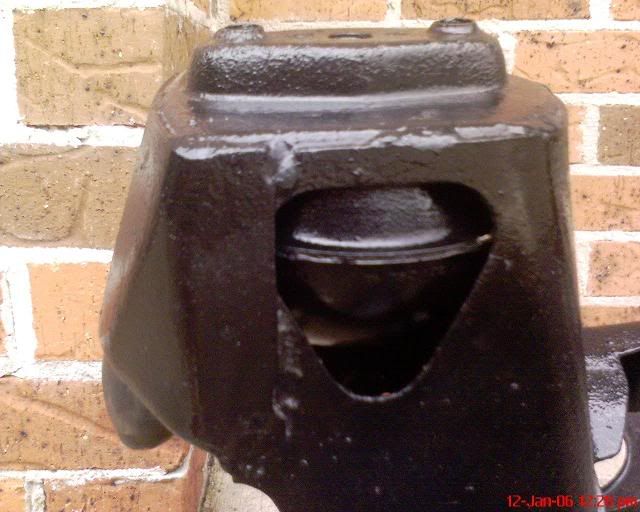
Make sure that it sits in its proper place
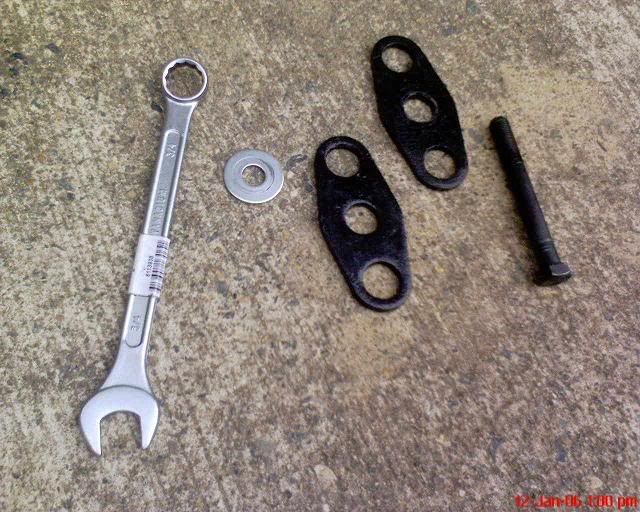
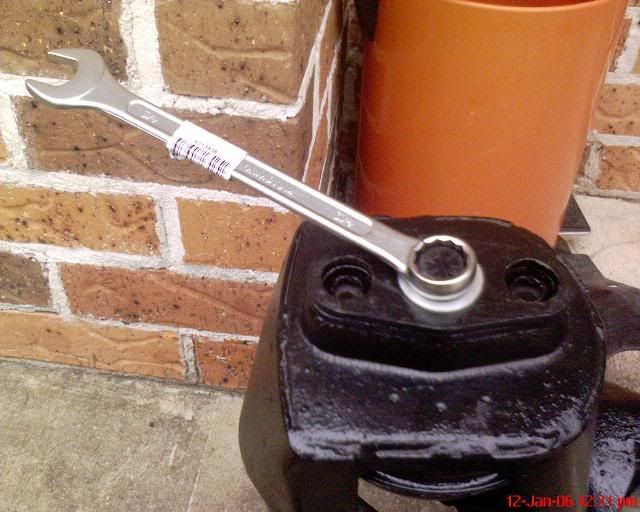
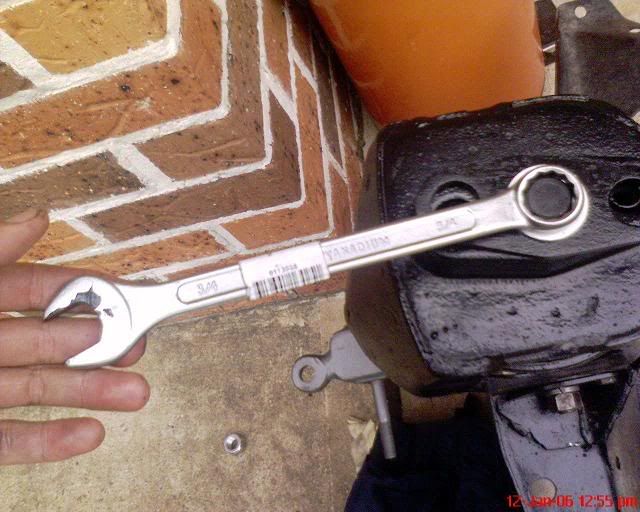
This is what "MY" cone compressor looks like! A 3/4 spanner, a big washer, two subframe spacer plates, and a high tensile 1/2inch x 4inch bolt.
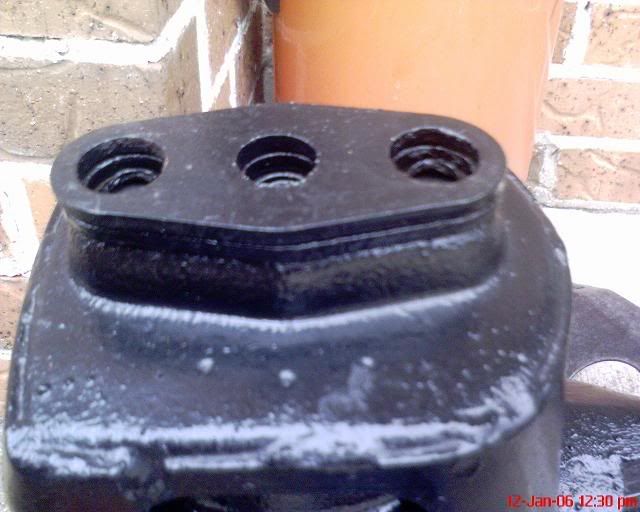
Let's put it together:
Step One
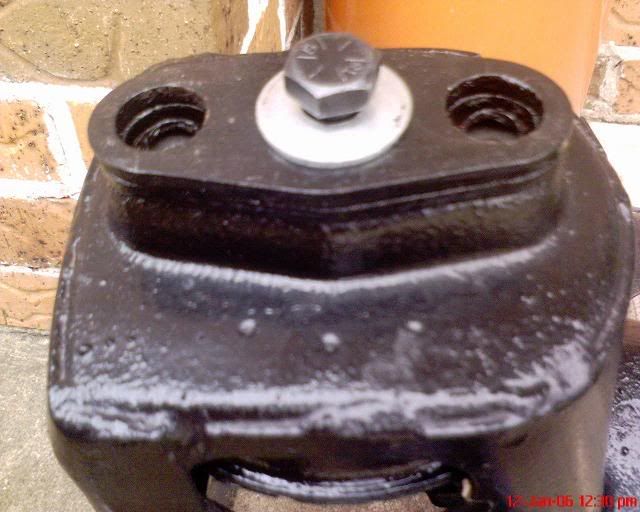
Step Two
Step Three

Step Four
Step Five
I turned it by hand first, to make sure that it started in the thread properly, then used the spanner to turn it about 10 times. This gave me enough clearance to put in the strut and top arm.
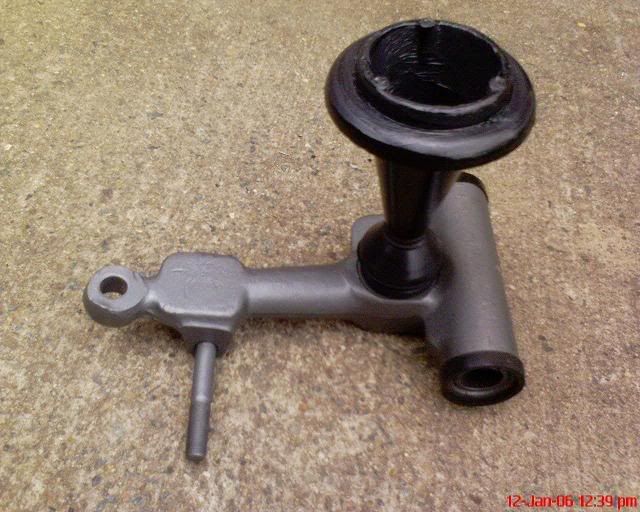
Get your strut and top arm ready
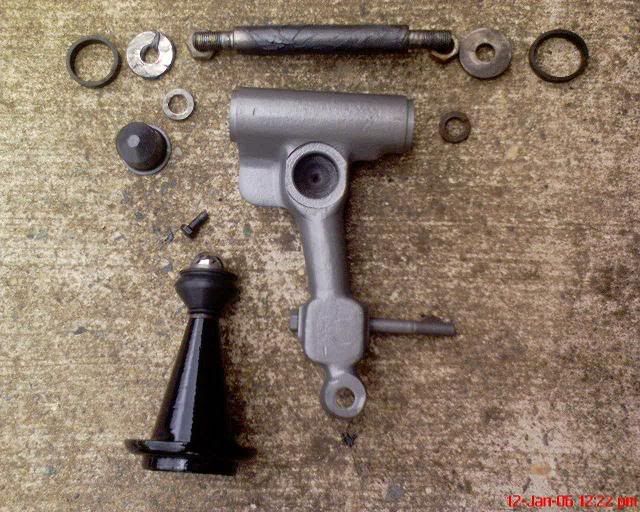
Grease them up and assemble them
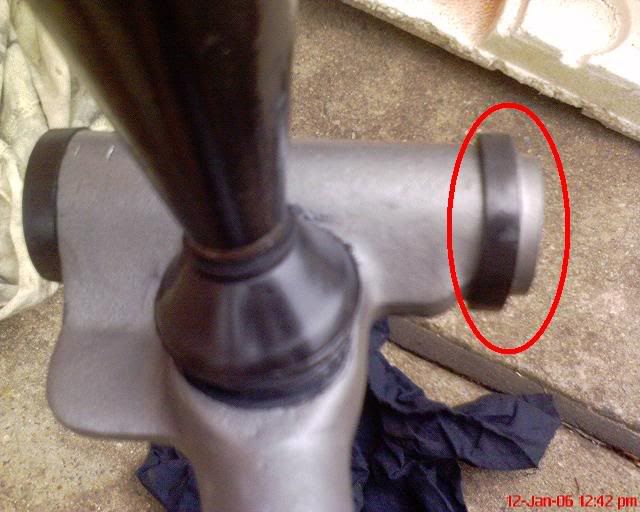
This is how I put on the rubber seal on the front most end of the arm. It helps when installing the arm, and can be put into the correct position later.
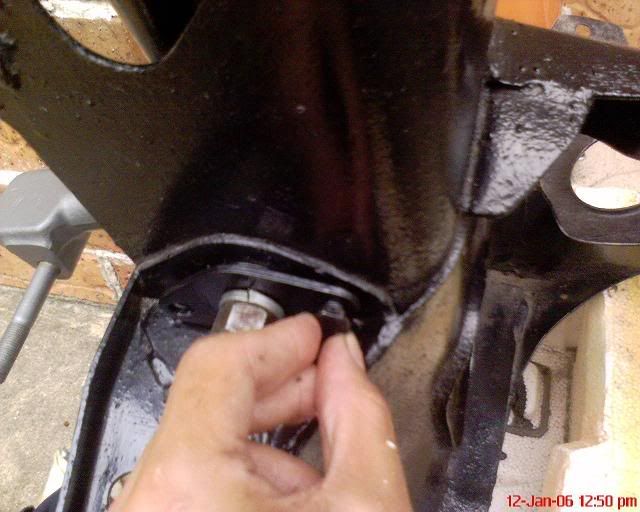
Ease the arm into the suspension tower, start by making sure that the strut finds its proper place in the rubber cone
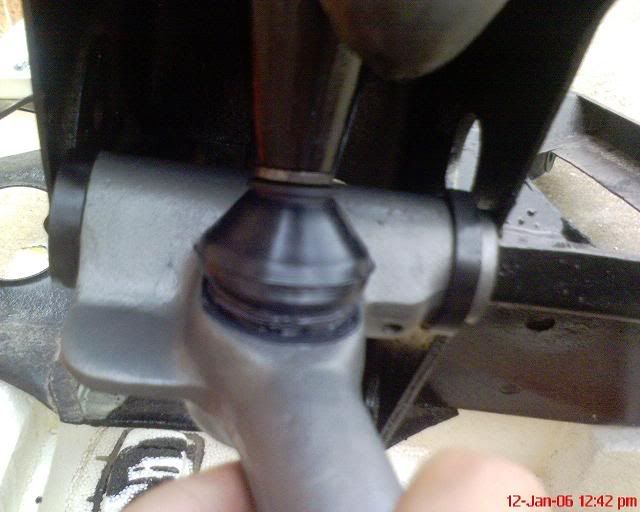
When the strut is positioned, then get the arm to line up properly (so that the pivot pin can be inserted).
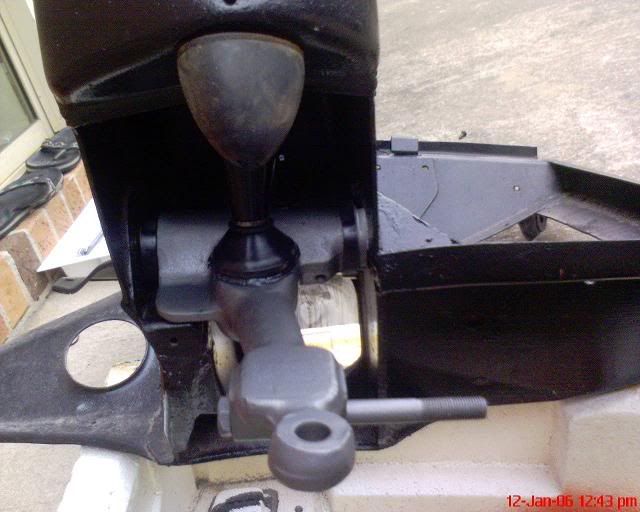
Assemble the pivot pin, retaining plate, spring washer, nut
Don't forget the thrust bearing! It should be the THICKER of the two thrust washers.

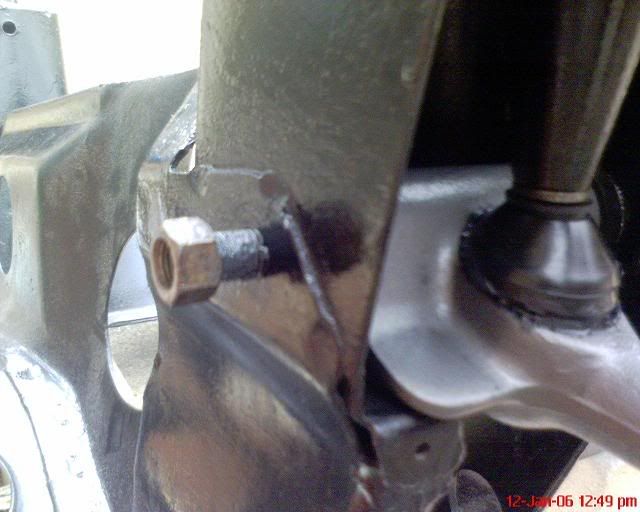
Insert the pivot pin
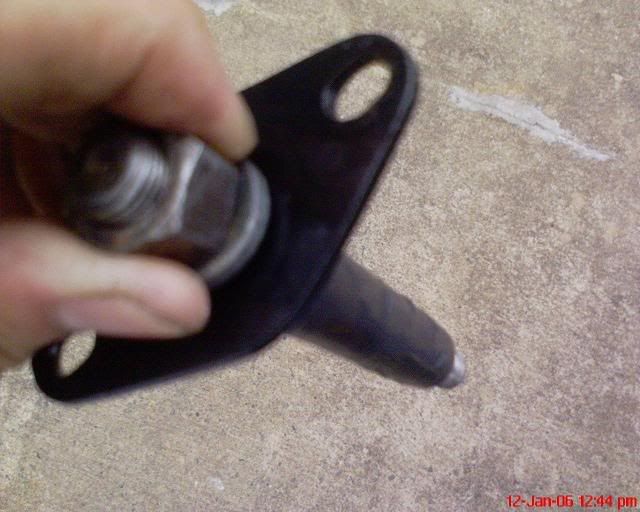
Bolt in the retaining plate
Put the spring washer and nut on the other end of the pivot pin (I haven't got the spring washer on in this pic).
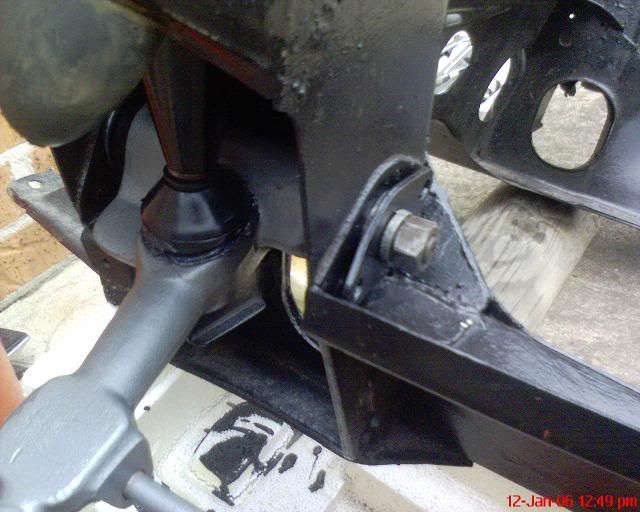
When all the nuts and bolts are done up properly, it's time to let the cone go.
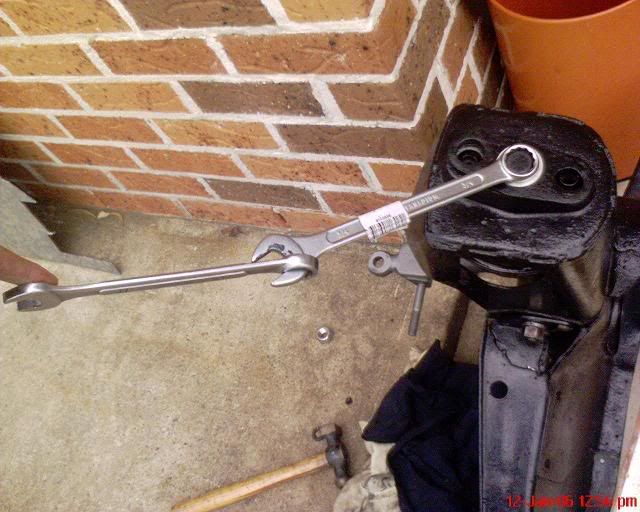
It's time for the 3/4 inch spanner to come out again.
And this time, he might need a friend to help...
And there you have it!!!
Cone, strut and toparm installed without a $100 compressor, and without much swearing or sweating! I will have to use my "compressor" again when I fit some new rebound rubbers, I'm sure that it will be up to the task for another round of cone compressing!