UPDATE 2ND OCTOBER
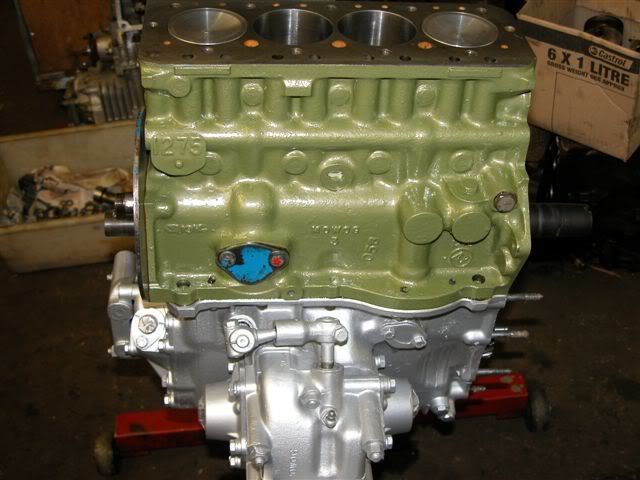
This week I managed to get alot done. I took the block home and painted the block Cooper S green. I used Ameron Coatings that I got for a song from Kevin who in turn got a big 4L tin from his friend

It's lurvley stuff. Nice and thin, lots of pigment and dries very quickly. The coating is VERY hardy! extremely tough to scratch off. I used a brush and still got very good results even though the block still had a heap of old paint stuck to it

I don't care what people say, I think it's a very nice colour and will suit Lillee perfectly.
Next time I will redistrip it

This weekend I took all the bits back to Graham's place and we managed to put most of the block, cam, bolt in the gearbox, oil pump and clutch cover.
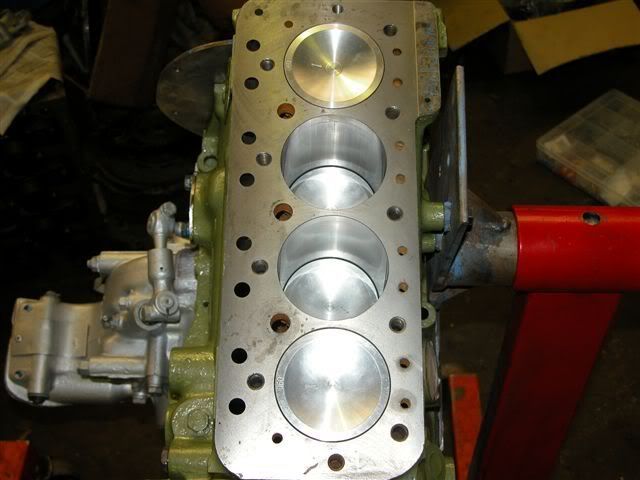
Cam install
In went new cam followers. The reason why graham likes the Isky type followersisn't because they are lightweight or have a hole etc, but it is the fact that they are actually longer than regular followers. He says when you grind cams, the back part of the lobe gets ground off. What happens is when the valve is closed, the follower comes out of it's hole more than a stock cam that has not been ground. What happens is that the sideways load on the follower is greater to a smaller length of the follower. When using isky followers, more of the follower is in it's hole, therefore less sideways load, therefor longer lasting cam followers that work better.
I showed Graham my engine plate and he was like "uh oh" it's a morris 1100 plate!

This meant I have to trace around the backplate using the outline of a mini plate and used a jigsaw to cut the excess off. Result: Special tuning engine plate
Cam was installed by using assembly lube on all the bearings and lobes. Boy I was glad Graham had an engine stand!
The belt drive cogs where tightenned up onto the cam to check the end float of the cam. All good!
Gearbox
The gaskets were painted with gasket sealant and placed onto the block first. Next graham put the half moon seal in using silicon. This ensures it does not leak. Gearbox was lifted on and the bolts and nuts tightenned. WIth the engine stand it was a 15 min job.
Here's the gearbox bolted on
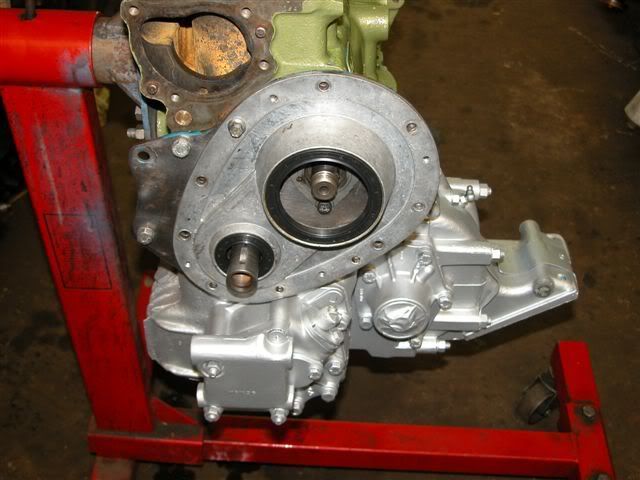
Shot showing what the belt drive plate will look like when installed. Check out my special tuning engine plate
 Clutch Cover
We had to remove the idler bearing and mainshaft pilot bearing shell. These proved to be quite tight! Even when we used an oxy torch it needed to be heated up REALLY hot to get it off. I can tell you one thing, the VHT paint withstood the heat!
Before the cover went on, the primary gear was checked for end float. There was none

So we used the tried and true method of sanding the primary gear trust bearing down on a piece of gladd so it had just a thou or 2 of clearance. That's enough for a road car, in a race car this would be much more, but so long as I don't keep my foot on the clutch at 7000rpm that's fine

Won't see this these for some time (hopefully!)
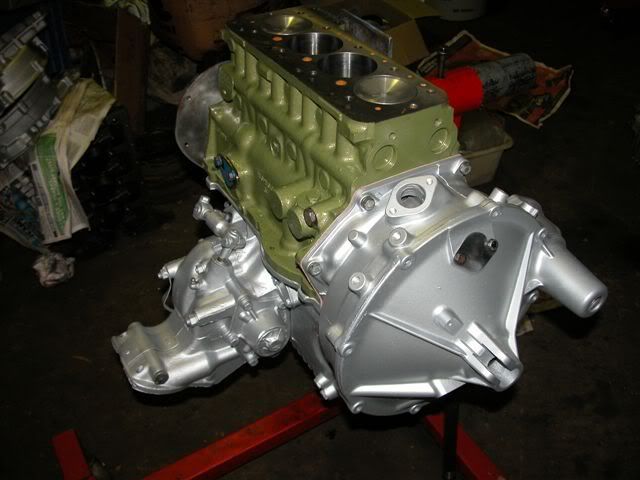
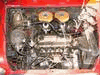
The engine colour scheme
So not much left to do! Time in the cam and put in the belt drive. The head needs to be put back together, 10th and 11th head stud holes drilled, heater hole drilled (my metro head did not come with a heater attachment). Flywheel and clutch needs to be bolted on and periferals on and that's it!!!
We'll see how we go, if I manage to finish it on time, Graham wants to invite people from Ausmini around for a bbq and watch it go on the dyno. He says we have to do it on Saturday as his neighbours don't like engines revving on Sundays
I am off all of this week so I will be working solidly to try to get it done. Wish us luck!!!