Chapter 11 - The Boot
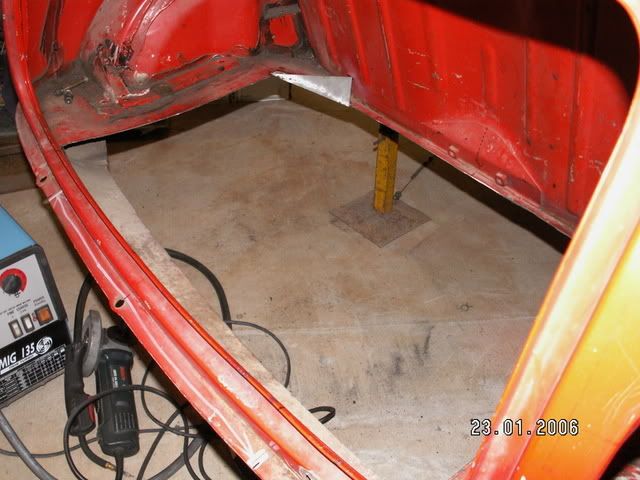
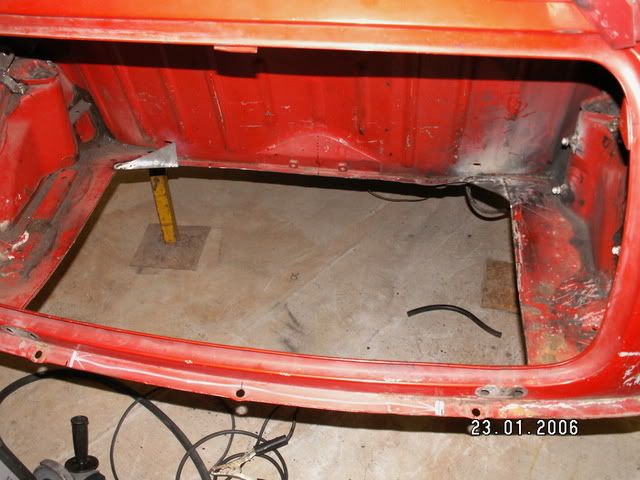
Now that we have done the front part of the car, its time to turn our attention to the rear. The boot when I recieved the car was in a real sorry state. If I had put a battery in the battery box, and driven down the road, the first bump I came to would have seen the battery punch through and be dragged along the road - thats how rusty it was.
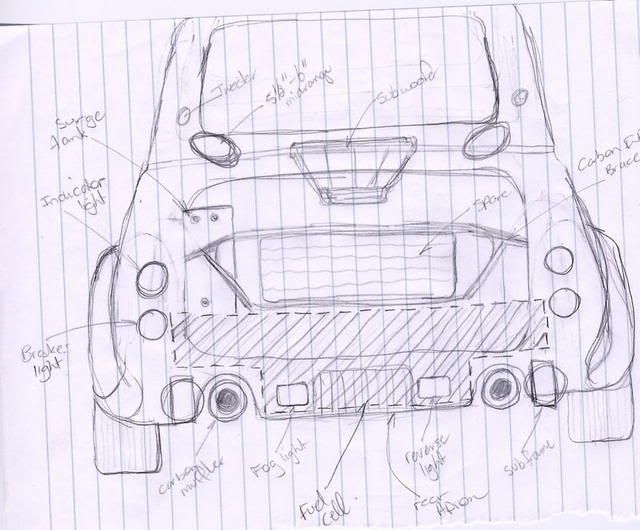
Same for the spare wheel well - I could have pushed the whole bottom of the boot space out with my hand. The only thing that was keeping it together was the paint!! So, after sepending some time on the thinking stool, staring at the boot, I came up with a list of all the stuff that had to go in the boot, and this then allowed me to master-plan the whole boot space.
Firstly, I came up with the list of stuff that was to go in there:
1. Fuel tank
2. Surge tank
3. Windscreen washer bottle
4. IC spray bottle
5. Fuel pump (two in this case)
6. Fuel filter
7. Carbon canister (a strong recommendation by the engineer)
8. Spare wheel
9. Jack
Okay, how to fit all of the above in. It took some time on the thinking stool, but this is what I came up with:
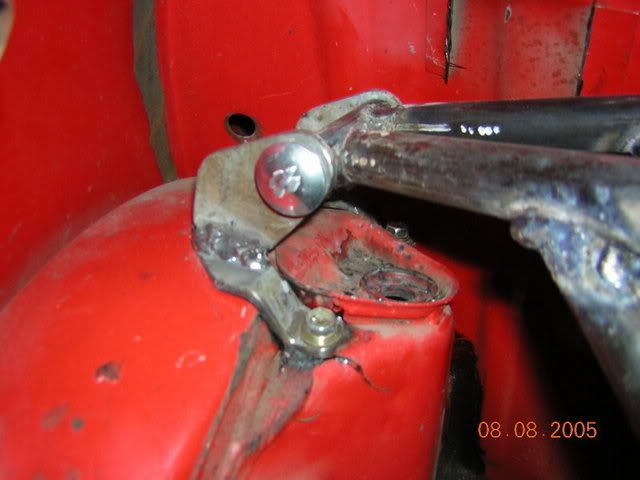
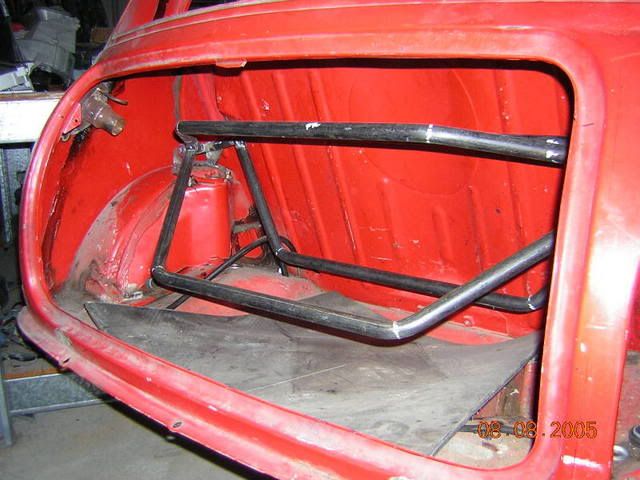
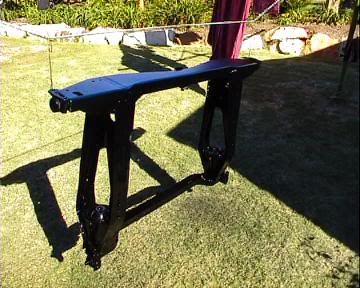
The rear strut brace is plainly visible in the pic. What is it and what does it do?? Strut braces traditionally go from one shock tower to the other, and help transfer lateral loads across both towers, which in effect stiffens the chassis and therefore aids in handling. My strut brace had a dual role, it carried the spare tyre as well (its illegal in QLD to drive without a spare in good roadworthy condition)
The first task I attempted was to do the rear strut brace anchor points. The rear strut brace went from one tower to the other and held the spare wheel as well, with the jack perched on top. To begin with, I started making the end-pieces. they were made out of 6mm plate, cut and bent and shaped to the shape of the rear shock tower. This took me for ages to do, as there were compound curves involved. But they came out OK, and with some paint will look great! They are held on with 3 x 8mm bolts in a triangular arrangement.
Right side:
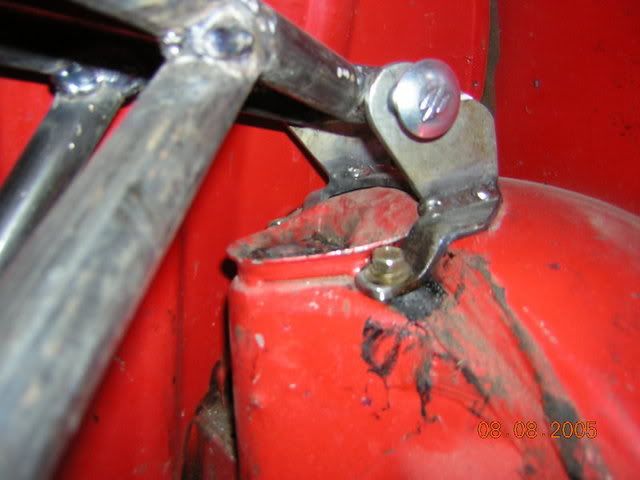
Left side:
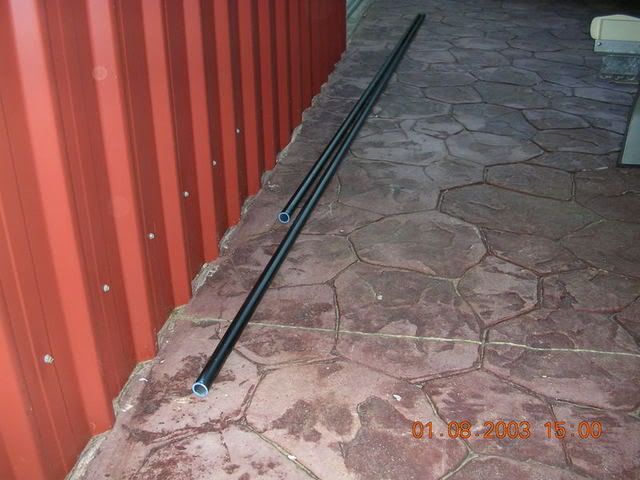
The actual brace was made out of 25mm thick wall pipe (2.1mm). I grabbed a length of the pipe from the local metal merchant, and then hired a hydraulic pipe bender for the day from Kennards. What i didnt realise was that, for the price of renting one for a weekend, I could have bought one off eBay. Oh well, live and learn.
The pipe stock came in 6.5m lengths:
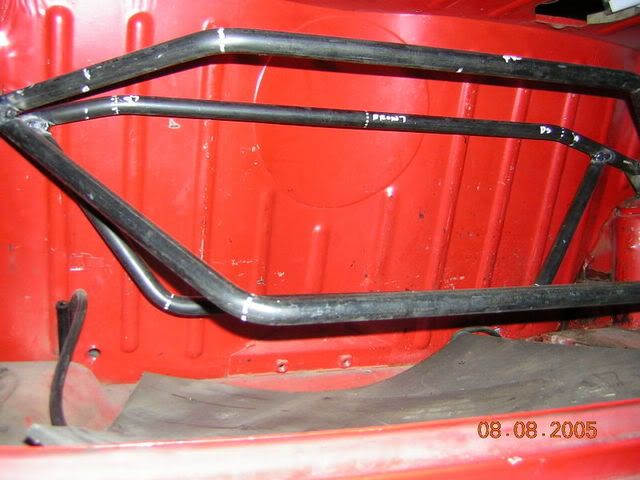
Then, after two days of cutting, welding sizing, and more welding and cutting, I finally had the end result. The 13x7 Dunlop fits in the space nice and snug, with enough room for the drop tank underneath and the jack on top.
This is what it looked like out of the car - once again, bends in two planes:
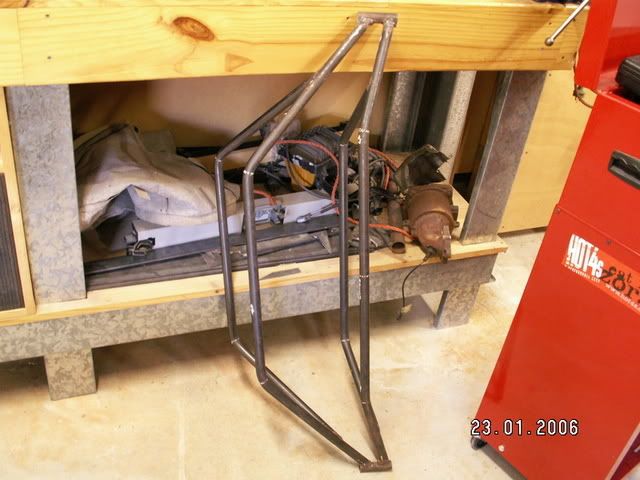
And this is what it looks like in situ - because of the depth between the spars, it is very light, but immensely strong. Should do the job in spades!!
The next thing to do was install the rear subframe, after I removed it and measure exactly where the cutout for the drop tank was supposed to go. I decided to kill two birds with one stone, and get the rear subframe sandblasted, and then painted.
So off it went to the sandblasters, and this is how it returned:
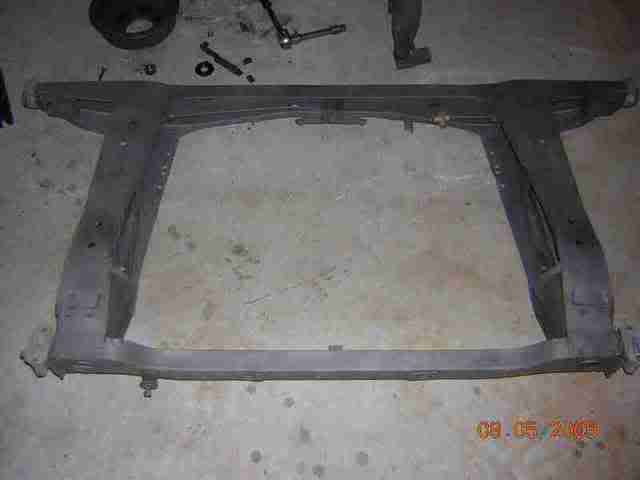
And then after I painted it with 2-pac satin black:
And this is it just ready to be installed. Note new nolathane bushes all round:

The area to be cut out was marked, and then the entire rear subframe assembly removed. Then it was a simple case of out with the grinder. I must admit, after I had cut out the entire boot floor, I wondered just what I had got myself in for!
At least there was no more rust remaining!!
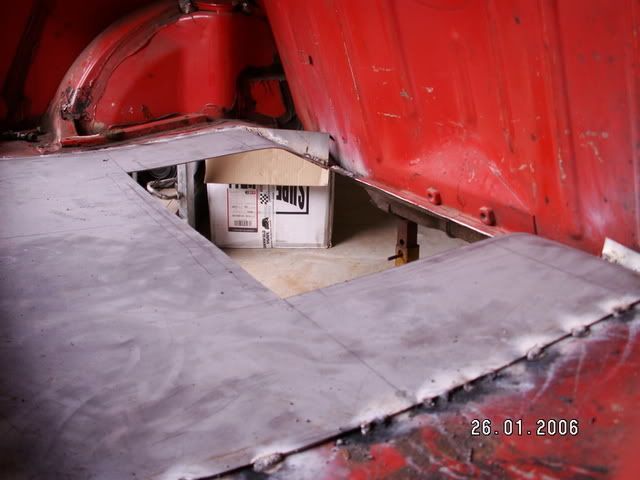
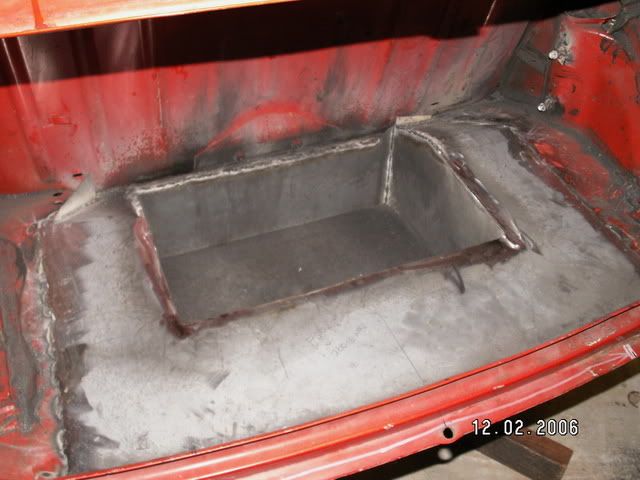
The next step was to weld in the new floor. I decided the easiest way to do this was to cut out the actual protrusion for the tank while the 1.2mm sheet was on the work bench, than fight over it later once it was in. So, the area was cut out, and the new floor then cut to size. The side wings had to be profiled to the contours of the mini floor (what remained of it), This was achieved by tacking the new floor in place where it sat flush, then bending it down and tacking it as I went along. The end result was awesome - a new floor with a cutout for the tank, and stronger and more functional than before.
The new boot floor in place:
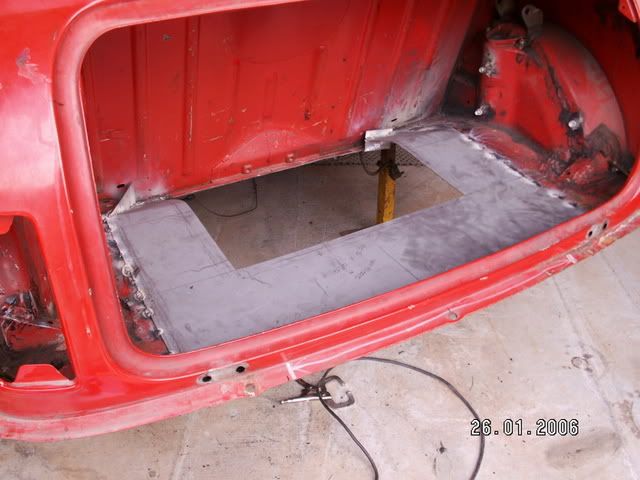
Now to make the box that would contain the tank. Basically that was all it was, a box. So I cut out a piece of 1.2mm sheet in the shape of a box, unfolded that is. This is what it looked like unfolded. Pretty simple stuff when you think about it.
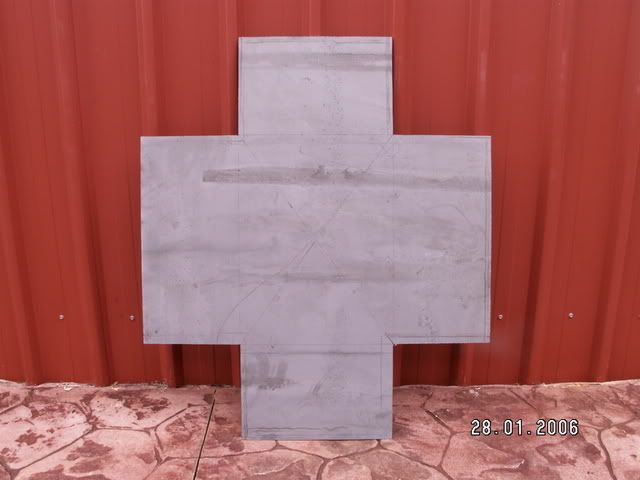
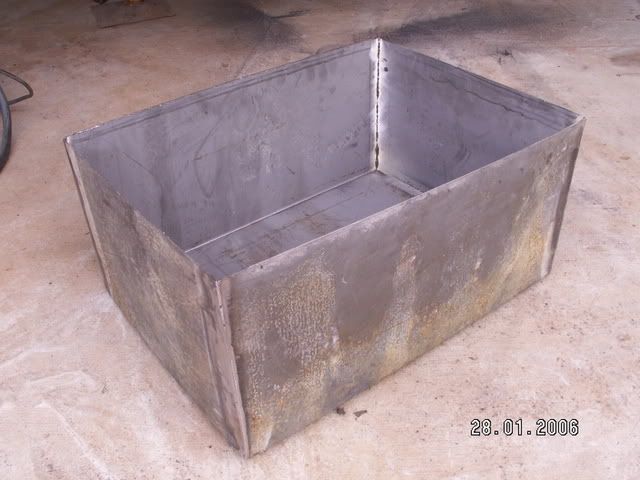
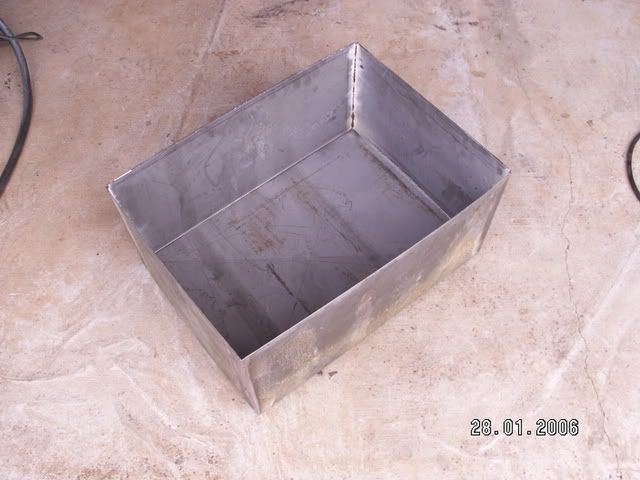
Then the box was bent up using a pan-brake that a mate (Tony who owns the aqua-coloured mini ''Barbie'') had in his workshop. Once all the sides were bent in together, it was a simple case of welding them all together. I also put a criss-cross crease (say that three times fast!!) in the bottom of the box, so any water or fuel that was spilt in the boot had somewhere to drain to - the exact centre of the box. A small 5mm hole was drilled in this location as a drain hole:
Then it was a simple case of inserting the box into the cutout, getting the whole thing square and the right height,and welding it in. Once it was all welded in, the protruding parts of the box were cut off and everything ground to remove any dags:
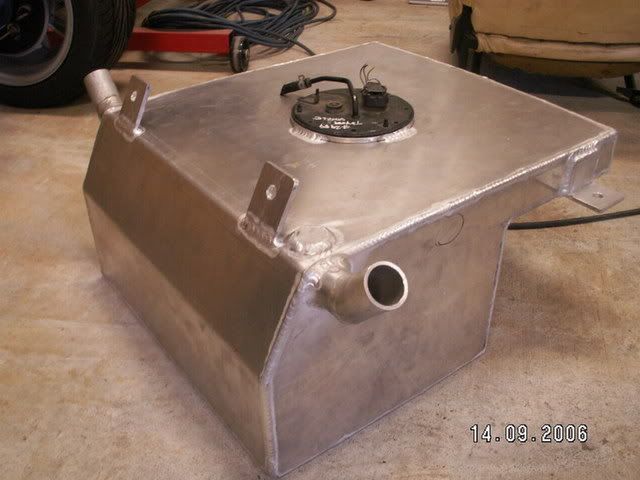
Now that the boot space for the alloy tank was complete, it was time to draw up the alloy tank for the space provided. I knew that the tank would hold roughly 45litres, so it was easily big enough for a 400-500km cruise. The drawing was sent to a mate Damian at his company, Everything Metal to fabricate, and this was the end result - beautiful:
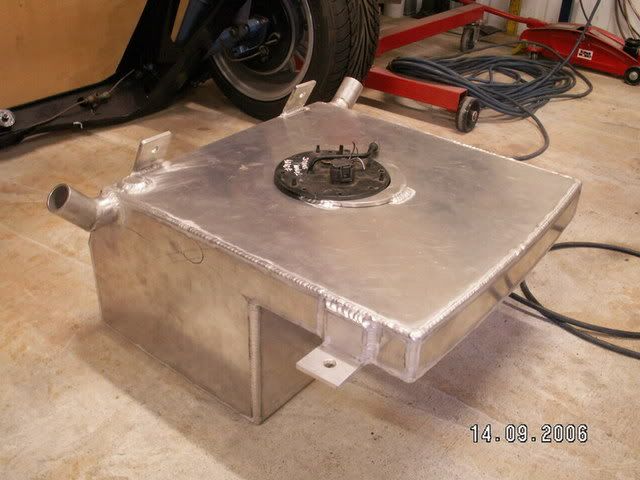
Twin filler entries:
And this is it in the space - the perfect fit. there was literally 5mm all the way round the tank, just right:
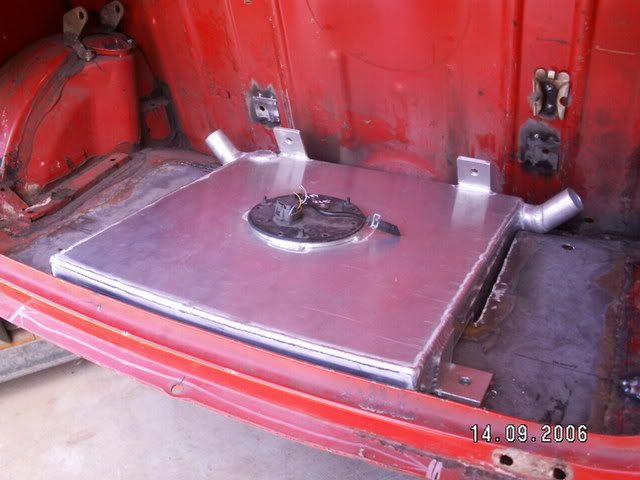
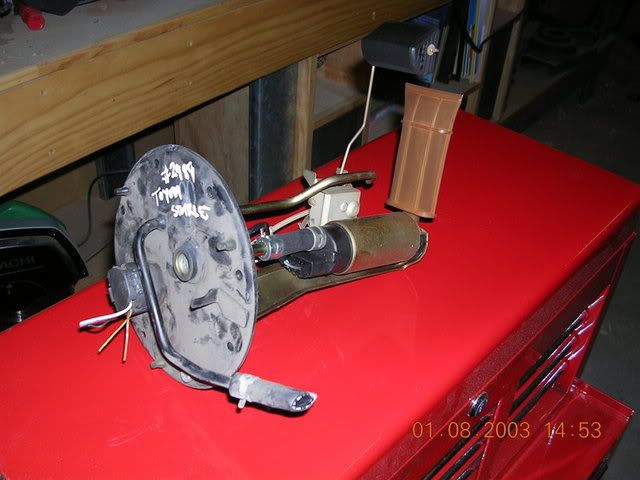
This is what gets the fuel out fo the tank - its a std Aussie 4EFE starlet fuel pickup pump, with integral filter and level sender unit. Cost me $65 from the wreckers, and suits the low profile of the tank to a tee. Of course, I bought this first and designed the height of the tank to suit the unit. You can see it sitting in situ in the photos above:
Next in Chapter 12 - We finish off the boot space and say 'no more' to confined spaces!!


