This is what we have. Rather then patch up each individual rust hole it is far easier to cut the whole lot out and start over. Replaceing one hole is faster then doing ten. Im using some 1mm galvanised sheet metal. Rust now you basterd.

Step 1
Measure the old wheel well to find out how large your patch will have to be. The spare wheel well in minis from edge to edge is 49cm round.
Step 2
Now cut out a templet onto some cardboard and place it onto the wheel well to check that your metal one will fit. (it does)

Step 3
Place your cardboard template onto your sheet of metal and trace around.

Step 4
Cut your wheel well out of the sheet metal using a angle grinder fitted with some cutting disks. (dont use grinding disks as they arent meant for cutting they are for ginding) Cut 1-3 mm outside the line to allow for trimming and for any slips you make with the grinder. Now place your ginding disk on the grinder and round off any sharp edges and trim or grind down to your line you marked.

Step 5
Now place your shiney new bit of sheet up to your wheel well to check that it will fit. When you are satisfied you can cut out the old one.
Step 6
Now cut out your old wheel well but leave a 10mm edge. What I mean is your new wheel well is 49cm across, you cut the one out of the car at 47cm with the angle grinder and a cutting disk. When you have it cut out, grind down the edges with the grinding disk on the angle grinder not a cuttiing disk.

Step 7
Now I put a 10mm step in the patch using a sepping machine. You dont have to do it but I like to as it allows the patch to recess into the hole and sit a little more flusher on the underside of the car. If you cant get access to a stepper you can skip this step.


Step 8
Place the patch back into the car make sure it sits flush with the bottom. It should be close all around if you place preasure you should be able to close the gaps.

Step 9
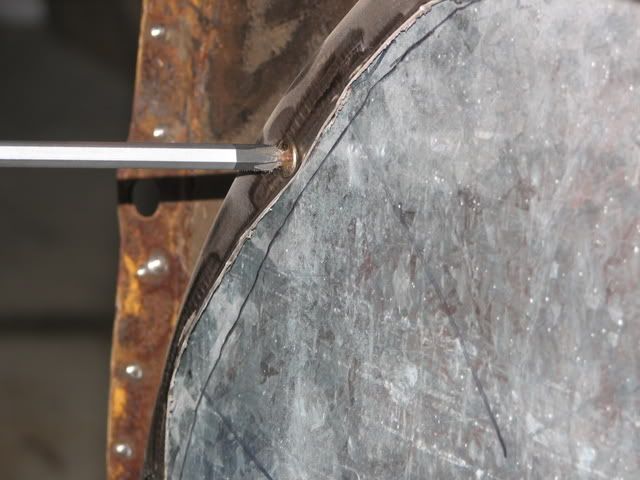
Drill a hole through the car into your new panel with a 1/8th drill bit and place a self tapper in it this should hold the new panel in place. Do this all the way around and as you do it it should bring the 2 panels together and close any gaps (most of them anyway)


Step 10
Now any other gaps you have you can plannish closed using a plannishing hammer and a suitable dolly.

Step 11
Now when you have closed the two panels together you can give some tacks all the way around.

Step 12 (still to come)
You are going to have to do a bit of planishing and a bit of tacking until you have no gaps. When you have achieved this weld all the way around makeing sure you have now holes and gaps. Remove the self tappers and weld up the holes too.
Step 13 (still to come)
Grind it all down relatively smooth It dont have to be purfect just flat.
Step 14 (still to come)
Give it a good clean with some prepsol and key the surface with some sandpaper. Now etch prime it and use a good qualitiy sealer to make sure its all water tight and to protect the weld.
Step 15 (still to come)
Give it a good stone gaurd and it will be tip top.
Step 16 (still to come)
Repeat steps 13-15 on the inside.
Step 17 (still to come)
Step back and admire your work.
More how too's to come includeing rear valance replacement. battery box replacement welding up rust holes. floor pan replacment and whatever else i stumble on along the way.
Thanks to my girlfriend for takeing some photos and my mum for helping me hold some panels in place.
I hope this helps all of you guys and show you that its not to hard... Lets get some more minis back on the road.
Mike


