I've had a busy week at work and have not managed to do much at all during the week.
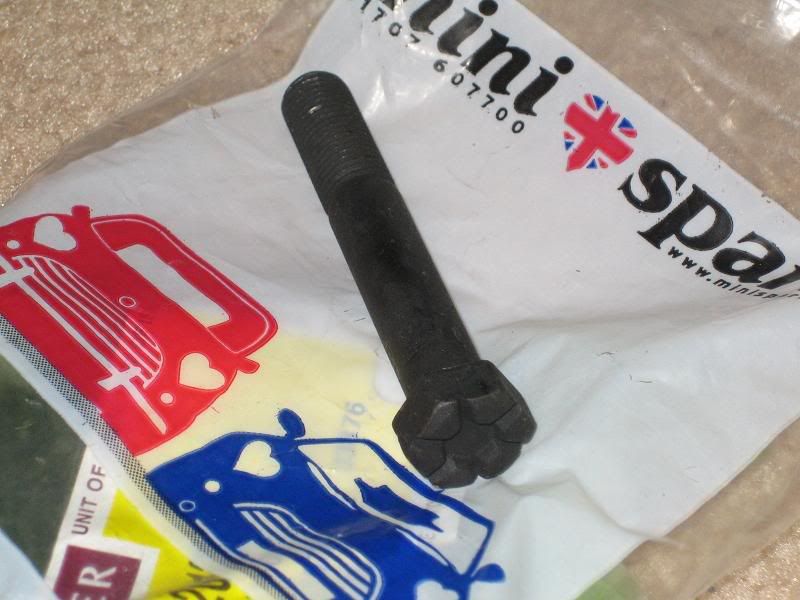
I did manage to put through a big order from Minispares UK website. I needed odds and ends and it seems that it was too difficult to and too time intensive to chase up every part locally so instead I bulk ordered from the UK. I have purchased many times before from Minispares and have been there myself to Potters Bar in the UK so I don't have any reservations about ordering from them.
This week at Russell Engineering
The block
If you remember from last week the block cleaned up at +060 from stock 1275. Graham honed the bores and it has turned out nicely. He also ran a grinder across the sharp edges around the hole in between cylinder 2 and 3. After all this was completed, i left it with Graham to put it into his hot bath as the machine takes time to warm up.
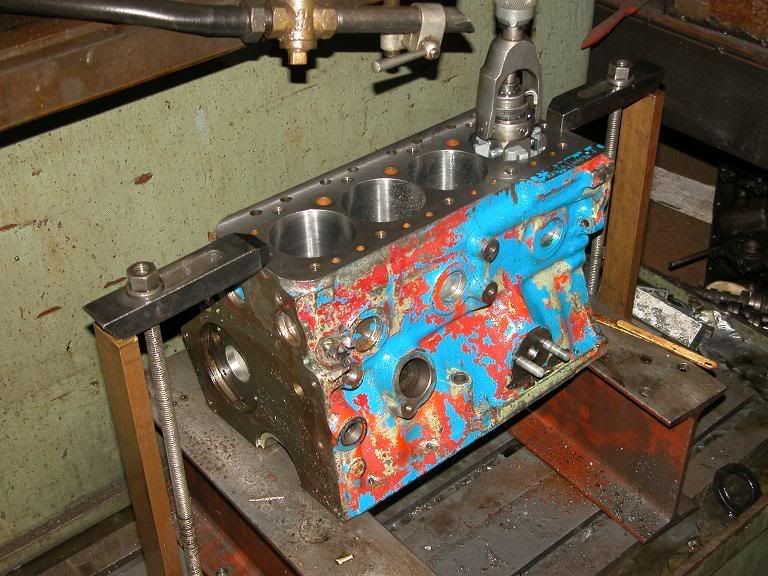
A mock up of what it would have looked like when the block was on the honing machine for illustration purposes as it had already been done during the week by graham

Next week I will take it home and thoroughly clean the block by dragging cloth/cotton buds through the oil gallery ways etc. It goes without saying that emphasis must be on being as clean as possible when building the engine. All in all I am very happy with the results so far.
Crank
Final preparations have been made to the crank. Last week Graham balanced it on the machine and this week he took to it with the limishing belt. The machine looks like a big composite long bow or something

Looks cool. It runs a cork belt which gives an exellent finish.
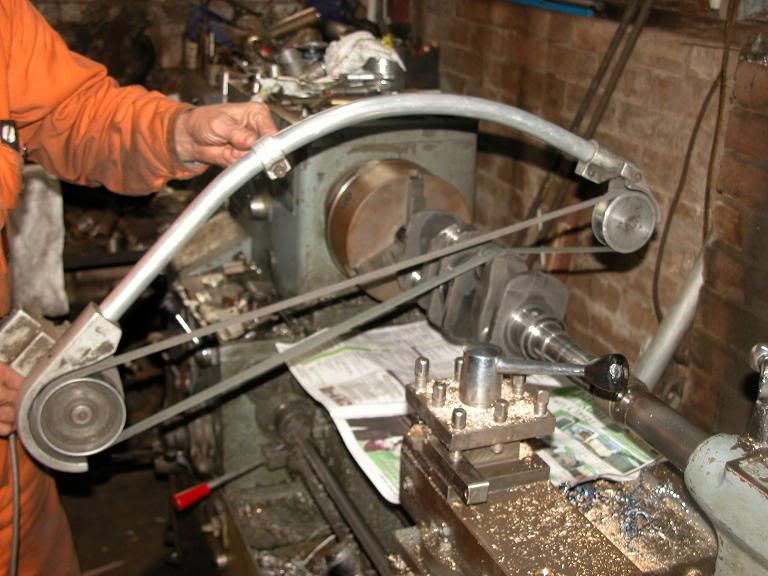
The master at work on the crank
Graham also measured the journals to make sure it was all good. It seems the crank has been used before since the last grind however the wear has been minimal and actually favourable. The centre main has worn slightly less than .001 thou which graham says is pretty ok and will aid in feeding oil to the centre main (enough clearance for extra oil to be there). The rest were 010 exactly and the big ends were all 010. His comment was "This is a good racing crank Chong"

The oil feed holes we left alone as they had a good chamfer already on them. Not really necessary for a road car anyway says Graham but a good to have.
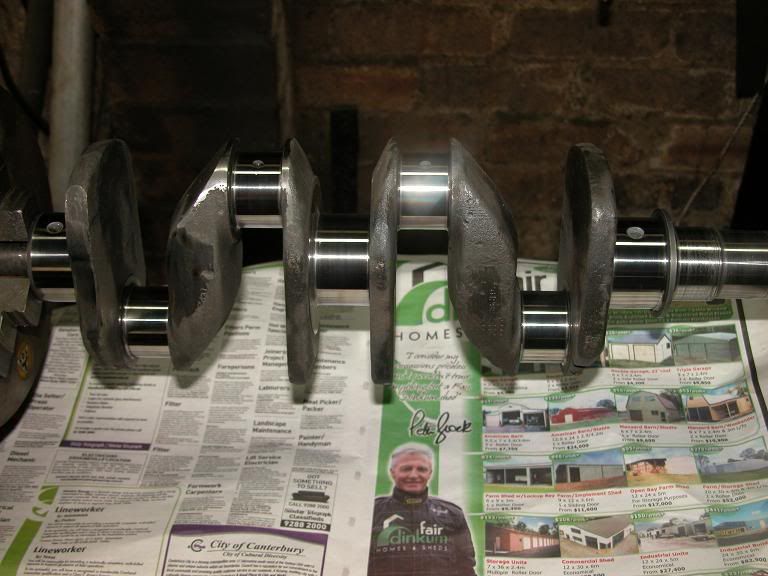
The finished product. Only thing now is to wash it in the hot bath to make sure the oil ways in the crank are clean. Check out who is endorsing my crank!

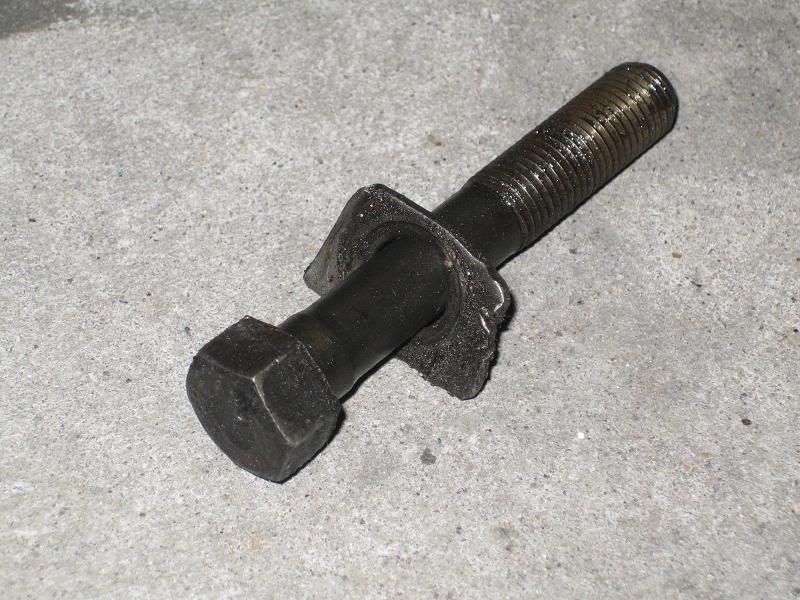
A few weeks ago I mentioned that I was going to skip the wedging of this crank this time around. Well I was wrong! Graham says it can't be done on small journal crank such as this as they are very hard. Graham says they were factory tufftrided and therefor the milling head will do bugger all to the crank. Simply put it is not worth doing...
The rods and pistons
Graham spent a good session checking the straigtness of each rod. He says many people fail to do this and wonder why the rings don't seat properly and give good long lasting compression. One of the S rods was 26 thou bent! Using what Graham refers to has his "gizmo" he bent them back to within 2-3 thou fron dead true.
He then used a oxi torch to heat up the little end of the rod to fit each piston one by one. They are now all done! I am very happy with the result! You don't really realise how close you are to putting an engine in until you see the completed pistons, ready to fit
Flywheel balancing
Quite some time ago I have gotton our very own Dr Mini to fashion up one of his Dr Mini Special Tuning lightenned flywheel and a very tricky triangular backplate. Quite some weight has been taken off both but Graham does like the work that has been done and thinks it will go well.
The flywheel was balanced independently of the backplate as Graham says that way you don't go blaming the straps or backplate when it really is the flywheel that is off. A few grams off the flywheel and backplate and she was reading 0 on the balancer. Awesome.
Cylinder Head
The plan that I have is to use my Metro 1300 head that has S inlets and exhausts, metro style tripple collet grooves on the valves and no bypass hose or heater tap hole.
Today I used the bench drill with a special O ring attachment to compress each spring and remove the valves. I spent a few minutes de-carbonising each valve on the bench grinder fitted with a wire wheel. It seems the valves are near new under all the grime and are serviceable. "Hasn't seen many miles" reckons Graham.


MG Metro 1300 head with S valves

See no bypass hole
The head itself is filthy but oily. Graham says it will clean up nicely with a good hot bath and some good old fashioned elbow grease.
Next edition
I would have liked to take more pictures but that wil have to wait until I get all the parts back home and cleaned up. So far things have come up pretty good and I am learning LOTS which is the best bit. Thanks for reading and see you next week!