Chapter 17 - The Final Stages
Hi All, its been just under a month since I posted last time and I feel that I should bring you all up to speed on where El Gato is and whats been happening.
Firstly, the body. Well, I have had to do some serious decision making with regards to the body and how I am going to address the finished product. The decision about how to move forward came about when my chosen spray painter came and saw the shell after I had (what I thought) finished the bogging and sanding etc His comments were "No, dont get me wrong you have done a good job, but its not what I would call perfect, and you told me you wanted a perfect paint job........."
So, the decision was made to hand the whole box and dice over to Phil Darnell at Clean Image Panel and Paint (Highly recommended) and let them weave their magic...............to the value of $8 large by by the way!!
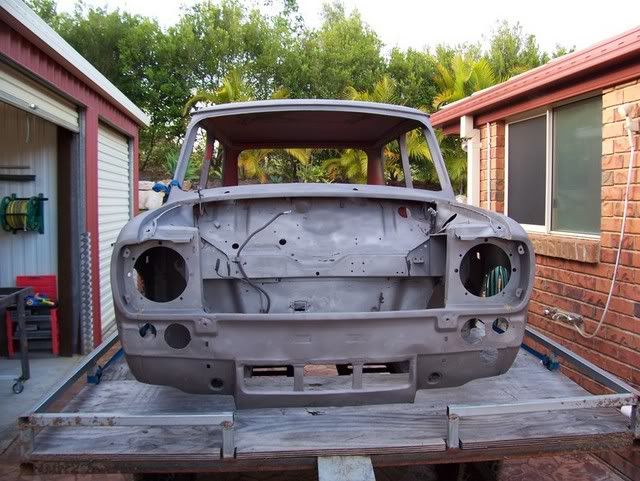
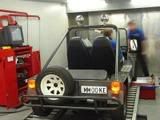
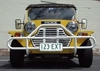
So, the car was put on the trailer and sent down to the sandblasters (this time it was the painters own sandblaster, as he thought the last guy I chose did a "sh!t job", and looking back he probably was right! - you can still see the hesian on the roof and there was butyl mastic all over the place that the other guy had missed).
El Gato off to the sandblasters for the 2nd time - poor thing!
With nothing more I could do on the shell, I turned my attention to doing other stuff, and there was lots of things to do believe me. I sent an order to FGI for some foam, fibreglass and filler so I could set about remodelling the front spoiler. The foam came in a 8' x 4' sheet at 100mm thick. You can easily cut this stuff with a hand saw and shape it with a rasp and disc etc, so I cut it into strips and started sticking them to the front of the original spoiler using epoxy. Once the foam was all in place, everything is to be marked out and the foam carved to get the right shape for the front.
The new front spoiler is to incorporate a set of driving lights, larger intake for the front mount intercooler, brake duct cooling, filter box ram-air intake and more aggressive styling to make it just that little more slippery in the airstream, and try to counter as much as possible any air going under the car. The design also had to produce a certain amount of downforce at the front as well - not an easy task to bring all this together, and a lot of drawing and sketching has been done to try and integrate the design. Here is a pic of the spoiler halfway through the foam-sticking process.
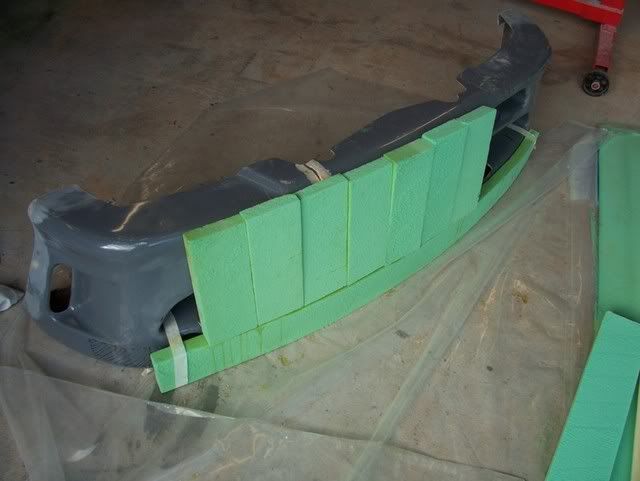
Then the whole front spoiler will be given a coat of epoxy and glass cloth. Then it will be bogged with an epoxy/micro-balloon mix, sanded and made fair. A mould can then be made from the plug and then a moulding made from the mould. If anyone is interested, these will be made available to the general public for my cost, most likely $300-400 for a gel-coat front spoiler.
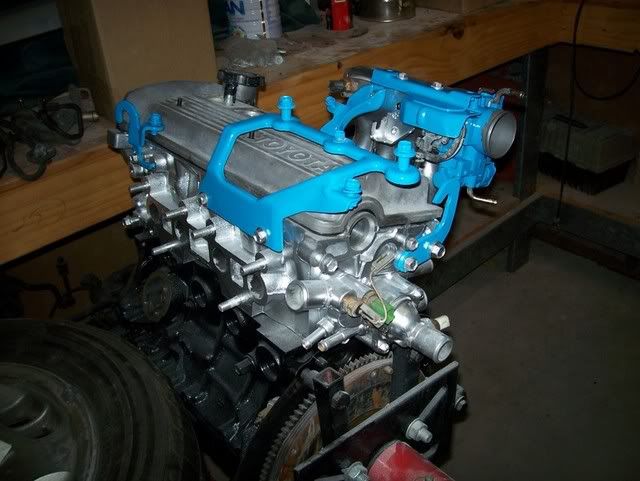
I also got busy with the spray gun and sprayed a lot of components like the brake master cylinder etc and some engine bits in the contrasting blue colour. The car is going to be painted in Subaru WRX blue with white chequers so I decided to paint some of smaller parts in a compliemntary lighter blue. This colour is a Toyota blue that came out on some Corolla's and AE86's etc. Its the nicest, 'cleanest' blue I could find without being too grey or purple (those of you who have chosen paint colours recently will undertsand this statement!).
The engine with some of the bits painter and reinstalled......
The whole theme of the interior will be black faux leather, with alternating dark blue and light blue contrasting panels etc. The front and rear seats will be matching.
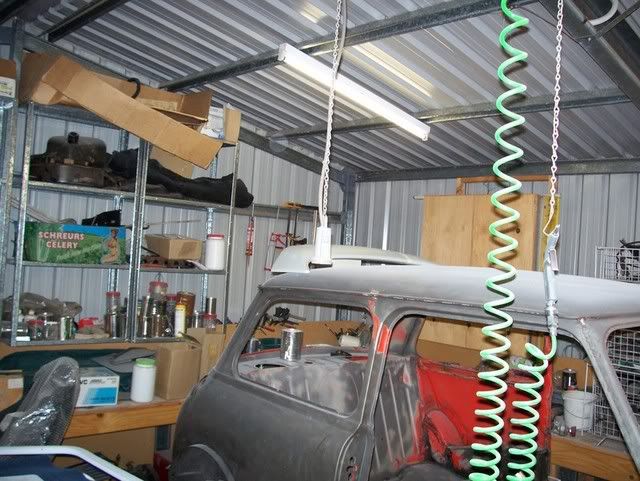
Another thing that will need my attention will be the roof spoiler. I grabbed the pull-saw and cut the thing down to size to fit the roof of the Mini, now its in three pieces that will have to be joined again with epoxy and then re-fibreglassed. The mounting 'feet' will have to be reshaped with foam and fibreglassed as well to make sure they conform to the roof shape. A small block of epoxy-coated ply in the base will give something substantial to screw and bond to. Here are a couple of pics of the test fitting of the spoiler after the cutting and shutting.

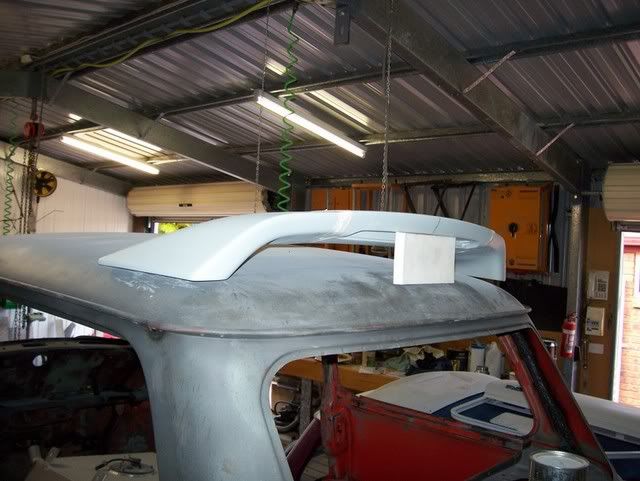
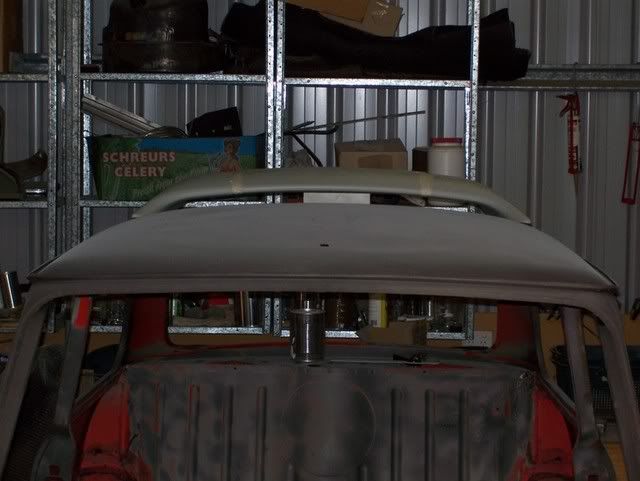
Now a whole heap of you die-hard mini enthusiasts will throw up at the thought of a modified CC Lancer roof spoiler going on a Mini. But truly, I wanted to get some downforce over the rear end, and also not make it look too ugly (I know, but its a subjective statement). I hated what I have seen commercially available from the UK for rear spoilers - yuck (now that's ugly!). The added bonus is that the roof-mount spoiler incorporates a stop light as well for added safety. Notice in the last four shots how much paint and surface stuff the last sandblaster left on - and I paid good money for the job!!!
I apologise to anyone who may be offended by these images as being "too ricer", but after all the car is aimed at being performance orientated and a dedicated track-day car.
OK - now for a statement from our sponsor:
This may be the last post regarding the build of EL Gato to be posted. The reason: I want to hold some details in reserve so the final completed car still has an element of surprise about it. 


