Hi Everyone,
Time for a bit of an update...
I havent been totally slack in the last month and a bit, been busy (sometimes

) doing the electrical on El Gato. I must admit two things though 1) It has taken a lot longer than I expected and 2) I have made it extremely hard for myself!!
I decided early on that the fuse boxes (yes there are two with the main one being located in the engine bay of the Starlet) will both be located in the cab behind the dash. To do this, all the wiring looms had to be stripped right back to the fuse boxes, and all extraneous wiring (A/C, TEMS, power mirrors, power locks, HVAC controls, ABS etc) all had to be cut out from the loom. Then all the remaining wiring that should remain in the cab had to be seperated from the engine loom, and the other field wiring into one central loom.
The field wiring I seperated the wiring into four looms. 1)The engine loom which contains all the sensors on the engine, plus everything needed to run the engine, 2)Headlight wiring which contains the headlights, spotlights, parking lights, indicators and horns as well as the thermo fan 3)Specialty engine bay loom which contains the senders for the DigiDash, and the pressure sensor and boost solenoid for the Profec E-01 and finally 4)The boot loom, which contains wiring for both fuel pumps, WMI pump, tailights, brake lights, indicators, low-fuel light, fuel sender, windscreen washer pump and boot release solenoid. As well there are two sub-looms that go into the doors which contain power locks, power windows and speakers.
Plus, on top of this there is the wiring for the ICE, speakers, amps, head unit and subwoofers etc...
Now, for some pics:
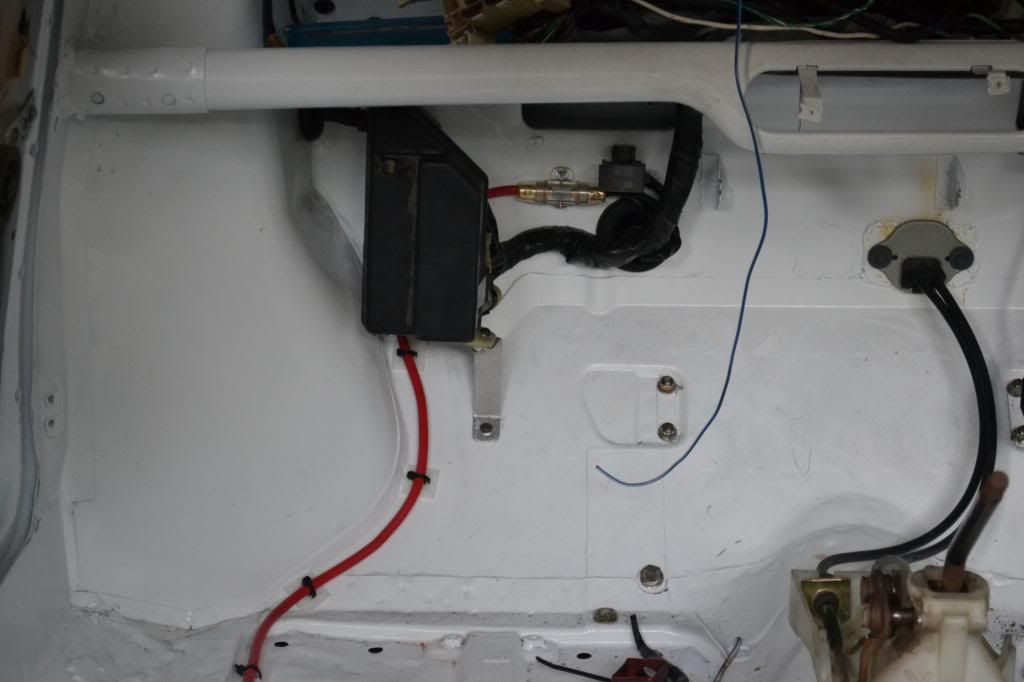
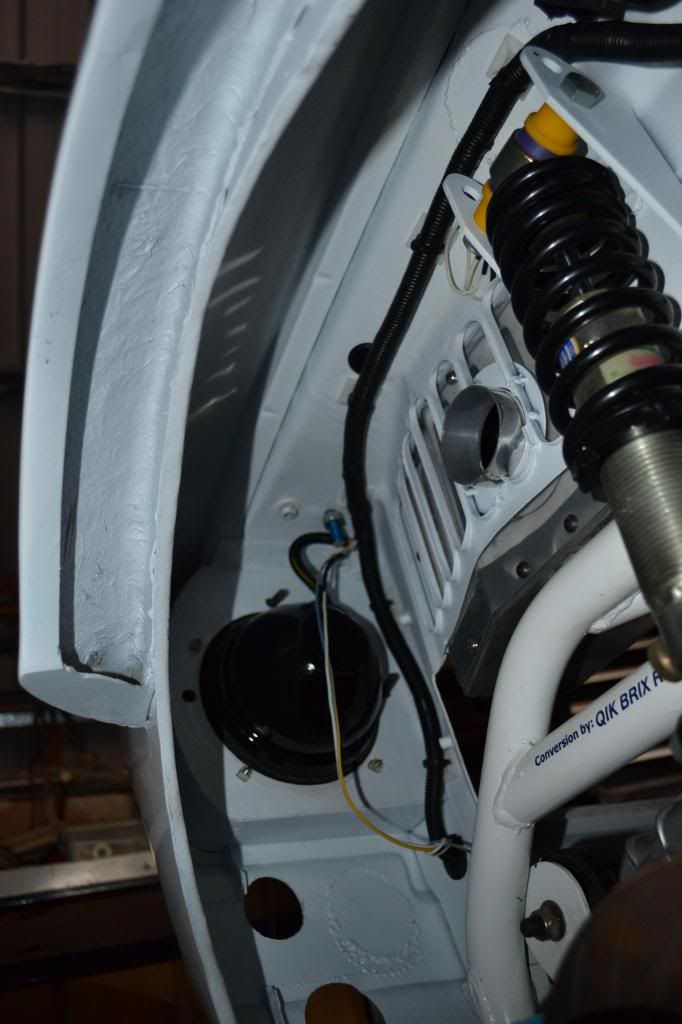
The main fuse/relay box I decided to mount high up in the passenger footwell. For what I wanted to do and how I wanted to run the cables it just would not have worked any other way. Hopefully its high enough to be 'kick-free'. Alongside the fuse/relay box is the diagnostic port and the 100amp fuse which feeds both fuse/relay boxes. The big rubber grommet you see is where the engine bay loom punches through the firewall into the engine bay. The loom then continues up into the dash area. The loom which you can just see to the left is the headlight loom which punches through into the passenger wheel-well:
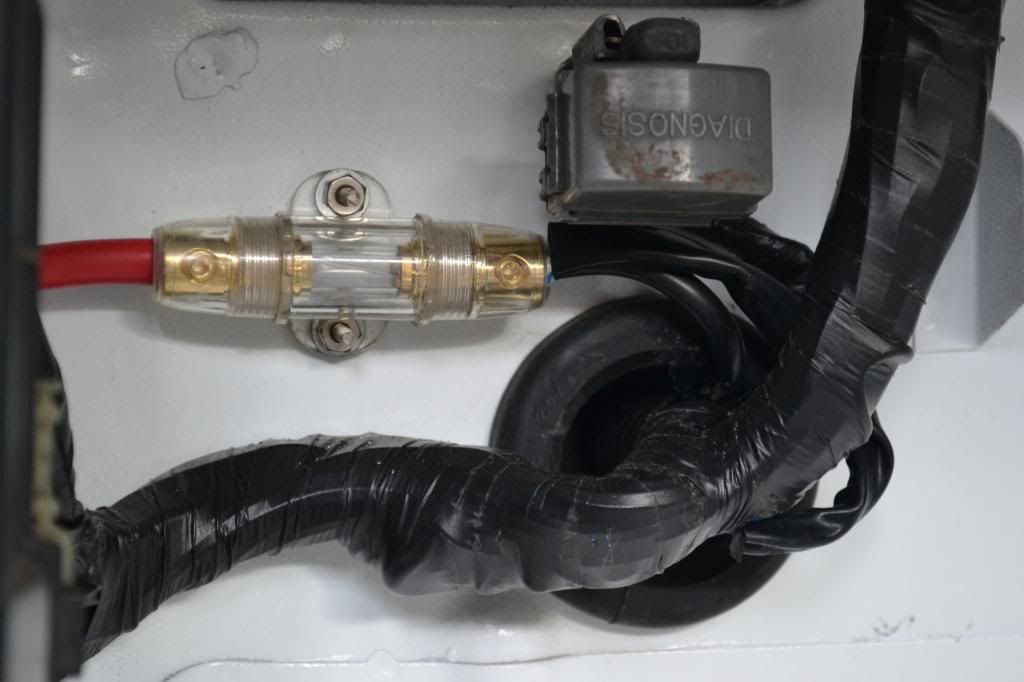
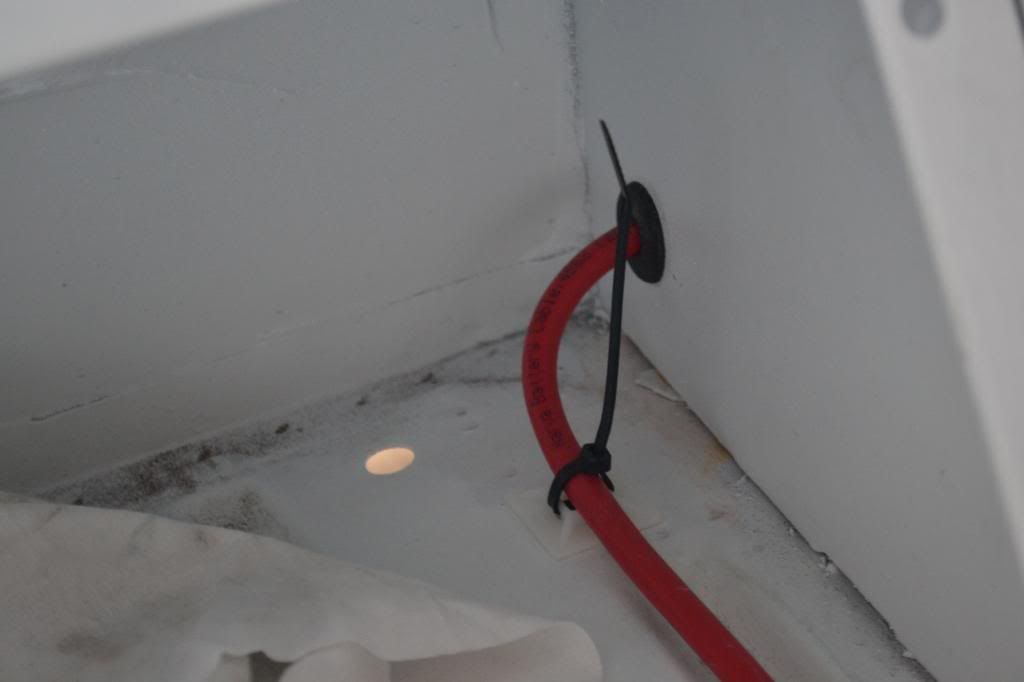
Here is a close-up of how the cable passes through into the engine bay, and the diagnostic port (now protected and easy to access inside the cab) and the fuse:
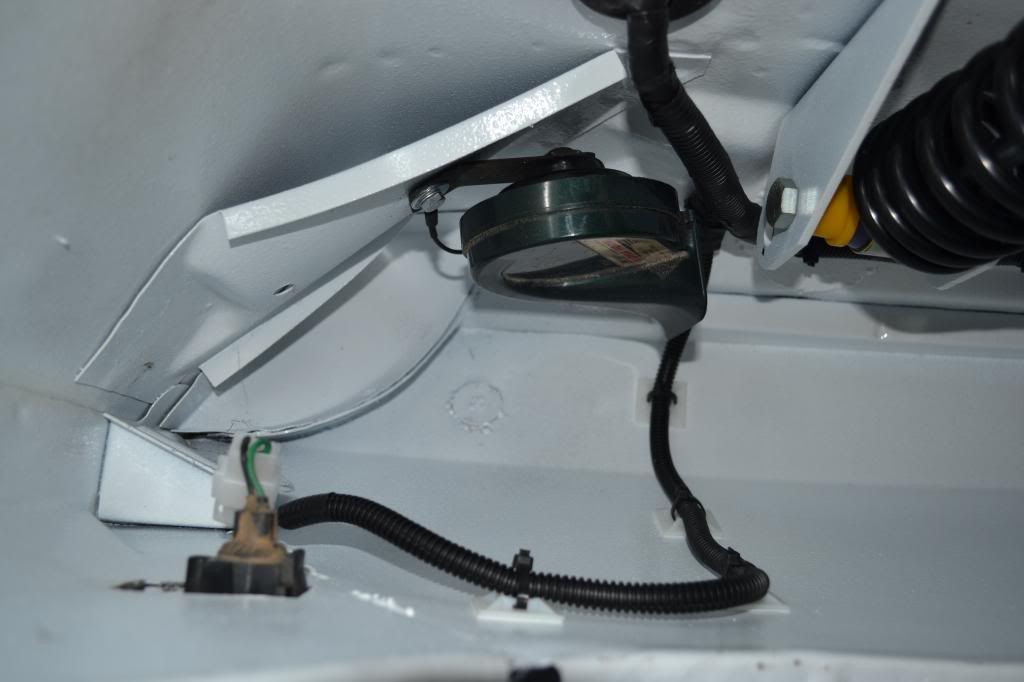
Close-up of the headlight loom which goes into the passenger side wheel well, high up:

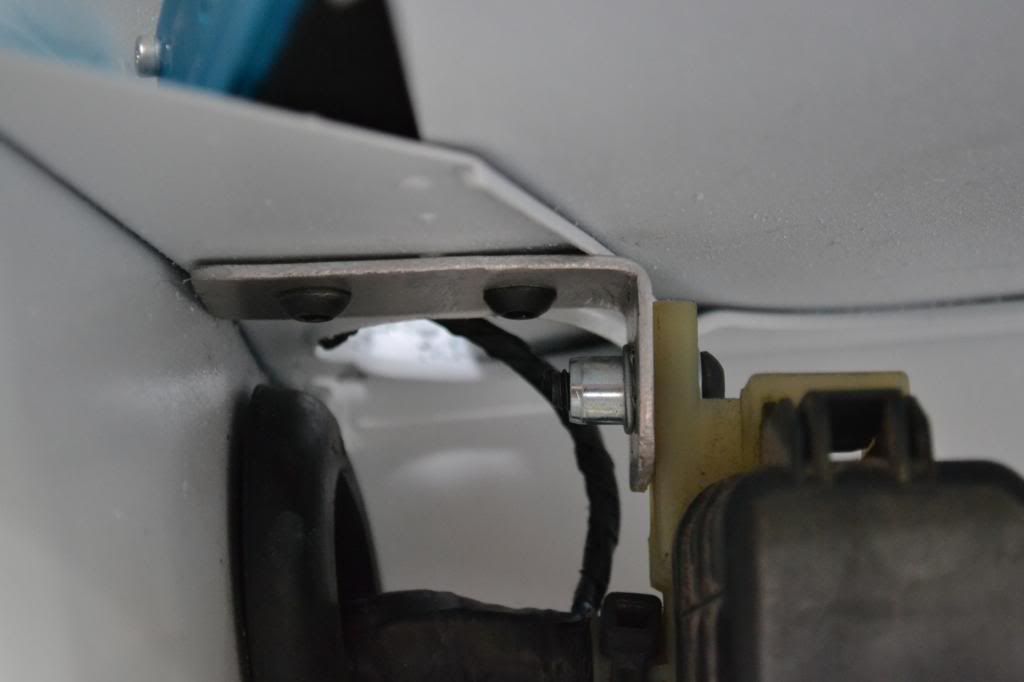
The top bracket for the main fuse/relay box. I used nutserts and 2mm aluminium strap to locate it (the small cable at the back is the windscreen washer pump which will be connected to the boot loom):
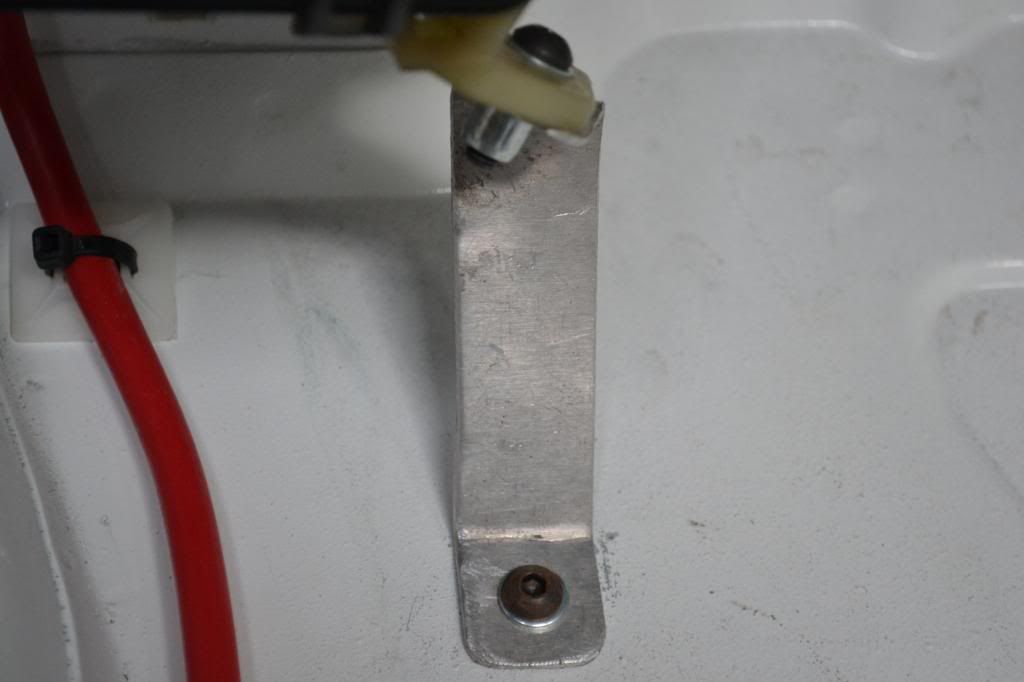
And the bottom bracket - which needed a twist to get the right shape:
The 4-gauge power wire runs along the floor and into the rear bins where both batteries will be located (one for the engine and instruments, and one specifically for the ICE). Once the Dynomat goes down and the carpet goes on top, you wont even know this cable is there:
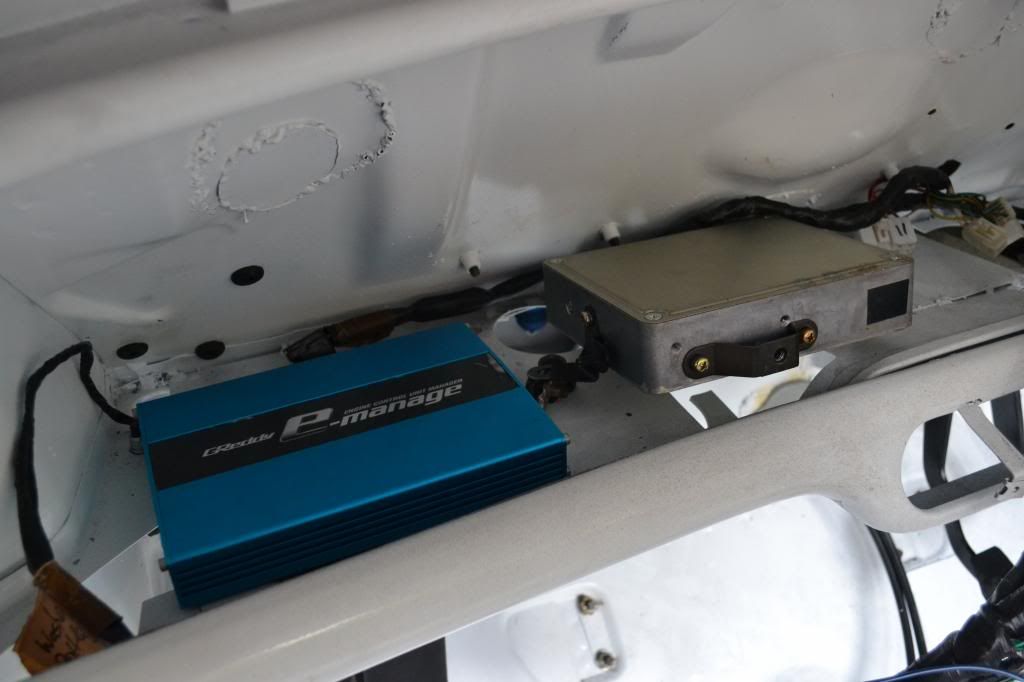
The main loom then heads up behind the dash, to meet with the interior (cab) loom and its own fuse box. The ECU will be mounted behind here, as well as the e-Manage, Profec-E01 controller, door controller and car alarm etc. Its going to be crowded but well hidden. There will be an access hatch where the glove-box would normally be to access all this gear, and access the programming leads for the e-Manage, Profec E-01 and the DigiDash which are all user programmable:
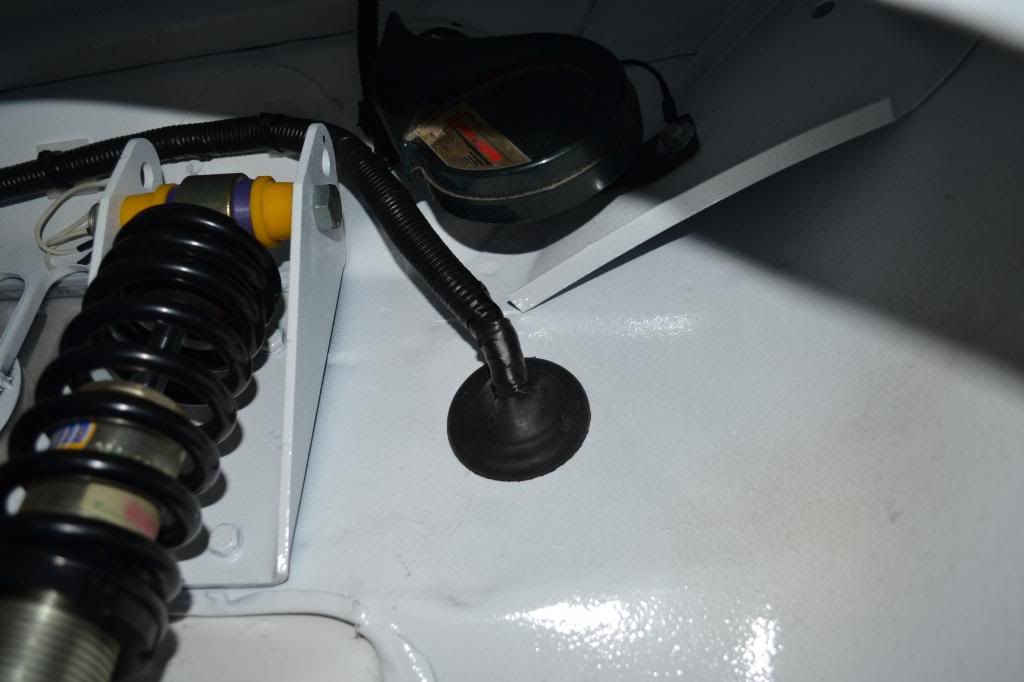
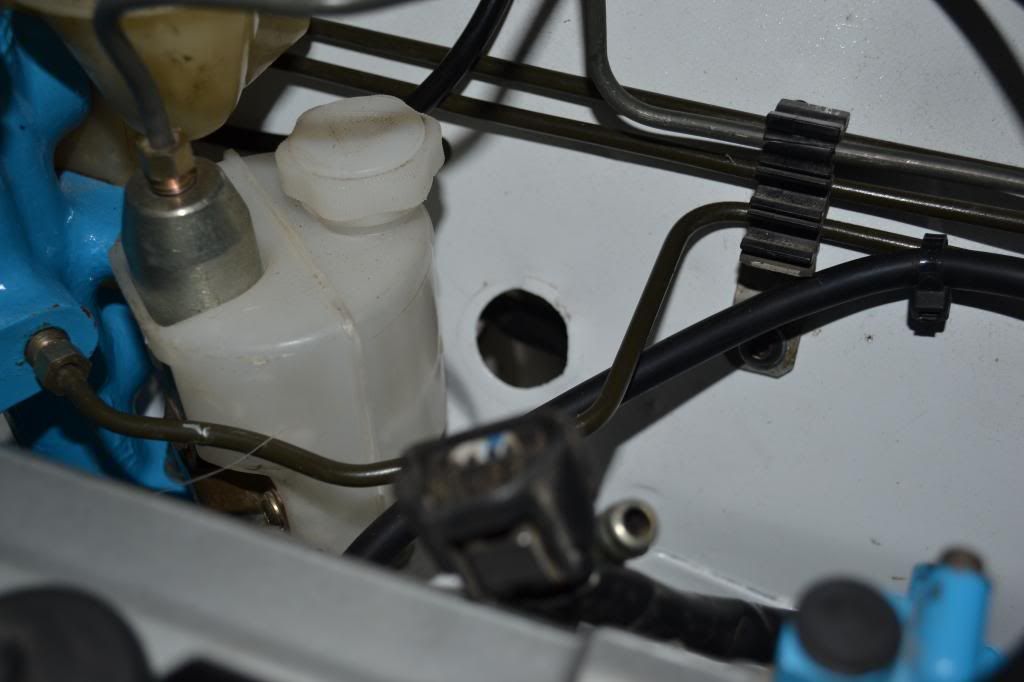
Here is where the engine bay loom enters the engine bay - nice and low and unobtrusive! Took a bit of going to get all the wires and plugs through that grommet!
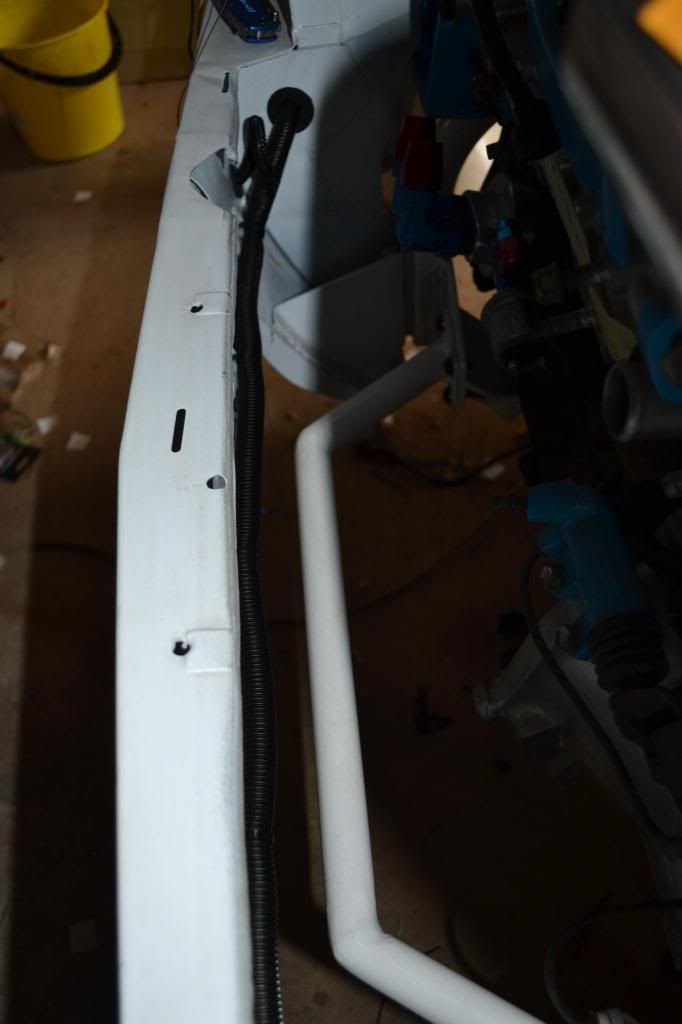
And here is where the headlight loom enters high up into the passenger side wheel-well. Hopefully there is enough mechanical protection with the split conduit and the tape to not be subject to damage from road projectiles:
The loom then continues above the coilover bracket to the front of the car. You can see that it clears the cold air intake which feeds the air-filter box. You can see the headlight loom disappear into the headlight bucket. The unfinished wires you see are for the left front indicator which is mounted in the front spoiler and cant be fitted off until the spoiler is mounted up to the car and the indicator installed. Both the headlights and the spotlights need a parking light feed as they both have blue halo rings which are in fact the parking lights on this car. The loom then turns down and enters back into the engine bay using the original Mini wiring penetration.
Looking up into the passenger side wheel-well, the side indicator and horn are mounted and fitted off:
This is where the main headlight loom enters back into the engine bay. The passenger side spot light exits here to the front of the car, and the thermo fan feed exits here as well:

And then the loom continues along the front of the car, dropping off the drivers side spot light, and then exits the engine bay using the original Mini wiring penetration to feed the drivers side headlight, drivers side front indicator and side indicator and drivers side horn:
Shot showing the spot light feeds - 3 wires, one of which is for the blue halo ring parking lights:

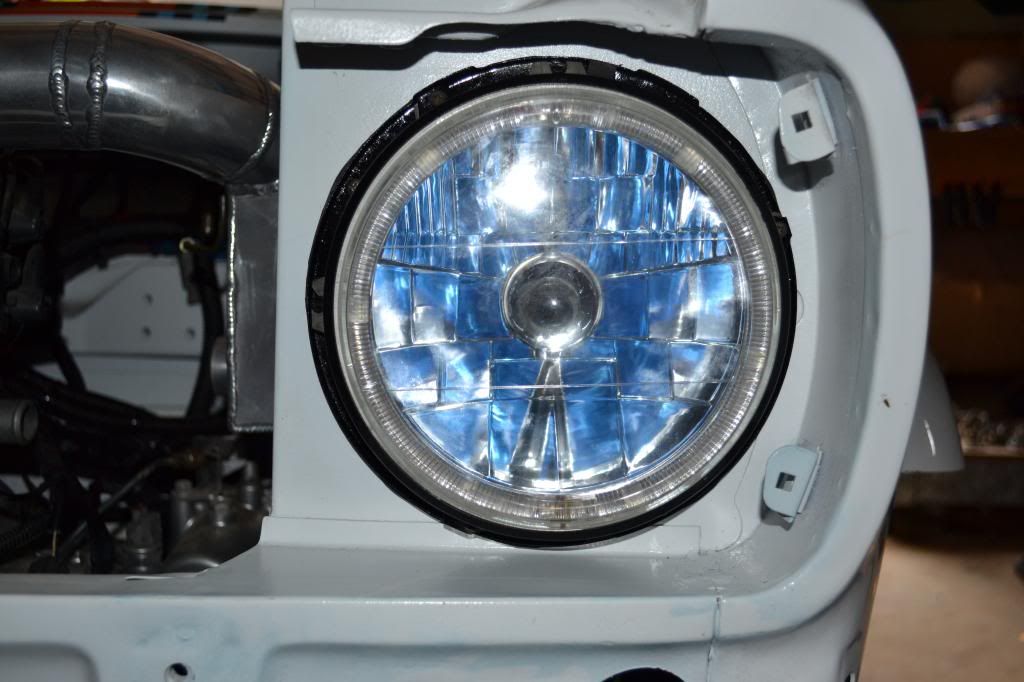
Headlight buckets and locating rings painted, and headlight fitted off (check out the blue reflection of the H4 insert on the reflector - this is from the camera flash:
This is the original Mini wiring penetration in the firewall which will be used to run the engine bay specialty wiring:
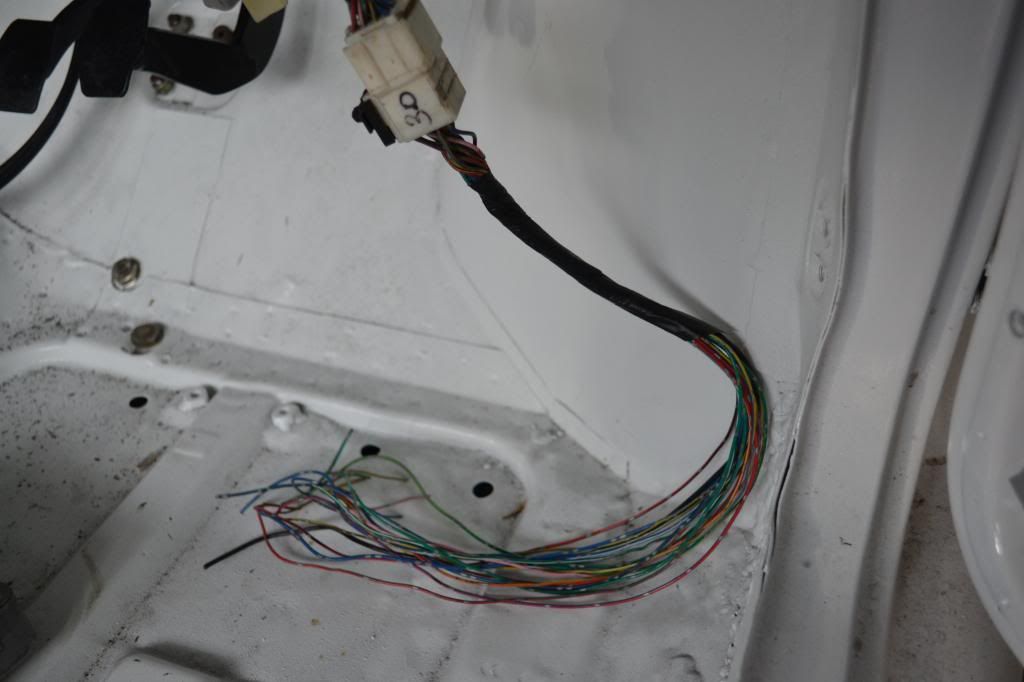
And finally, the remants of the original Starlet boot loom which is yet to be run to the rear of the car. This wiring will be run inside the centre console:
Can I just say, that there were a huge amounts of cables that had to be extended due to the route with which the wires were run, or due to the relocation of items from their original position like the alternator wiring. All of the cables contained in the headlight loom had to be extended. So, still to be done is the drivers side headlight, indicators and horn (the headlight bucket has been cut n shut due to the alternator relocation and painted), the boot loom and the door looms. Also to be done is the e-Manage wiring to the original Starlet ECU loom, replacing the standard Starlet injector plugs (I am running RC 440cc Injectors), the specialty engine loom (Profec E-01 wiring and DigiDash wiring) and of course the ICE wiring. I think there is another 15-20 hours to complete these tasks (excluding the ICE wiring).
More soon!
Cheers,
Tricky


