Hi Guys,
Just another quick update. Still installing the wiring for the Mini, and like I said before, will be on this for another 15-20 hours - put in about 4 hours this weekend so I reckon still another 10-12 hours to go.
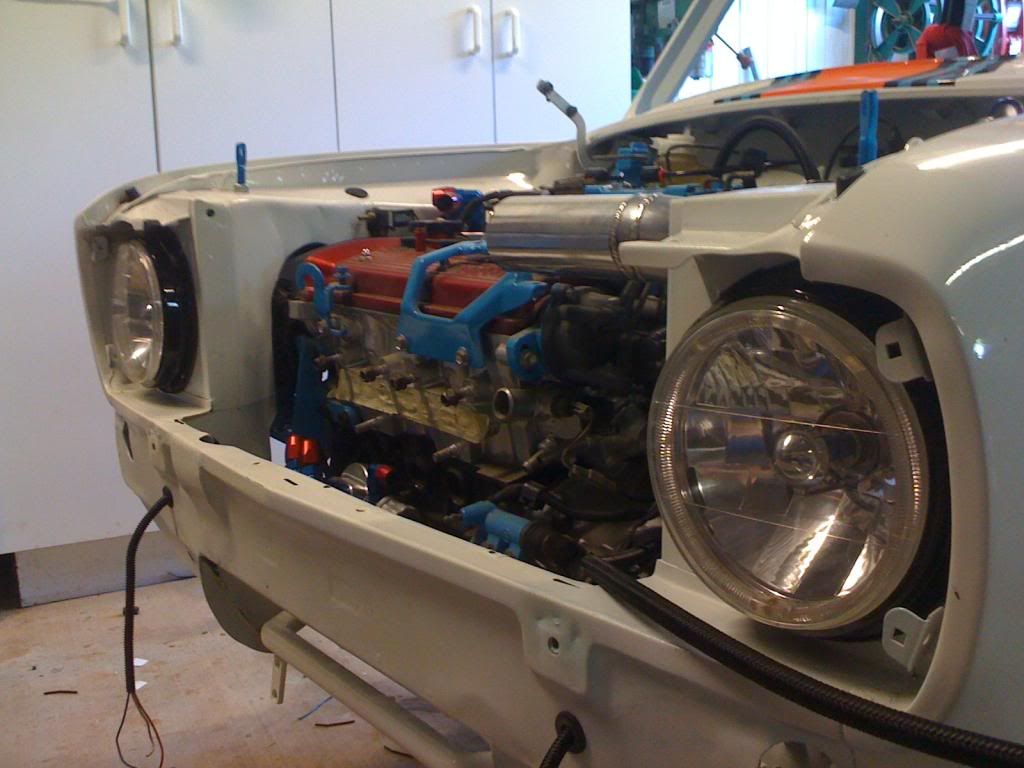
Today I finished off the front (headlight etc) loom and installed the drivers side headlight, horn and side indicator. Basically, its just a mirror of the other side, including an earth on the drivers side guard. Glad to seeing him now with both eyes in:
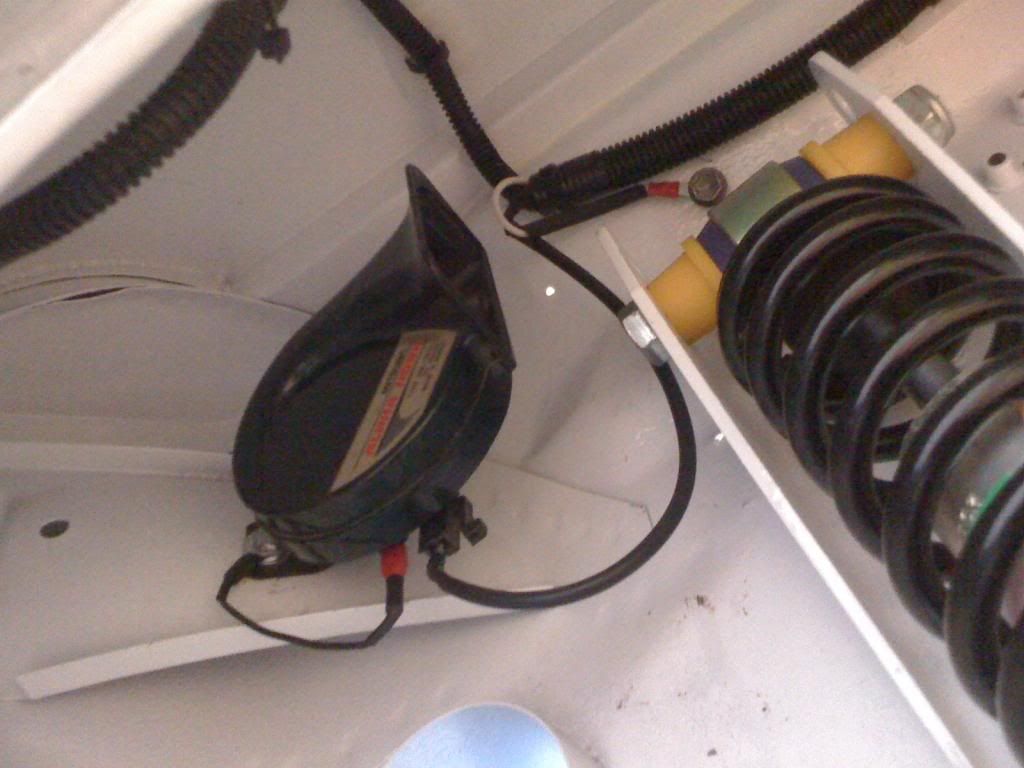
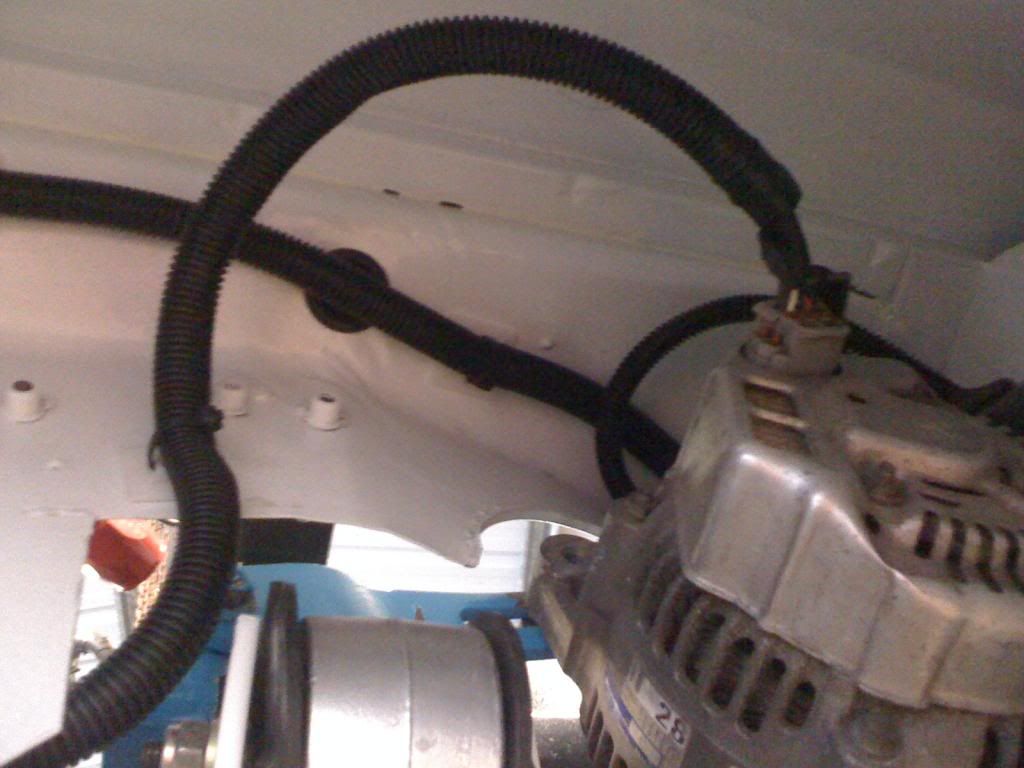
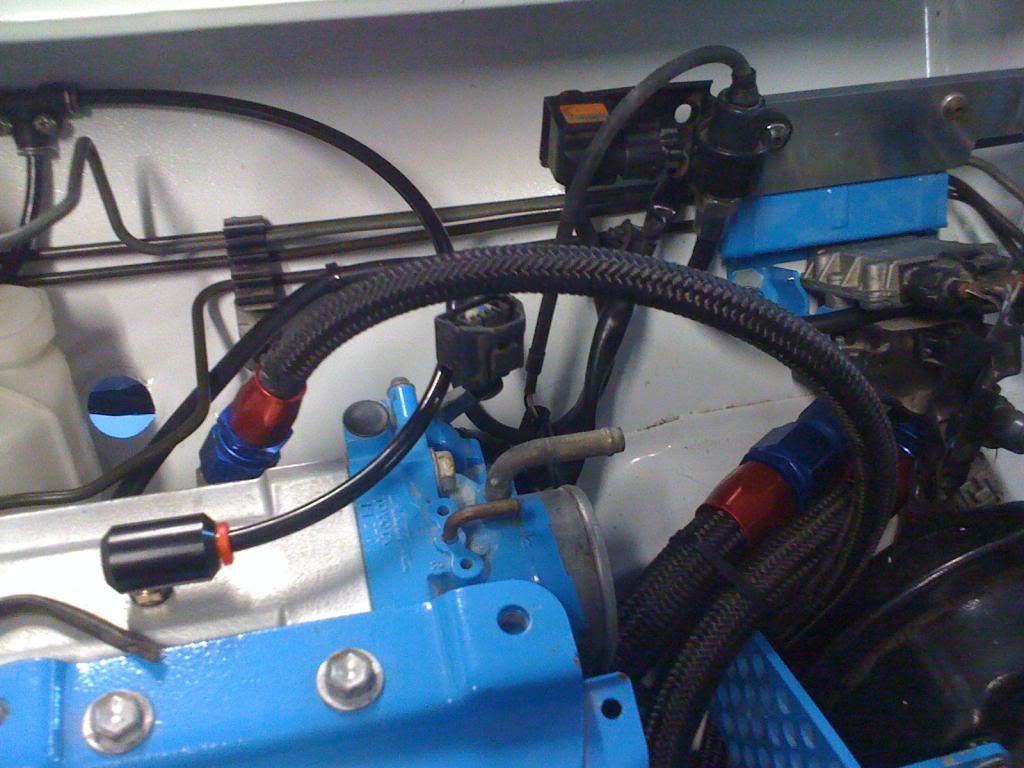
On this side is the alternator wiring too, which had to be extended to suit the new position of the alternator. Later on, there will be a rolled aluminium cover over the top which will protect the alternator
Also, finished with the injectors today as well. In the end, I didnt need new clips to connect them up to the loom - I just needed to file the the little guide ridges off on either side of the injector to get the original clips to fit up - and in the end they fitted perfectly. I wish I had tried this prior to ordering new clips, which didnt end up fitting anyway. Also, now that the wiring is completed (almost) I would fit up the brake booster and bracket (crikey its getting crowded in there):
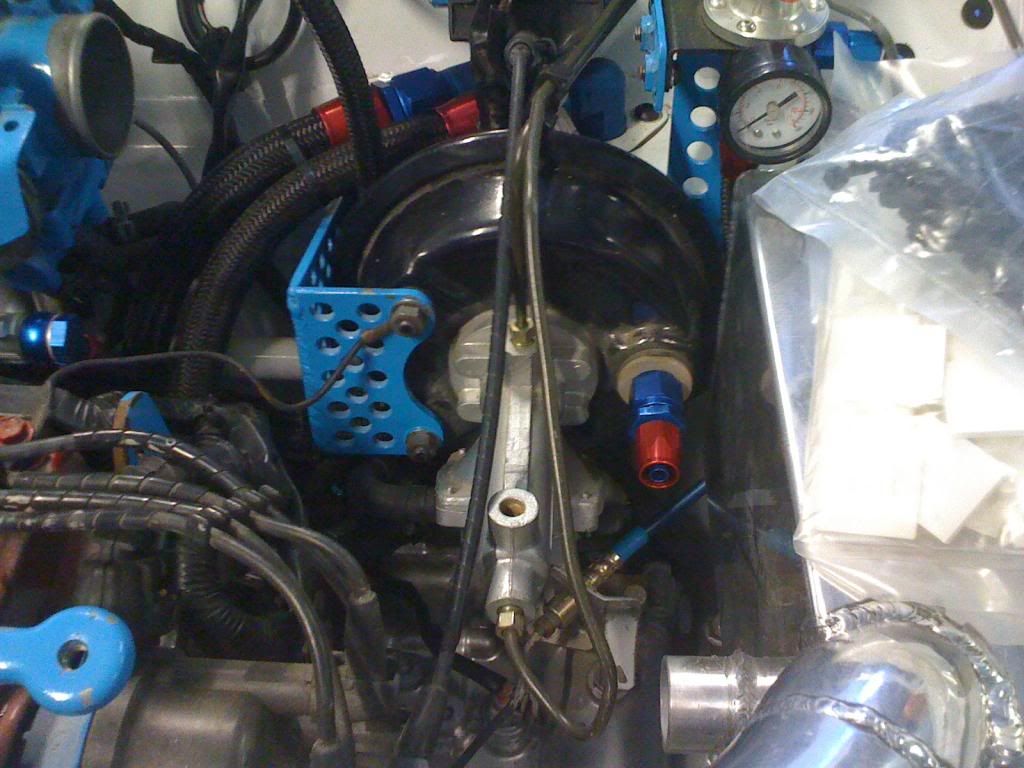
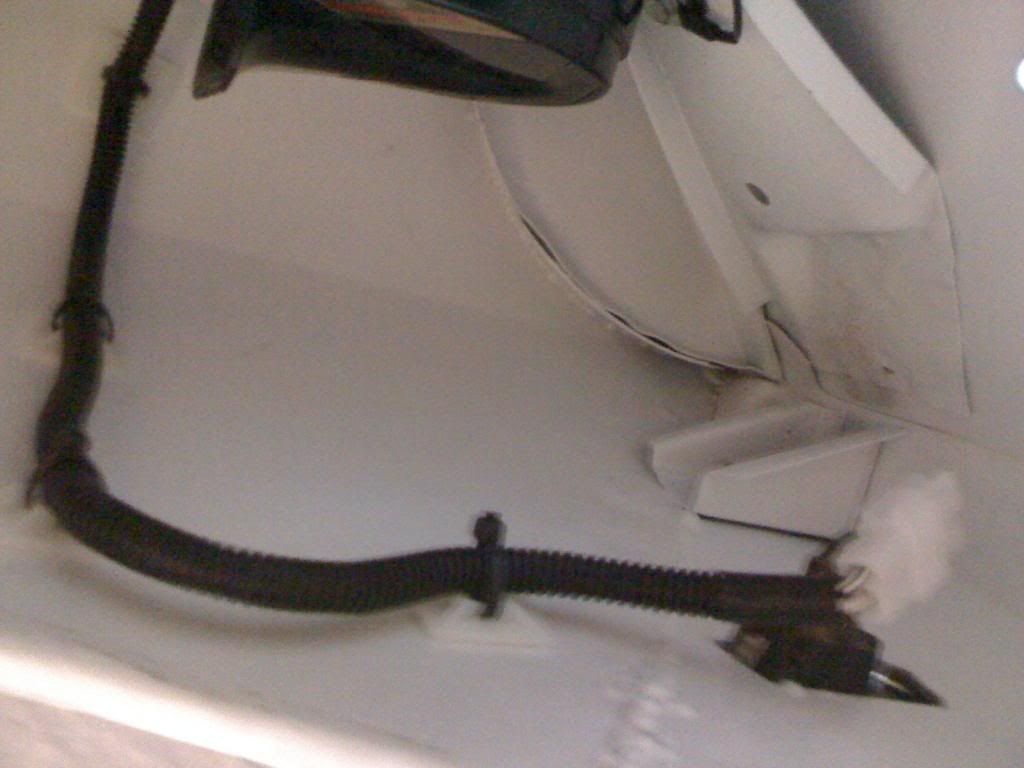
And the vacuum line - not sure if this is going to be the final position yet, as it looks a bit ordinary. Could rotate the fitting down and bring the vacuum line up under the booster - which is probably what I will end up doing:
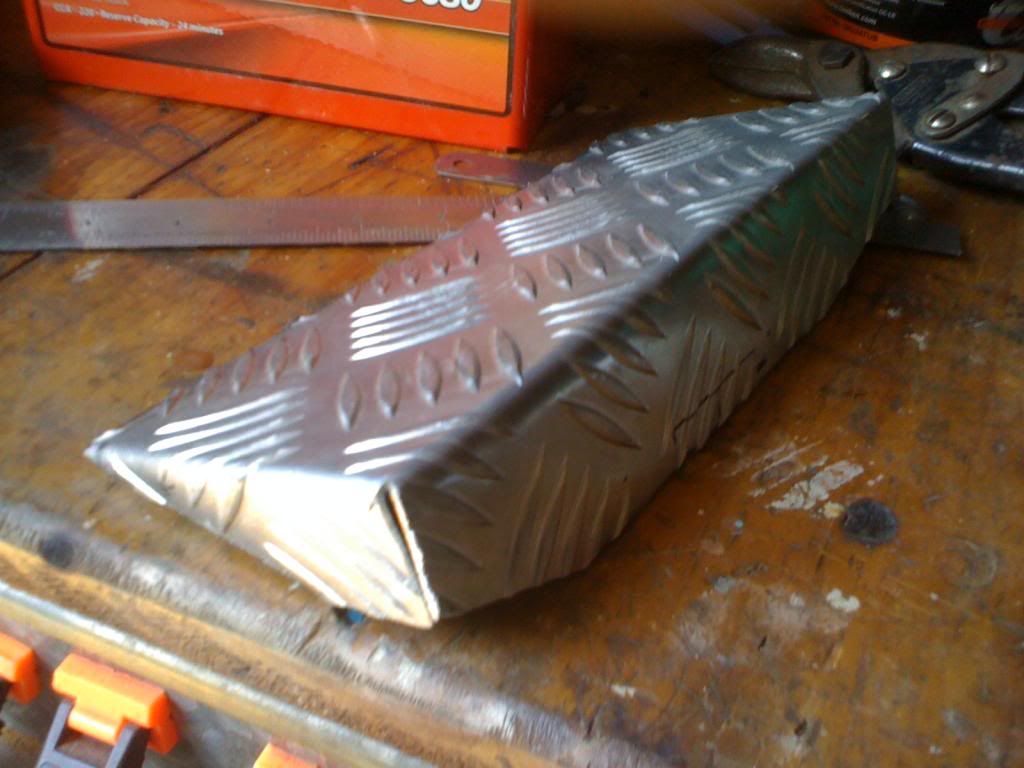
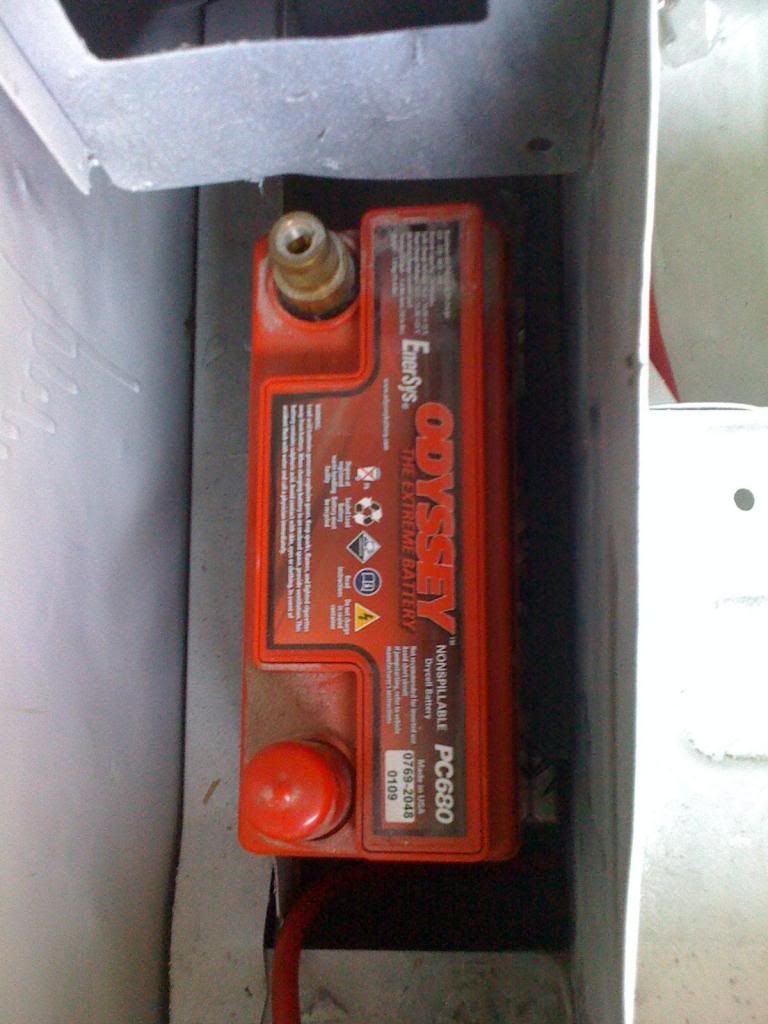
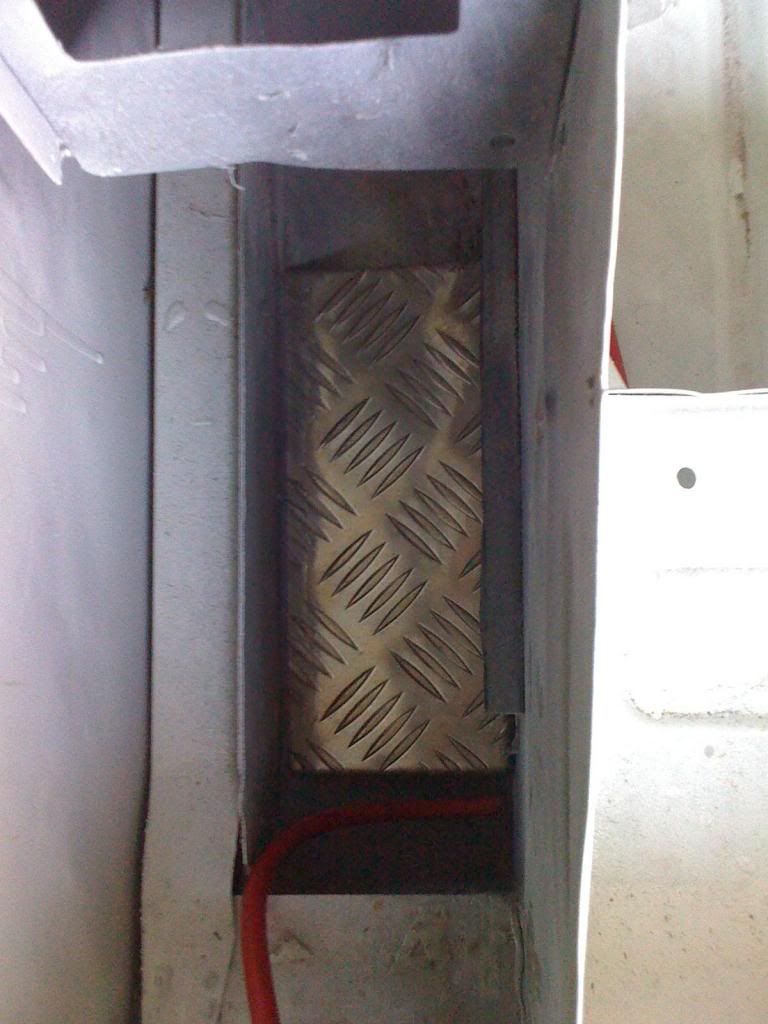
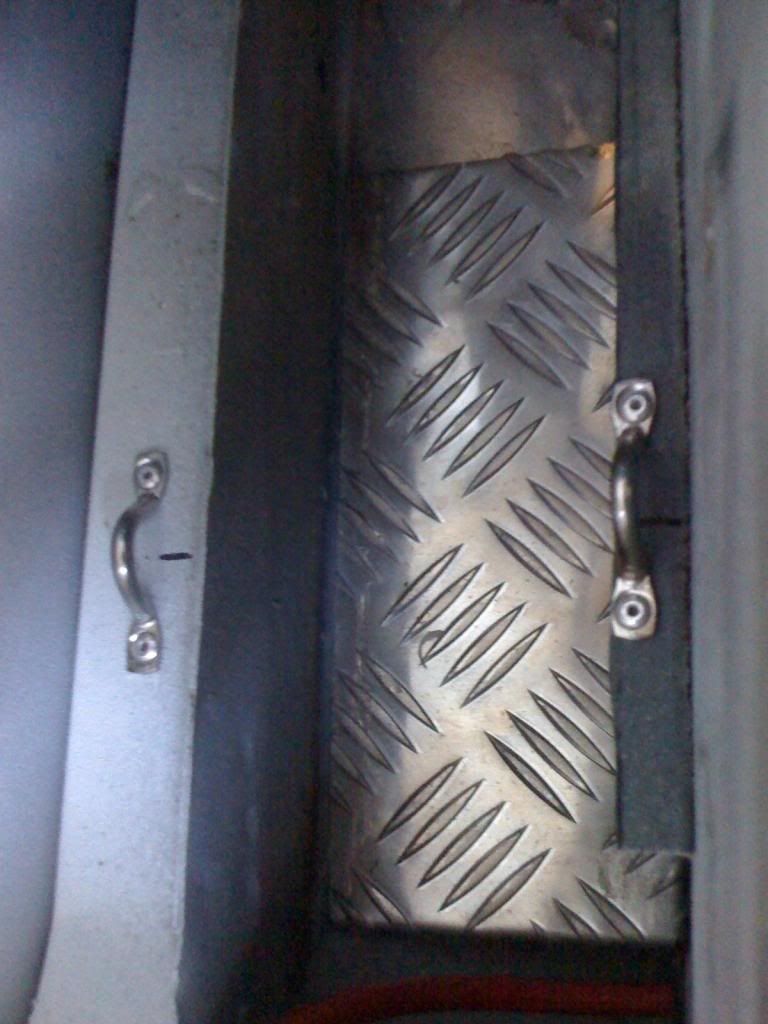
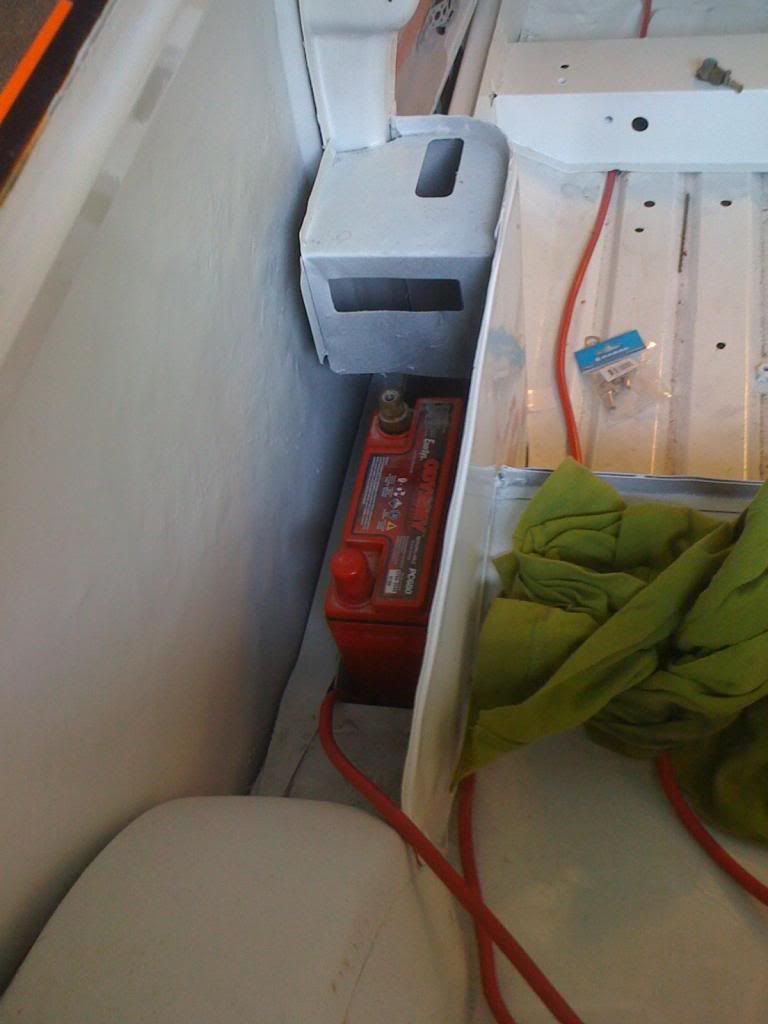
Then I turned my attention to the batteries, and where they will live. I am installing them in the rear bins, as most of you will know. I bought an Odyssey PC680 gel cell battery which is slim enough to fit into the bins, but with enought CCA to turn the engine over with ease. There will be two batteries, one in each bin - one for the engine and ancilleries, and one just for the ICE. To install the batteries in the rear bins, a little platform needs to be made up, so that the battery had a level base to sit on. I grabbed some scrap 2.3mm aluminium tread plate and cut it to the required dimensions, and then put an 90-degree bend in it. The difference due to the slope of the sill was 45mm, over the 90mm width of the bin. Here is what it looks like:
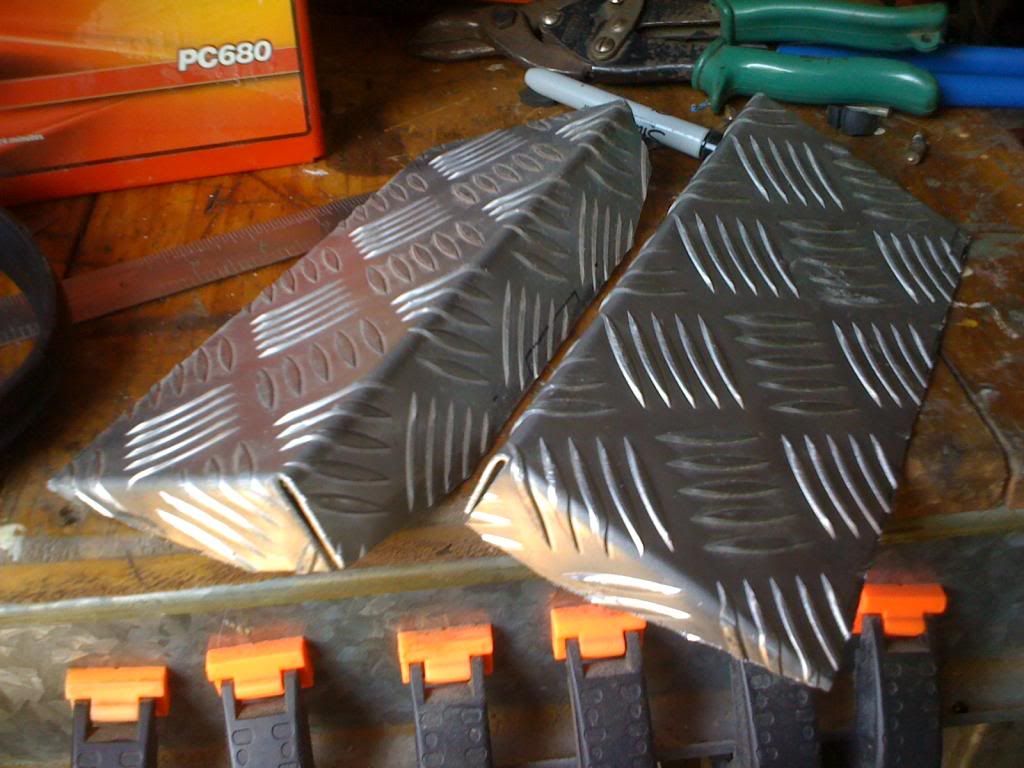
And then one for the other side - identical to the first:
To get the batteries to fit properly, I had to trim 15mm off the stiffening strip that sits inside the bins, and adds strength to the outside face of the bins. Once done, I will use a bit of pinch-weld to cover this sharp edge. Test fitted the gel cell:
Then it was a nmatter of installing them. In this instance, I just used silicon - there is not provision for a fixing that will not protrude through the bottom or the side of the car. Silicon will make the install easy, but the platforms will be rock solid:
Then I pop-riveted on the stainless D-loops which will allow a velcro strap to go over the batteries and keep them in place in the event of a rollover (he he

)...
The finished product and the batteries sit nice and level, and will be very secure:
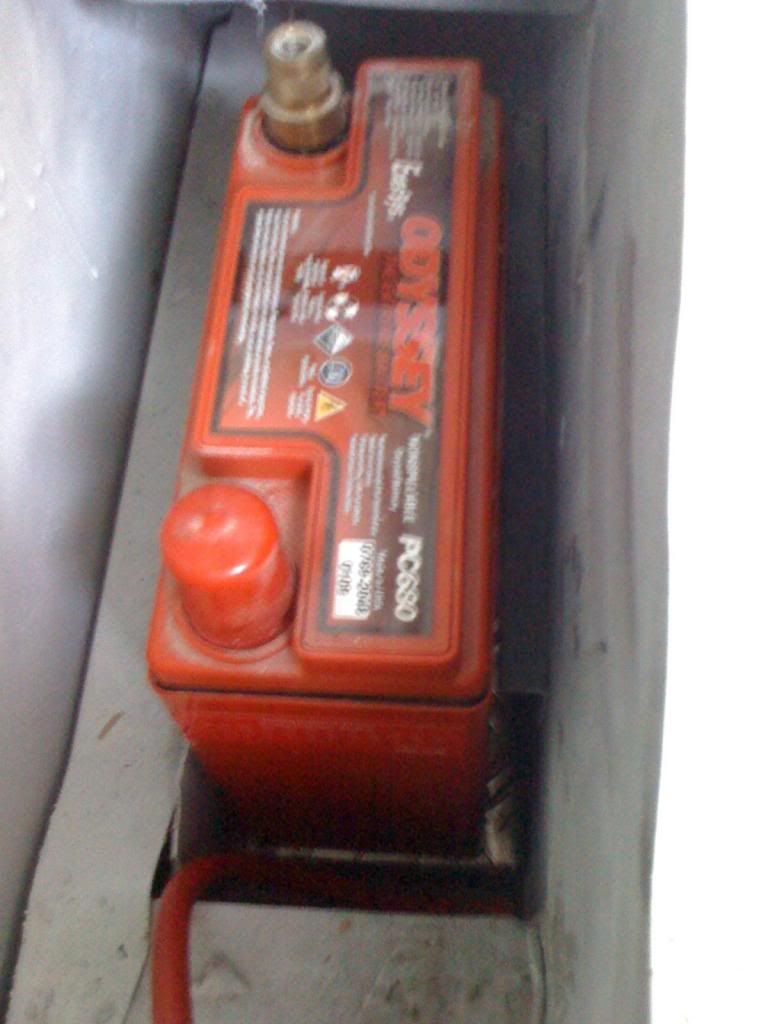
And you can see how far down into the bins the batteries sit in this shot. I will end of fabricating a speaker enclosure over the top of the bins which will hide them completely, and you wouldnt even know they were there:
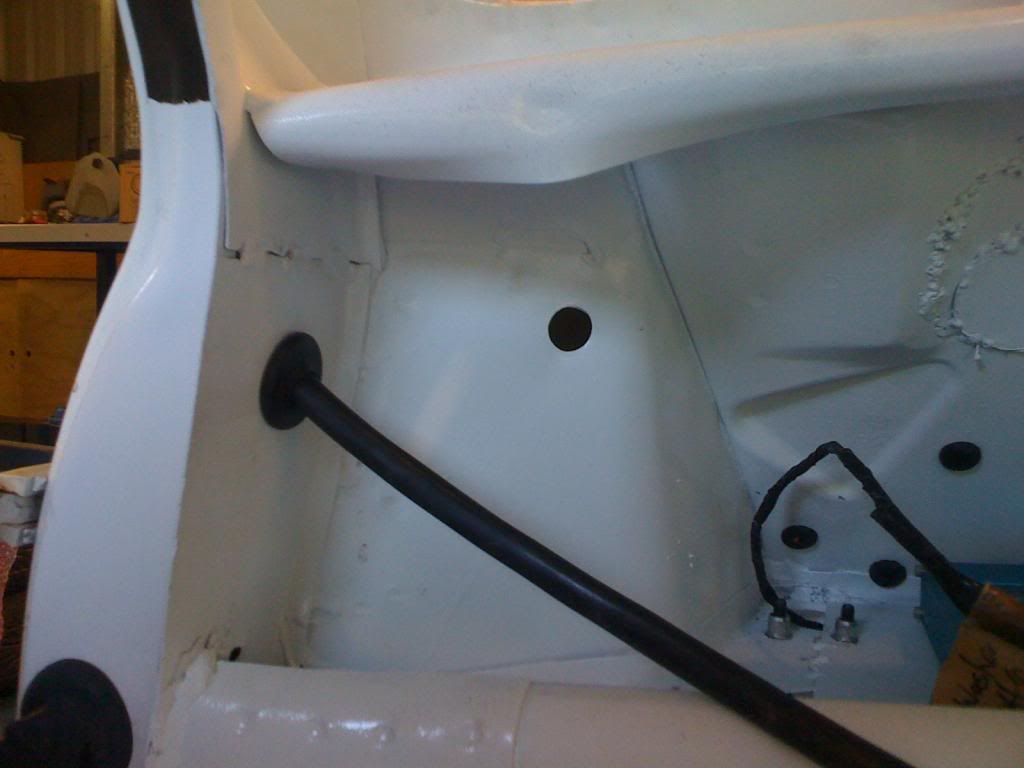
Continuing on with the interior of the car - I decided to run the wiring for the roof console. Seeing as there wont be any real load coming from the roof console, I decided to run a mulit-core cable up there. I had some 20-core control cabling leftover from a job I did a while ago doing some PLC installs, and this would work perfectly for the job. In the end, it was very easy getting it down the A-pillar and in behind the dash. Here is the cable I am using, enough cores for all the idiot lights, dome light, security keypad etc:

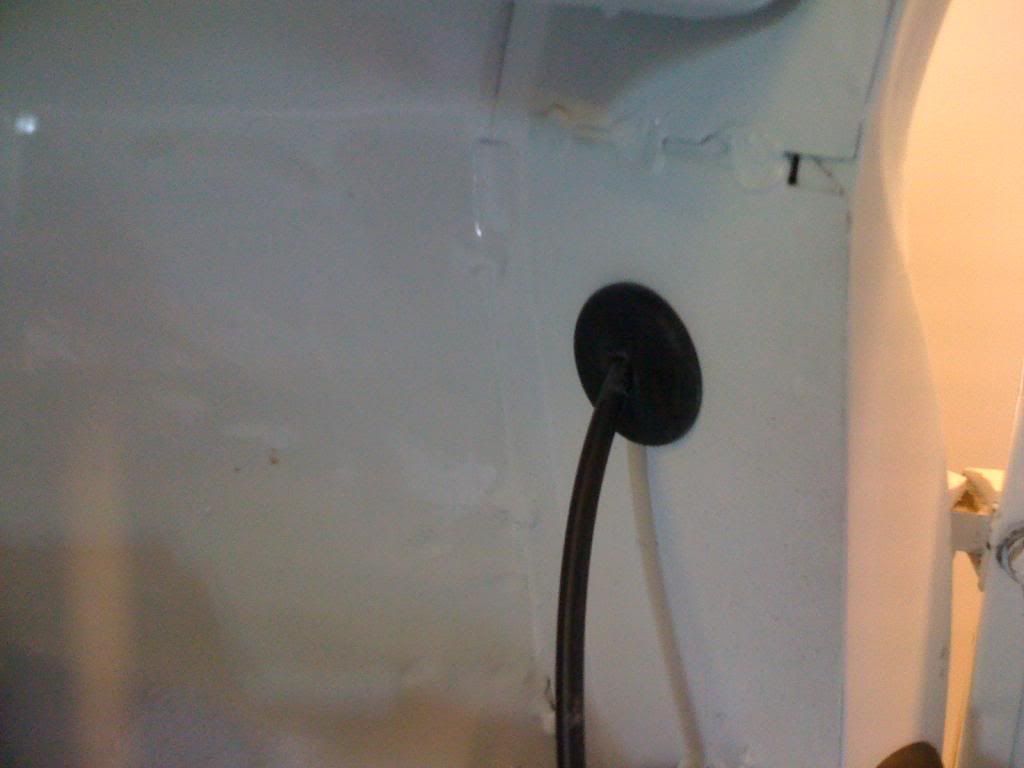
And popped it down inside the dash through the original penetration and through the ubiquitous grommet. I will end up drilling a smaller penetration just under this one to feed the door loom into the passenger side door:
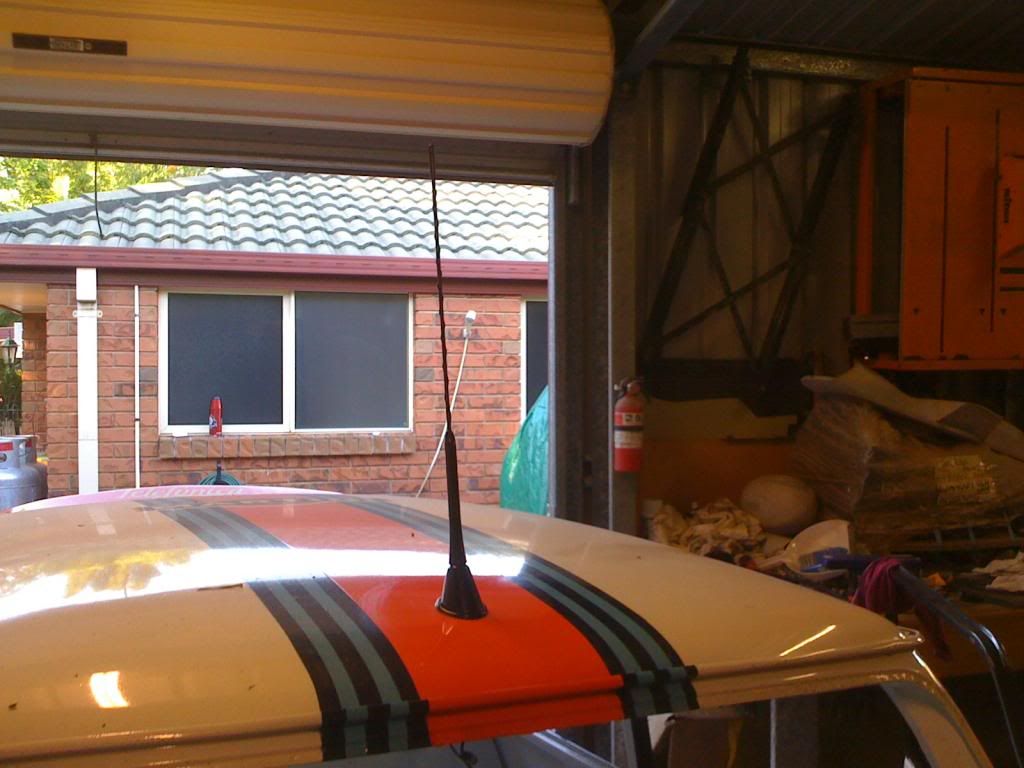
Also working in this area, I needed to install the roof aerial, and run the antenna lead. I had previously drilled the square hole for the antenna, so it was just a matter of installing the bee-sting aerial - I love this short style of aerial:
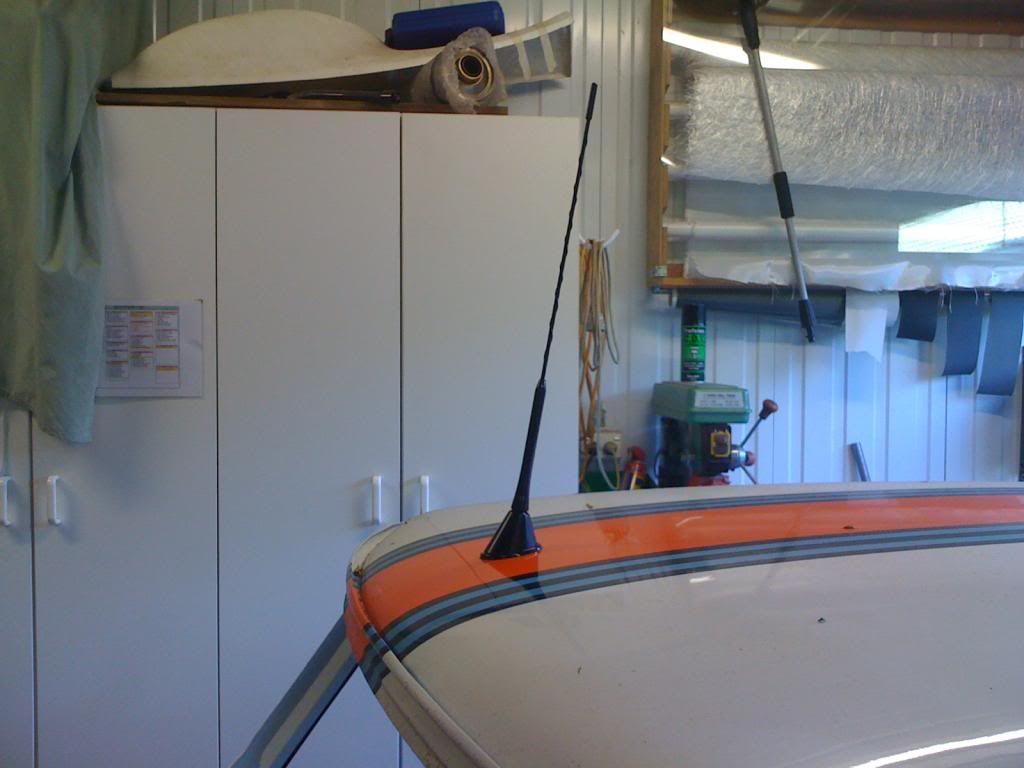
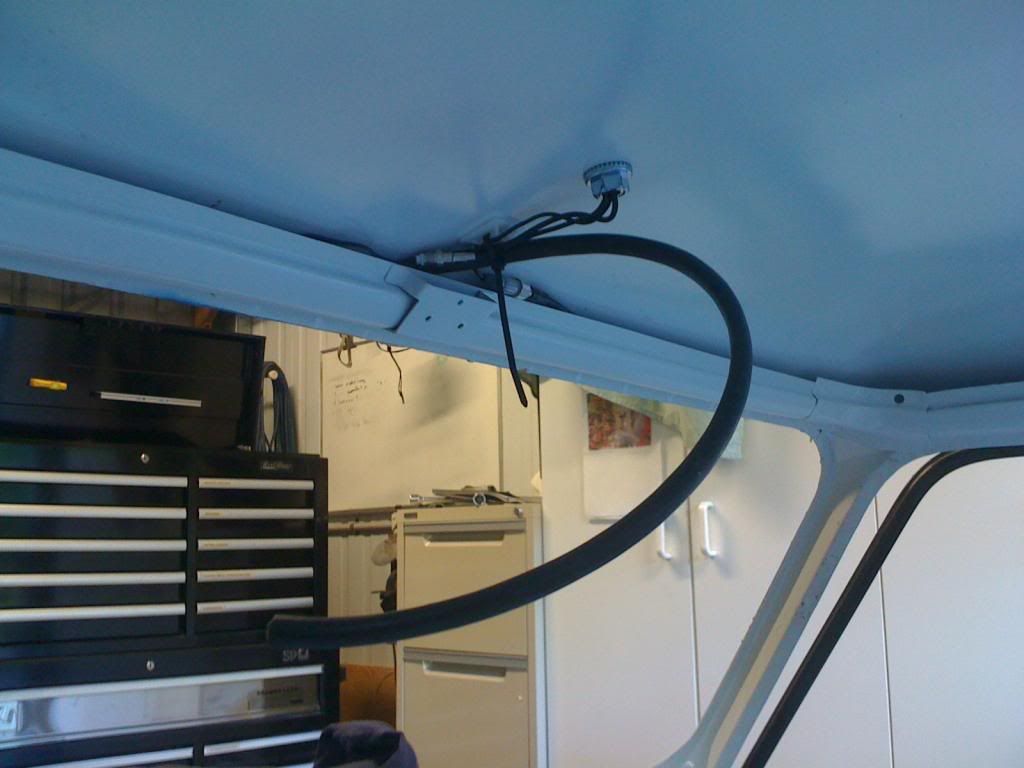
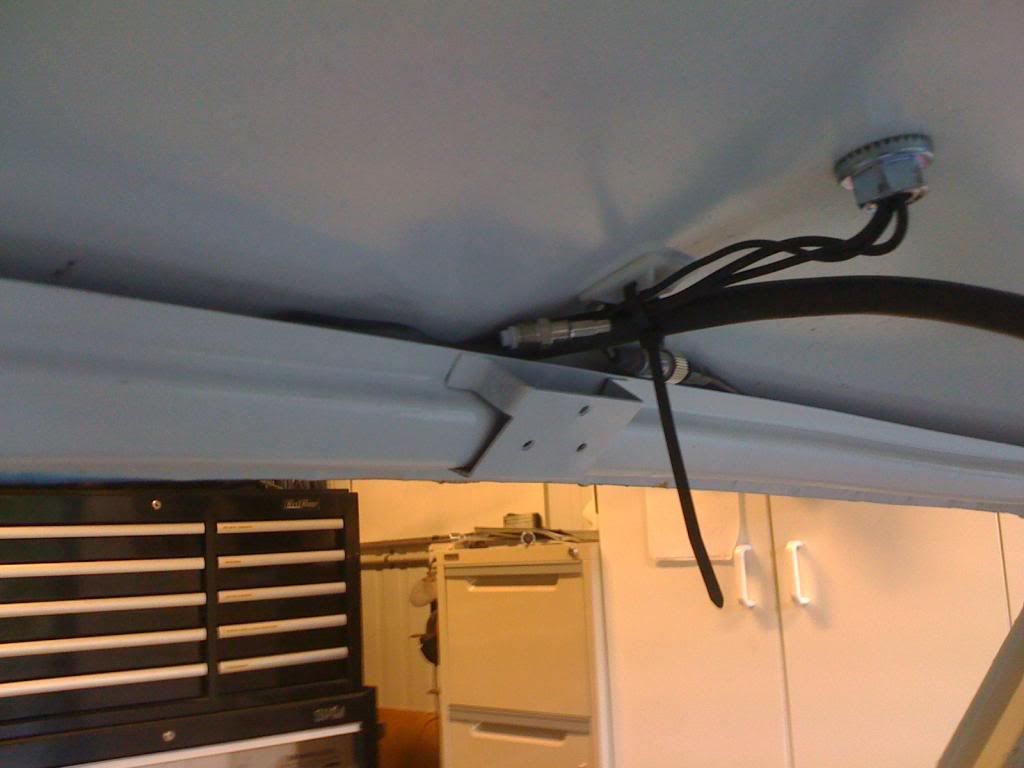
And running the antenna lead down the opposite A-pillar and in behind the dash:
And here you can see the accumulation of the cables in the roof area. The aerial I grabbed is a BMW replacement item - it also contains connection for an in-built RFD amplifier within the aerial base, and also direct connection for a cell phone - both of which I wont be using. As you can see, the cables sit in behind the windscreen/roof valley. The cables that come out where the roof console will be hidden by the roof console so none of this will visible:
Well thats it for today. Next week I will doing the door looms as long as the 12-gauge speaker cable arrives!! Then its onto the boot loom.
Cheers,
Tricky