Well believe it or not I actually did something to El Gato this weekend.
I have been inspired by the Ol' Sock (Hallsey) - Steve Hall - Of Hall Engineering to get the thing finished so we can get it on the road and enjoy it.
You see I have always had this problem whereby I continually look for perfection in everything I do. That means I do one job, then sometime later I learn a better way to do the same job so I redo it. And I continually spend my time doing, then redoing the work time after time. Its a fatal flaw in my character. I guess what this means is that you never get to complete anything!!!

So, for the past week or so I have been in consultation with Hallsey and his great advice to me was 'draw a line in the sand and just get on with it'. Sage advice from a guy who has been there and done that. In other words, get it finished and on the road and enjoy it and if you want later on you can come back and modify or change something. So simple, but I just couldnt see it - thanks Hallsey!!
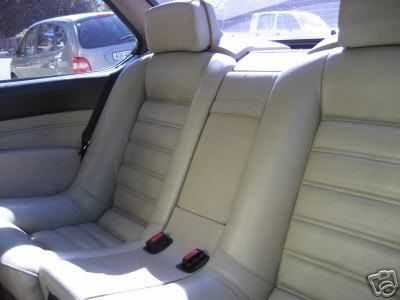
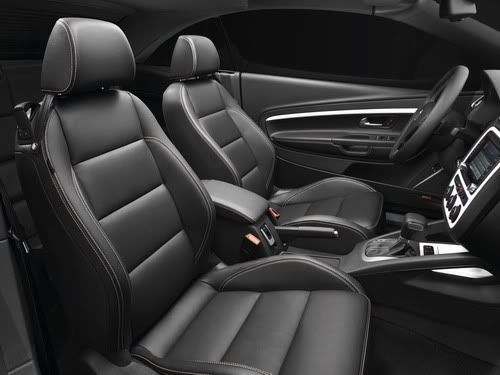
So, in light of this, we have decided to take a route less onerous - I wont call it a short cut, its just simply a different tack!! The interior for instance ICE components will not be paint finish but be covered in faux leather. This will cut down the finishing time by about 2/3rds or more. Simply, no more endless hours of bogging, sanding, filling and more sanding. Instead, a quick hit with some bog and high-build, and thats it. Simple.
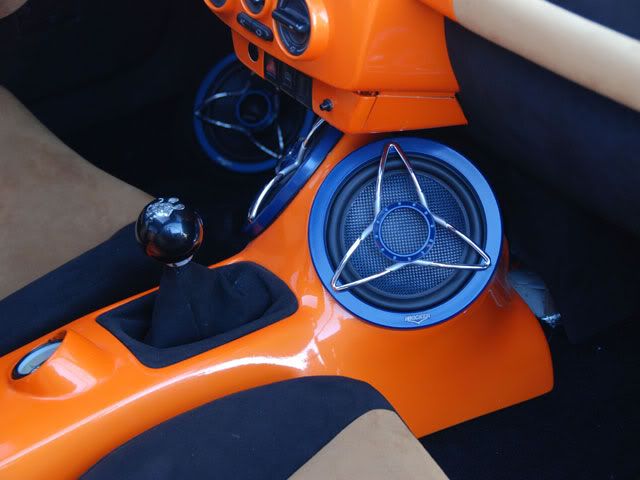
In essence a bit more of this:
And a bit less of this:
Enough rambling, here is what went on, on Sunday:
The sub-board was finished with some rings to house the subs in the same fashion as the mid-bass and rear parcel shelf item. They were then glued together and then glued to the board:
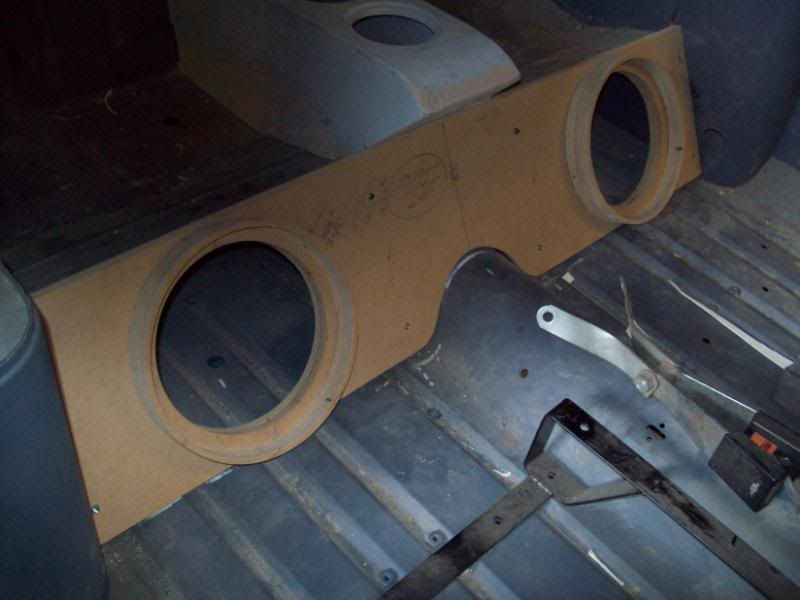
Then it will be a matter of covering the board in cloth and resin just like the other items.
Next my attention turned to the centre console. It will have to be made in two parts just to be able to fit. First off we have to know where everything fits - the seat bracket, seat belts, geareshift and handbrake...
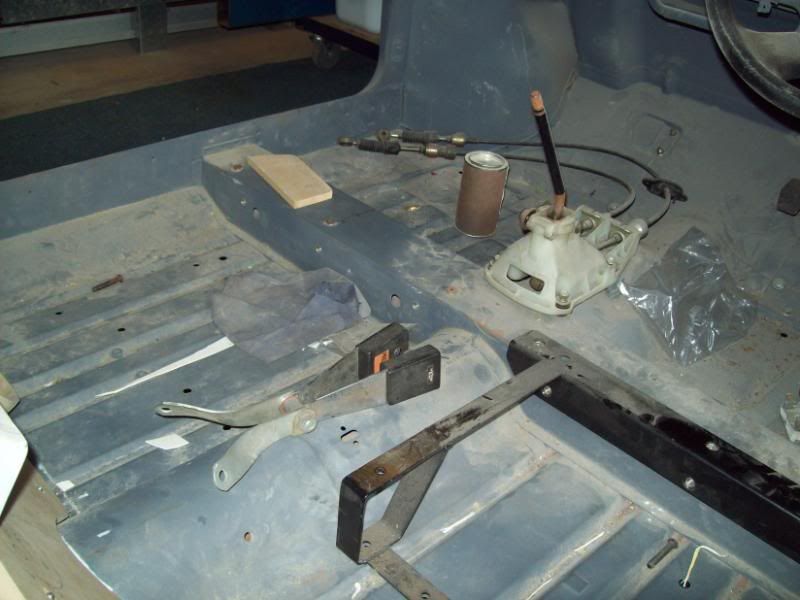
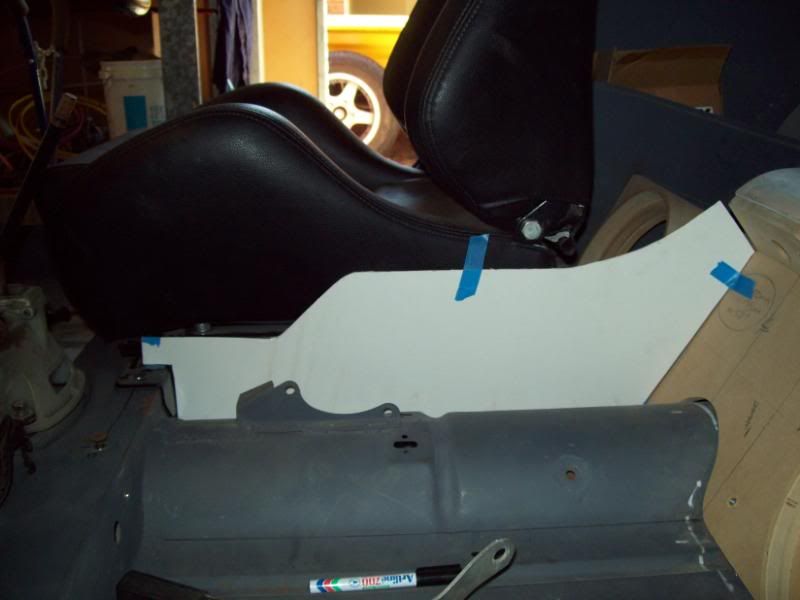
From there, we can take measurements and get a general shape of what the console might look like, and of course making it as aesthetic as possible. We then transfer these dimensions to cardboard - its always better to muck up a template then muck up the real thing:

Once the template has been maked out and cut out, its time for a test fit:
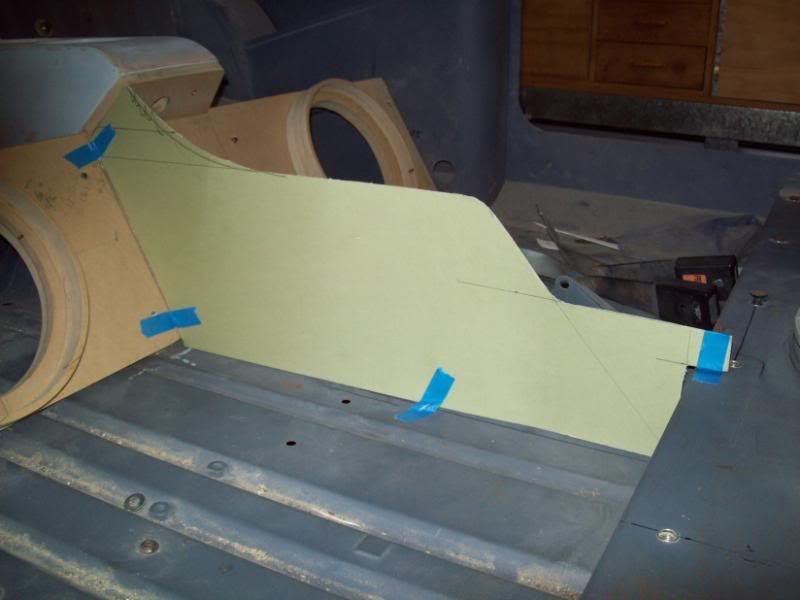
Hmmm, not to bad! But we better make sure that the organic forms flow evenly from one piece to another:
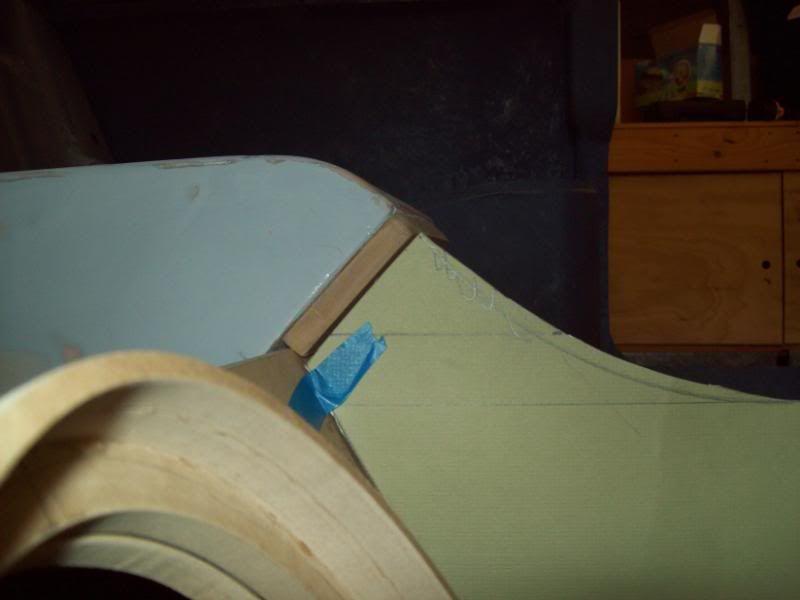
Again not bad!!
It may look a bit high, but when you bring it into perspective with the seats in situ:
Then cut out the real thing and test fit:
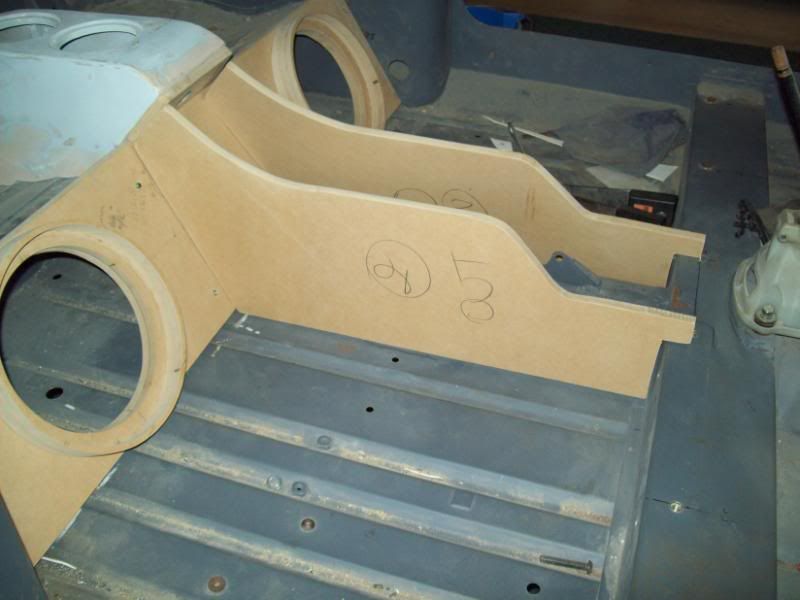
Again, not too bad. To get the 3-dimensional curve, I cut kerfs full length in the mdf so it could bend in 2 planes and mould to the preceeding shape made by the mid-bass enclosure. Then, add some formers in between to mould it to and to hold the shape:
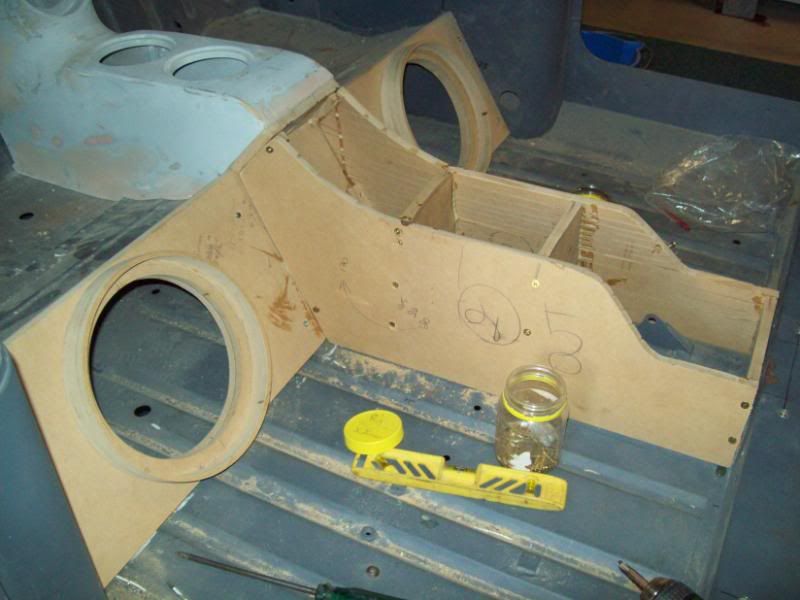
Next, will be to finish the front of the console to allow it to fit to the next part seamlessly, and also to put a top on it. Once this is done, we can fair it up, and then bog and sand it one time in readiness for faux leather covering. This means the console will match the seats, which match the dash pads etc etc.
No need to reinvent the wheel time after time...
Cheers,
Tricky